

We continue waterproofing the shower in a real project. Today I'm showing how to reinforce the internal corners where walls meet the floor — this is the final stage before applying waterproofing to the floor.
📋 Series of articles on shower waterproofing:
- Part 1: Complete guide — materials and walls
- Part 2: Waterproofing plumbing outlets
- Part 3: Reinforcing wall-floor corners and floor application (you are here)
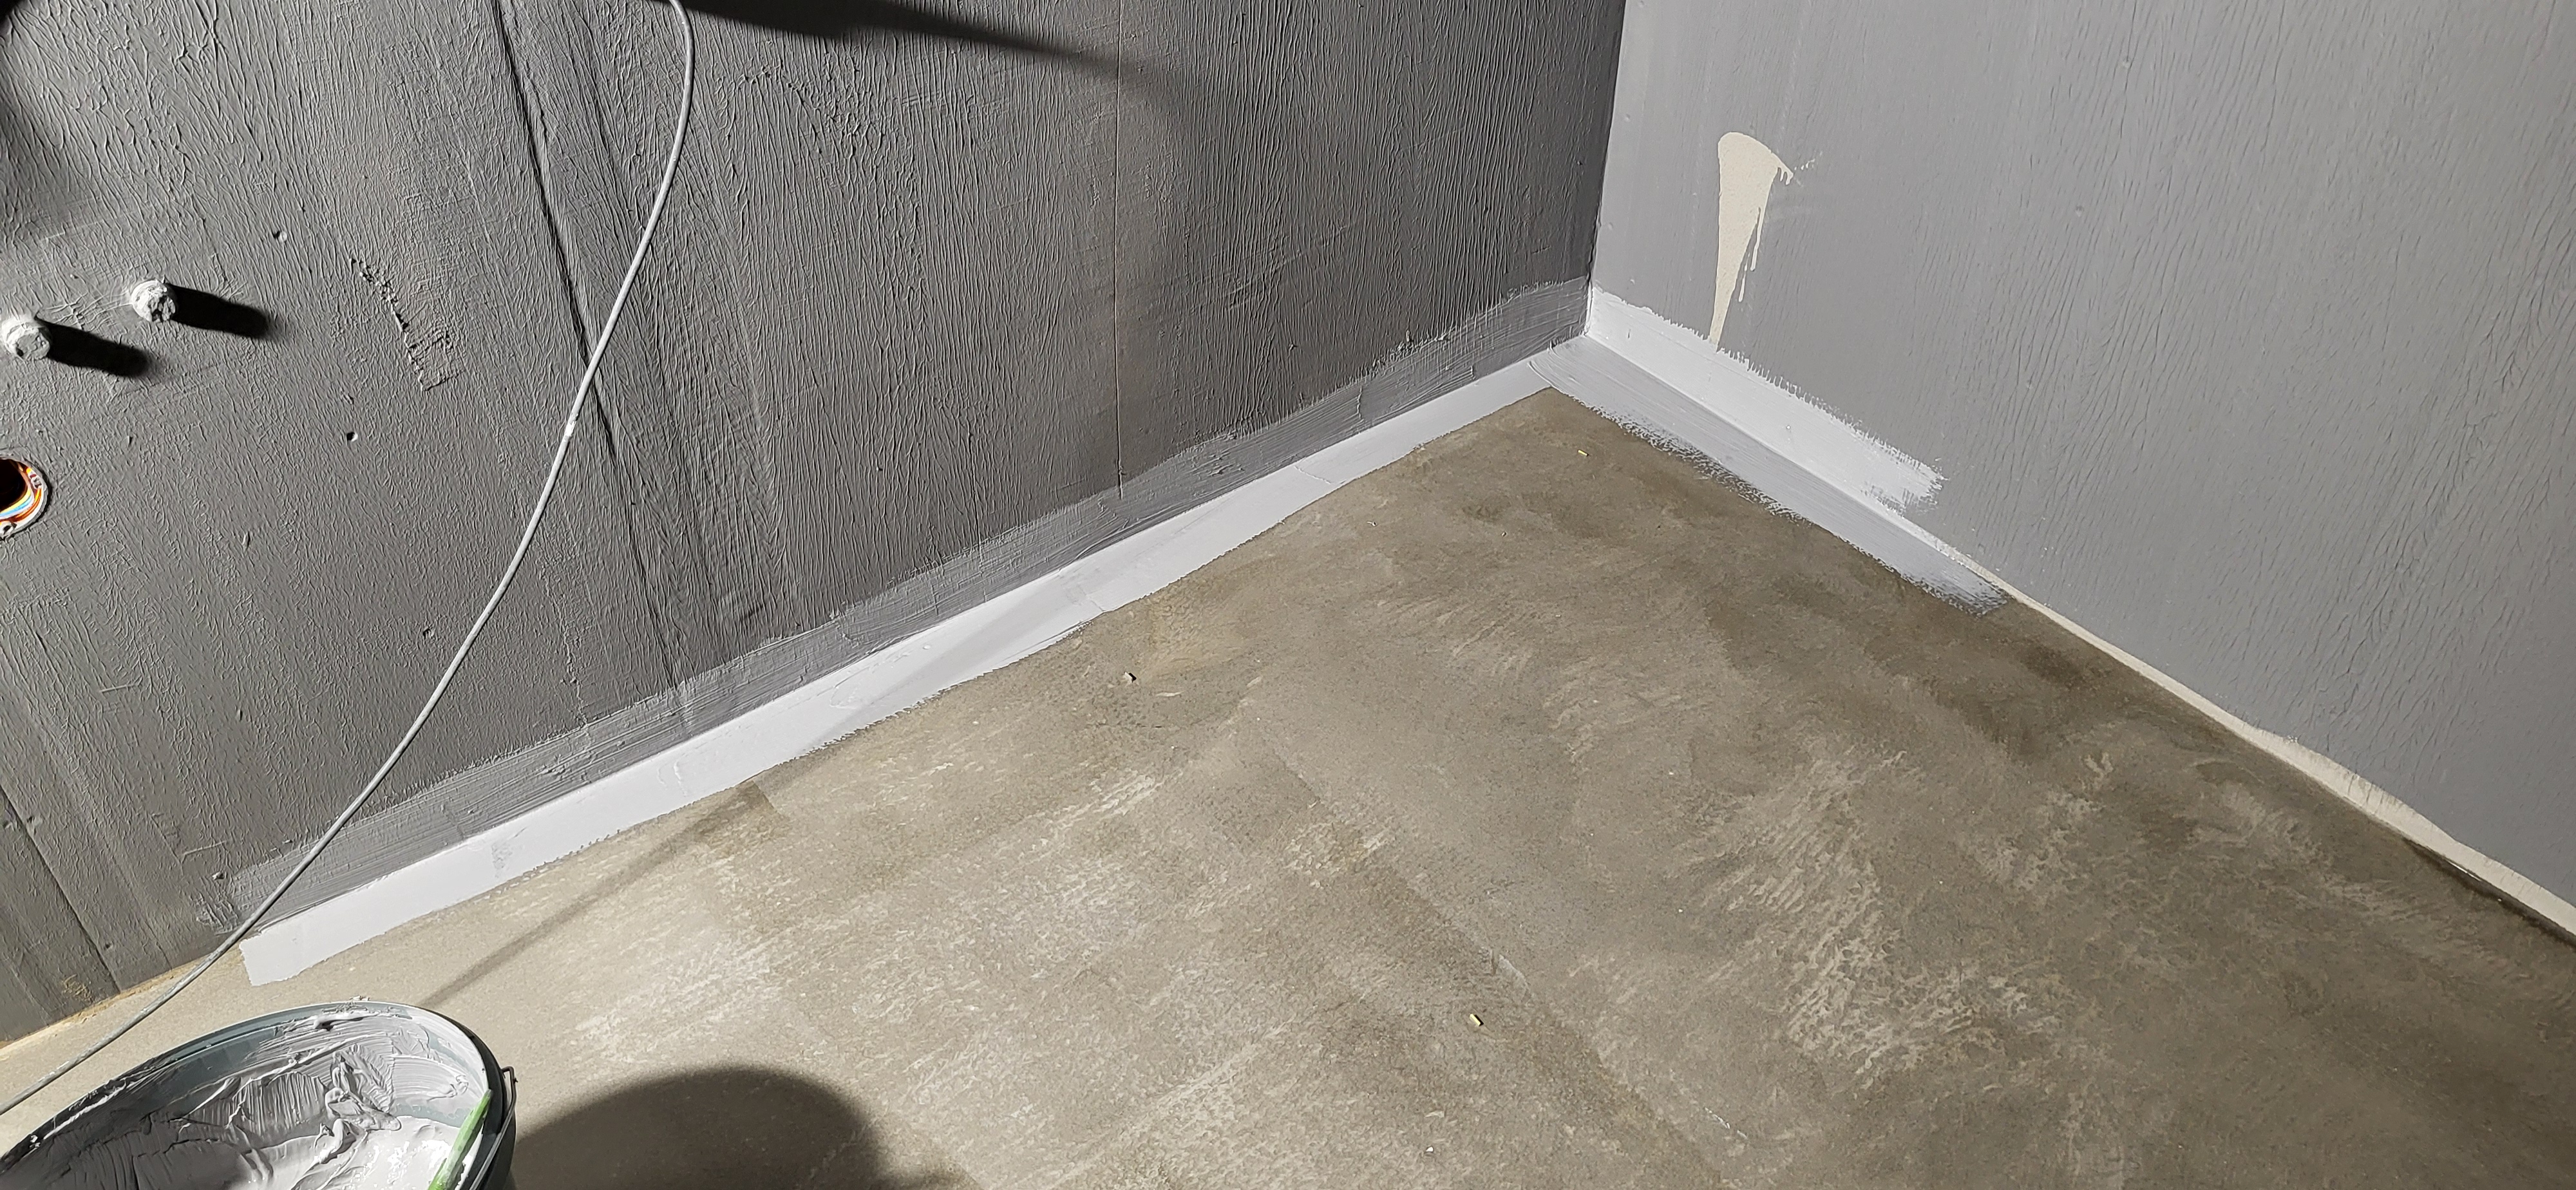
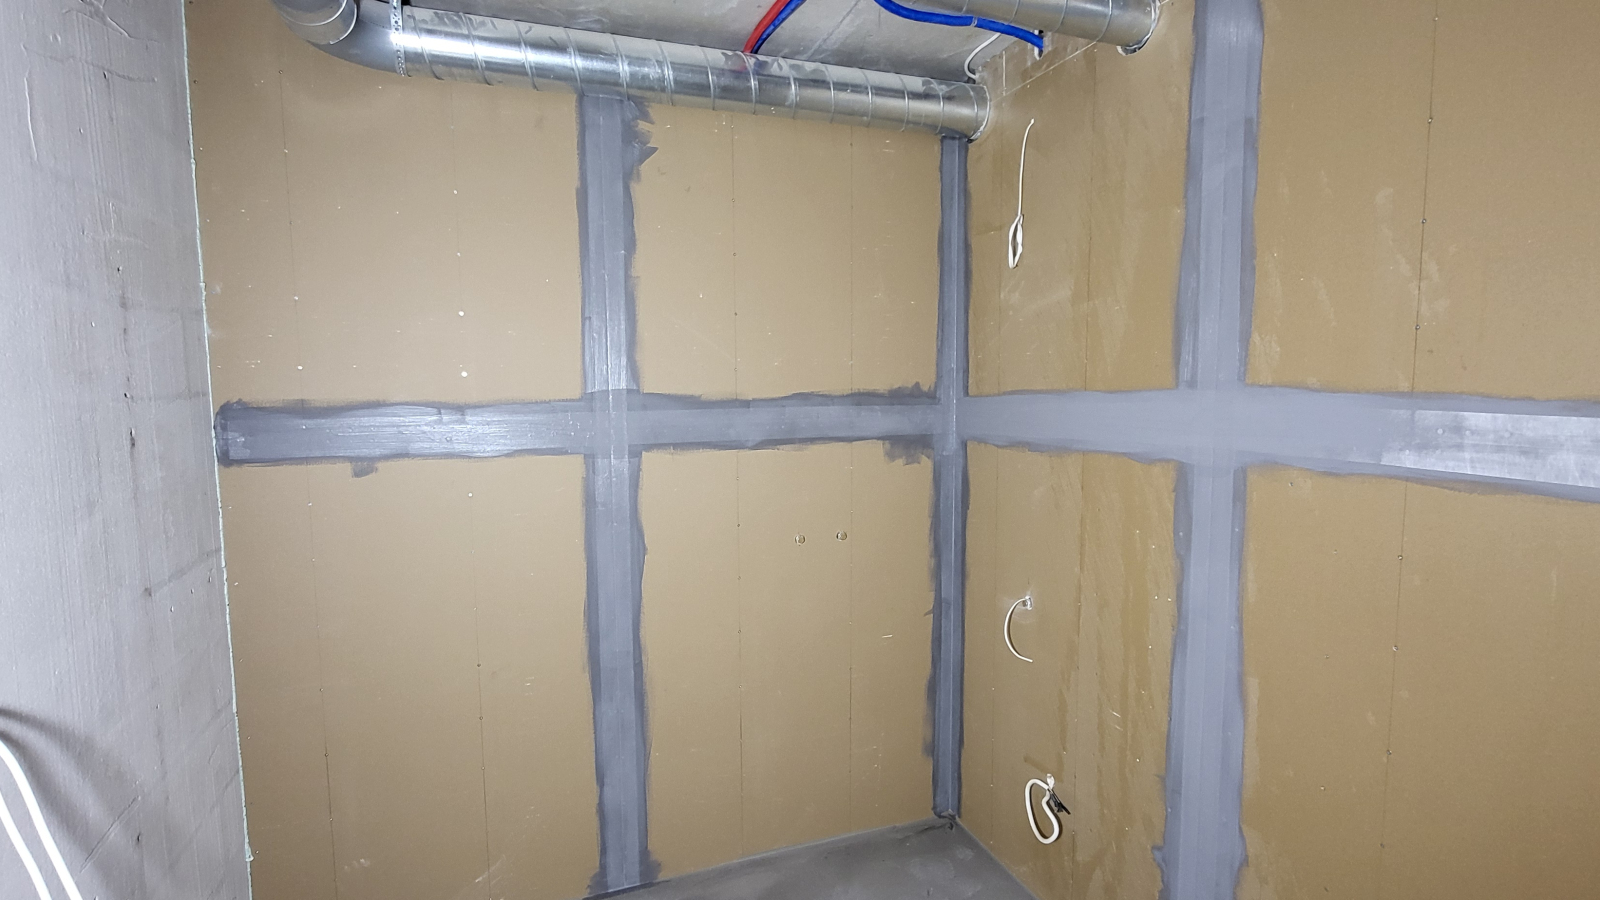
An important step before applying waterproofing to the floor is thorough cleaning. Vacuum, remove all irregularities and be sure to prime. After that, we proceed to reinforcing the internal corners.
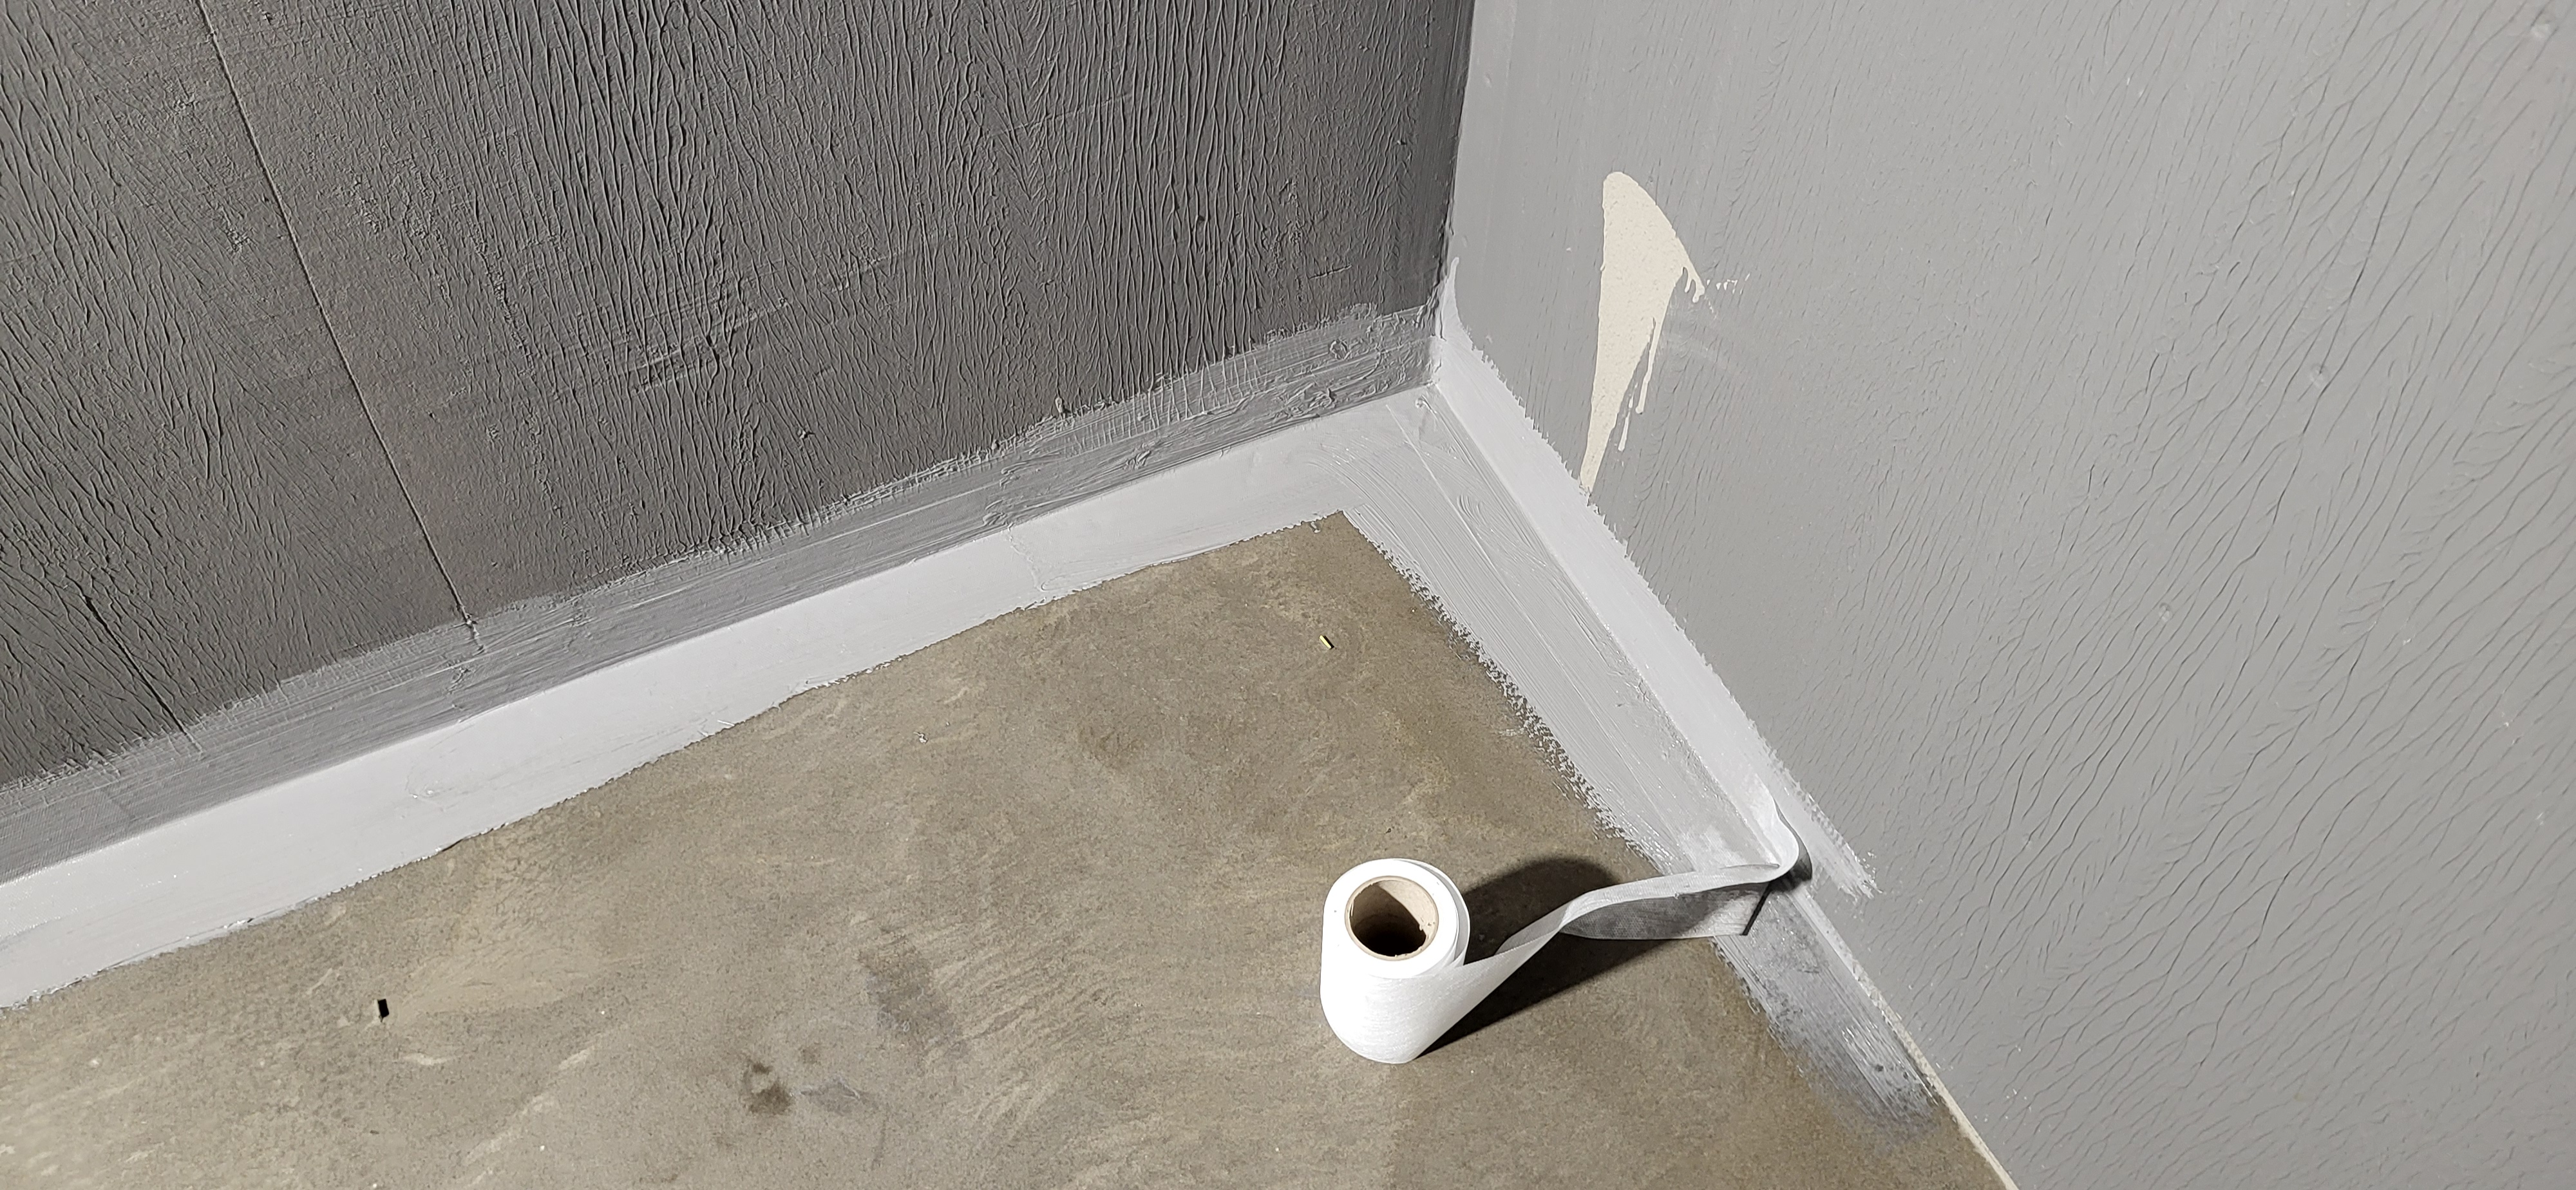
Apply waterproofing sealant with a brush into the internal corner. We start from the middle of any wall.
Next, we take the reinforcement tape and prepare it for gluing.
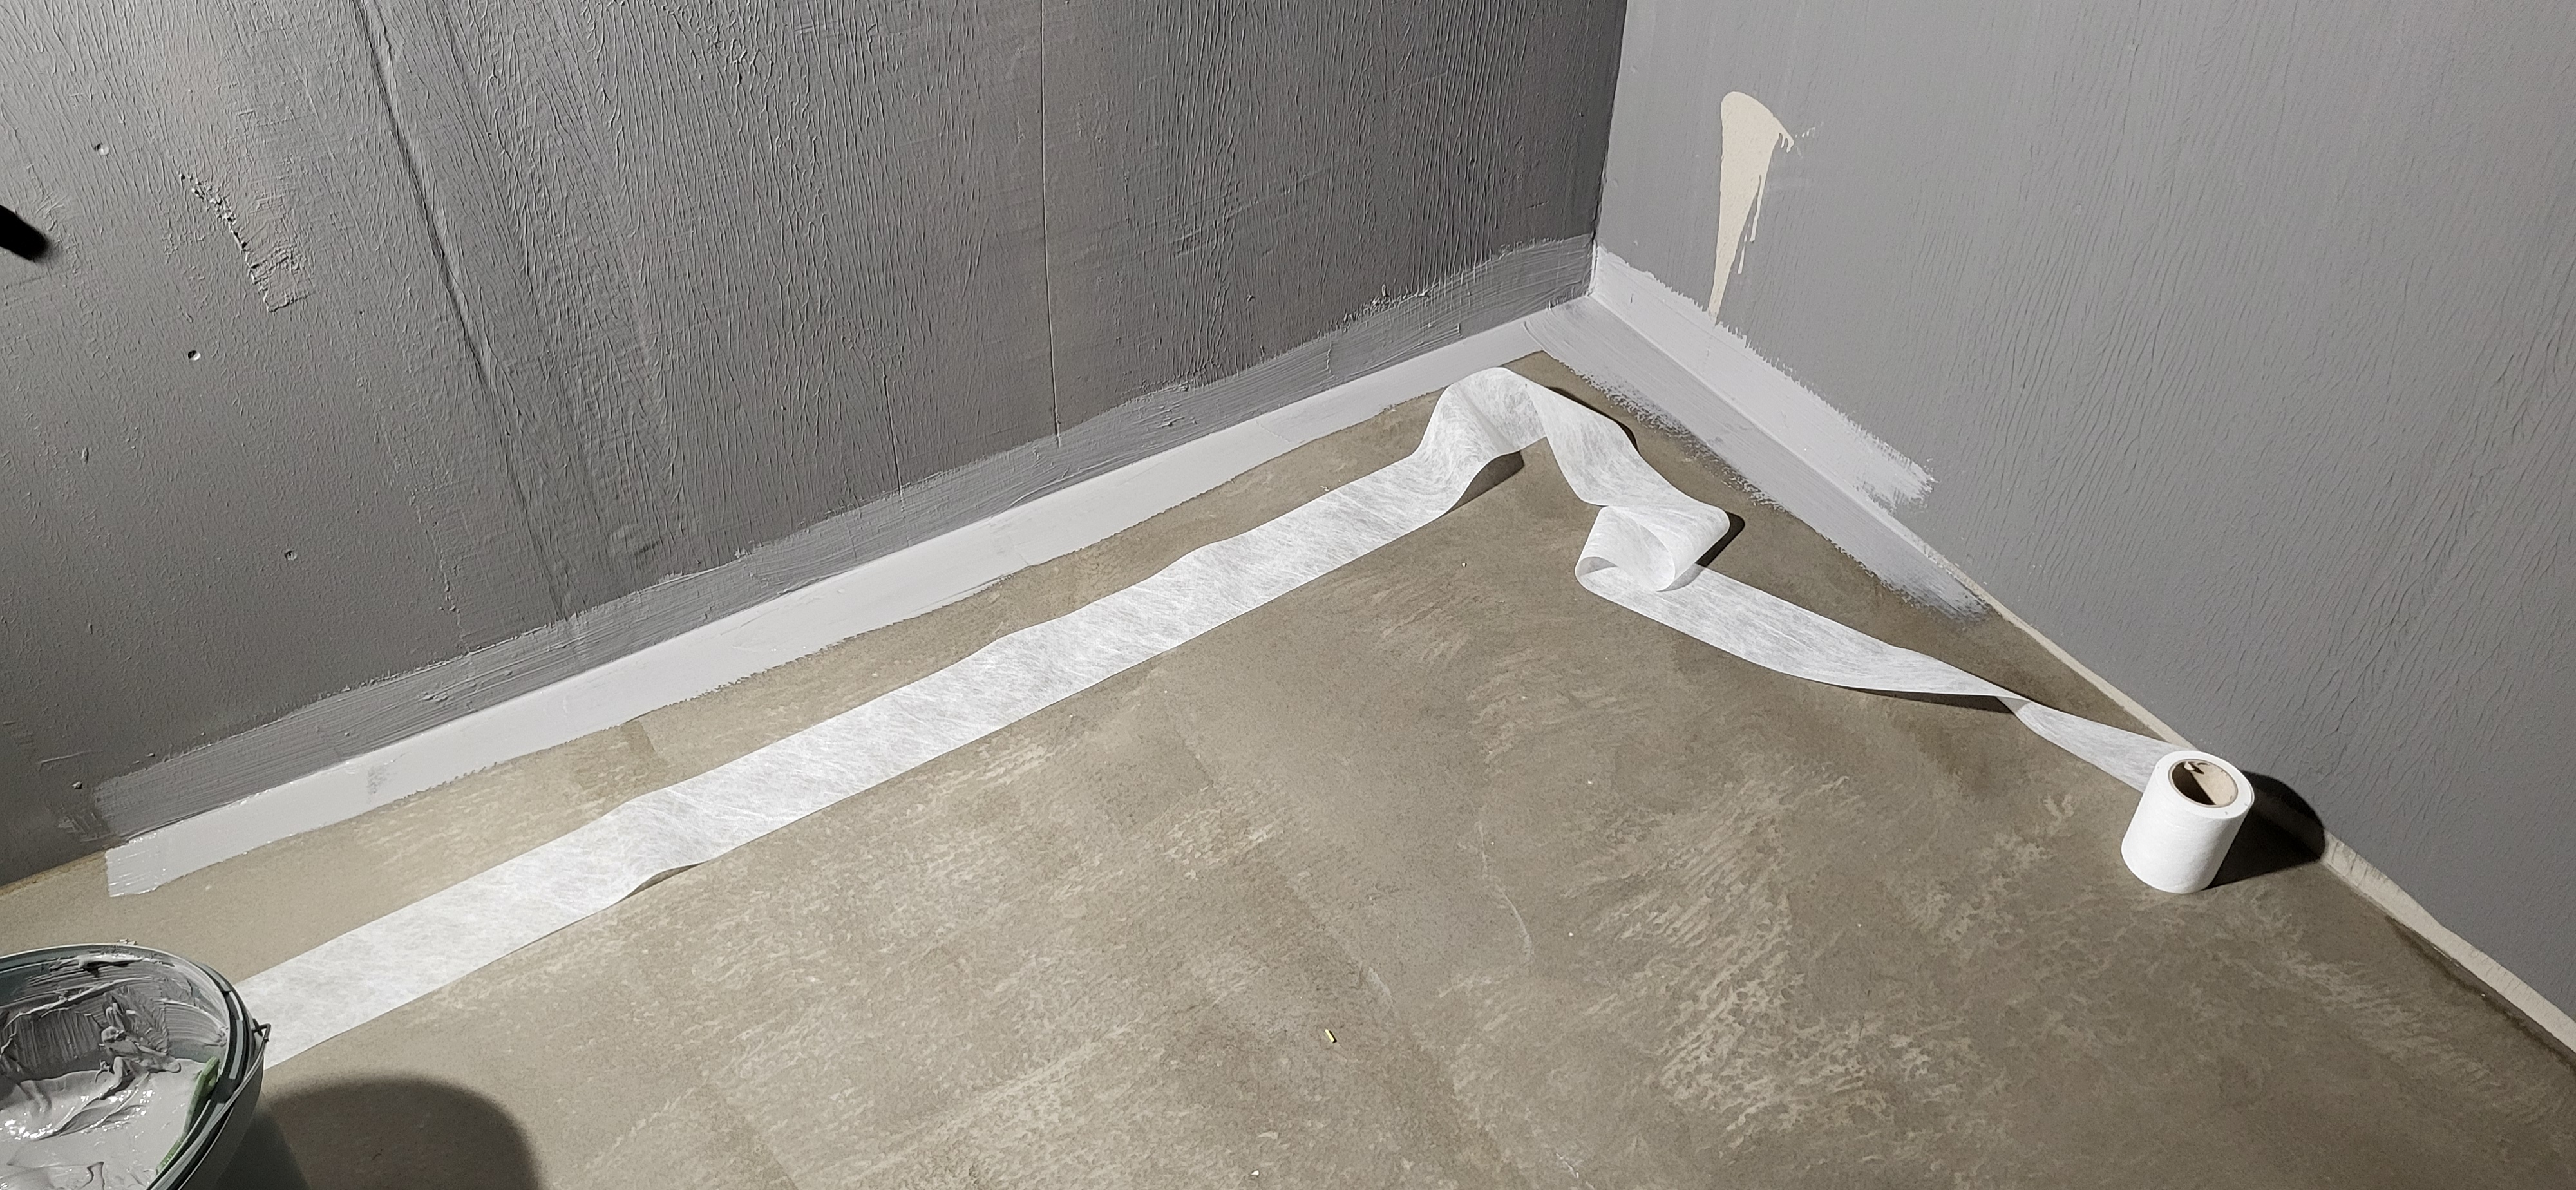
By folding the tape in the middle, we carefully start gluing from left to right.
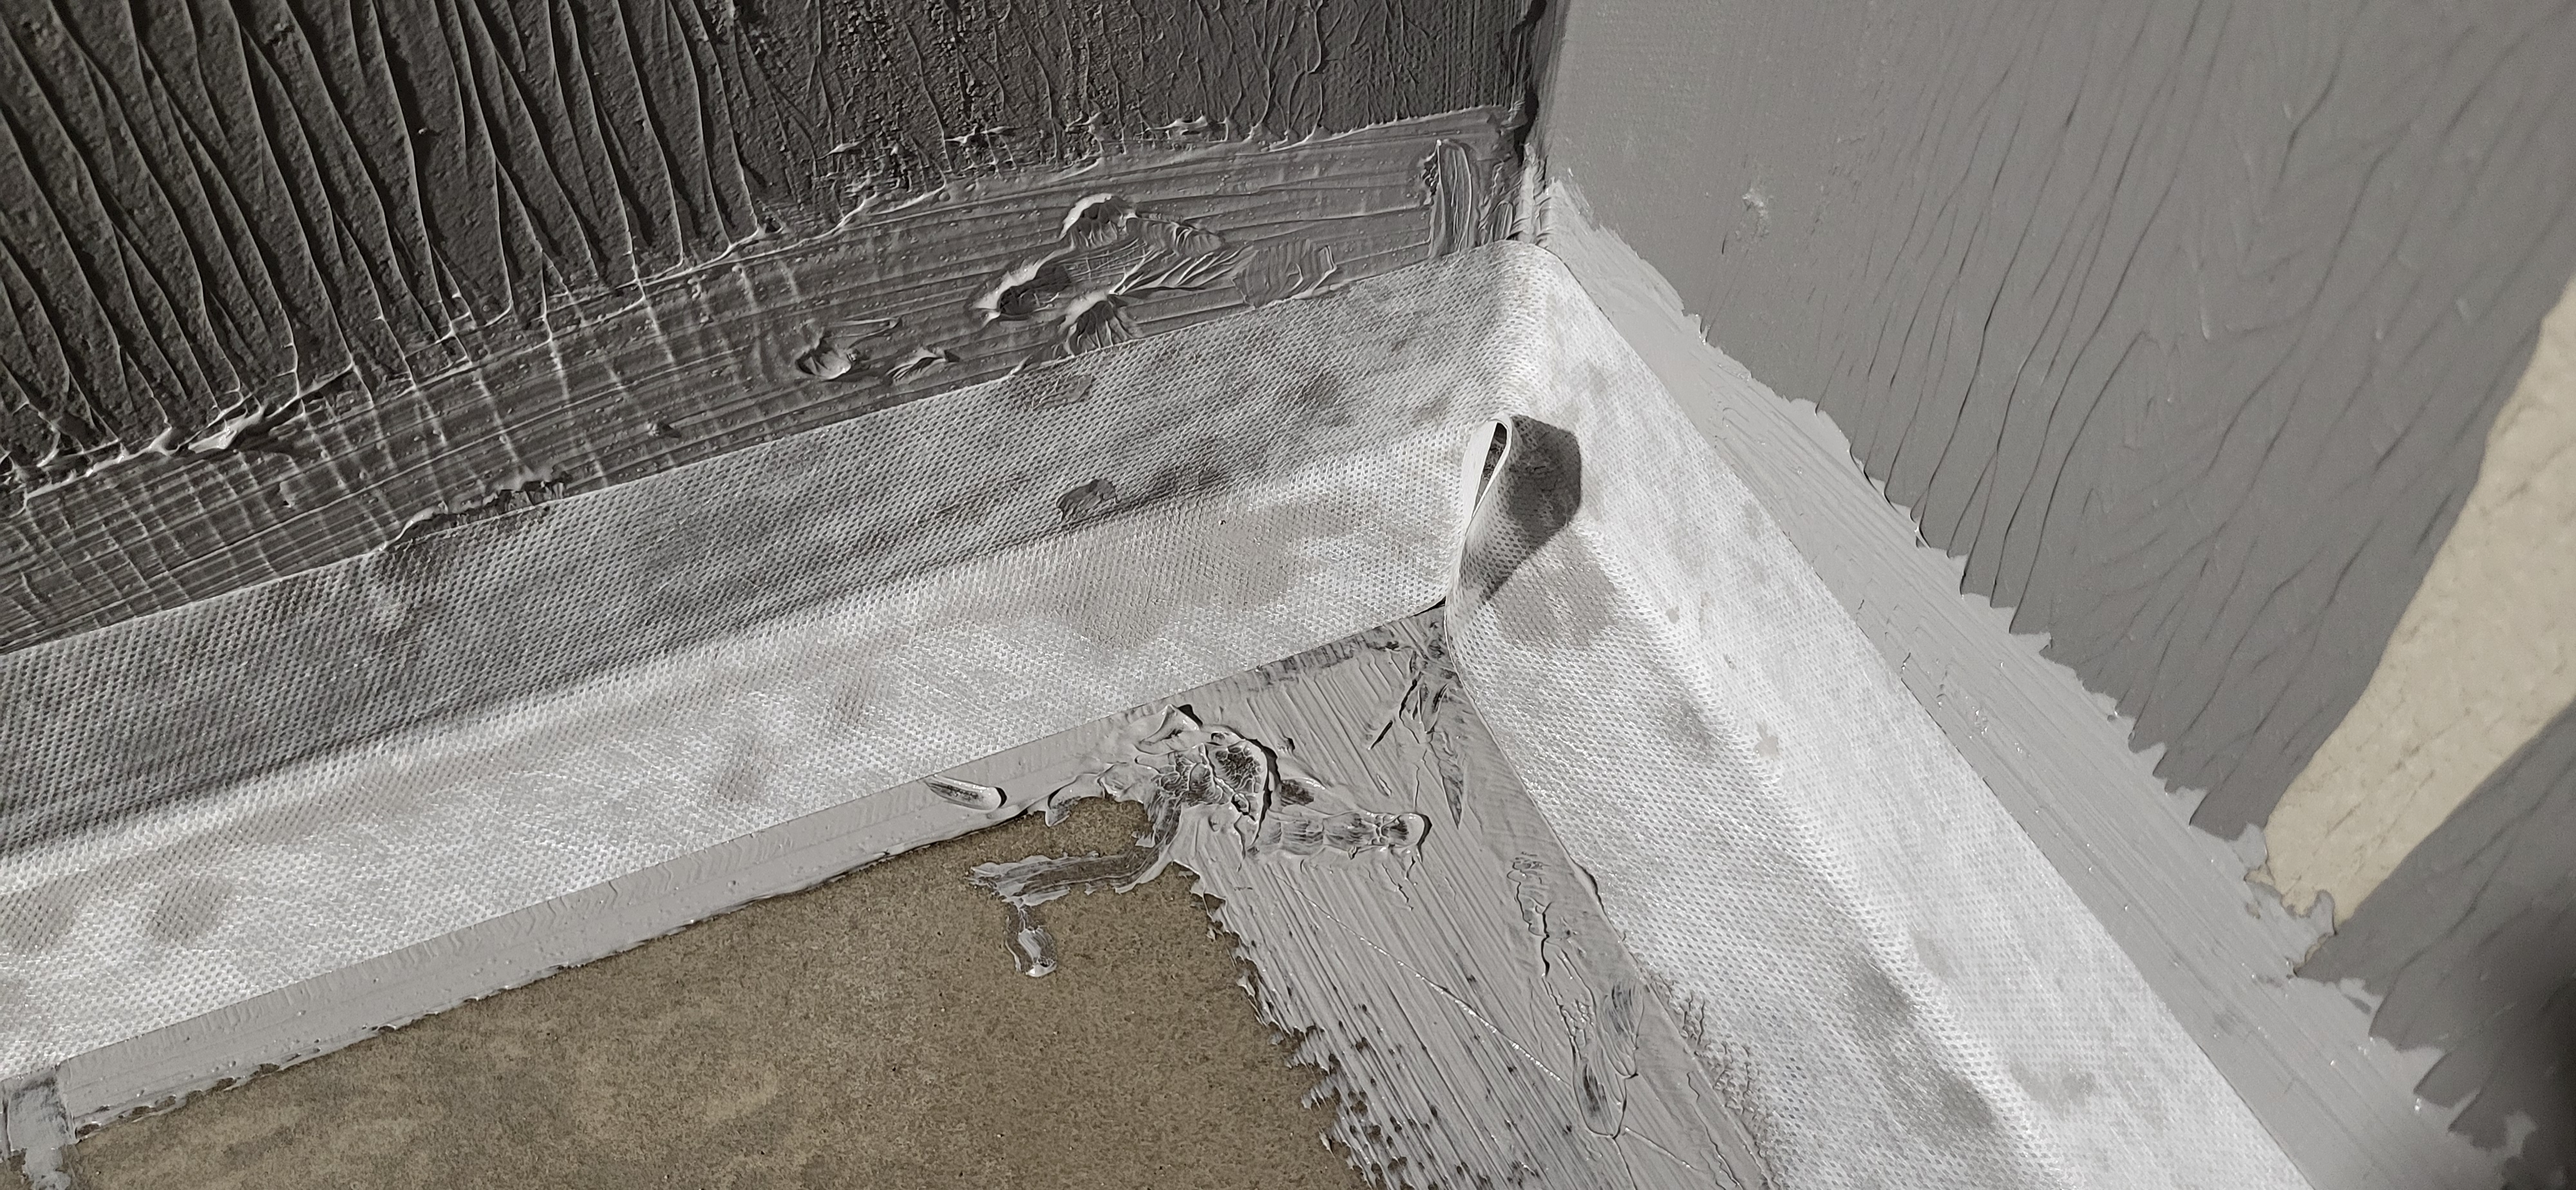
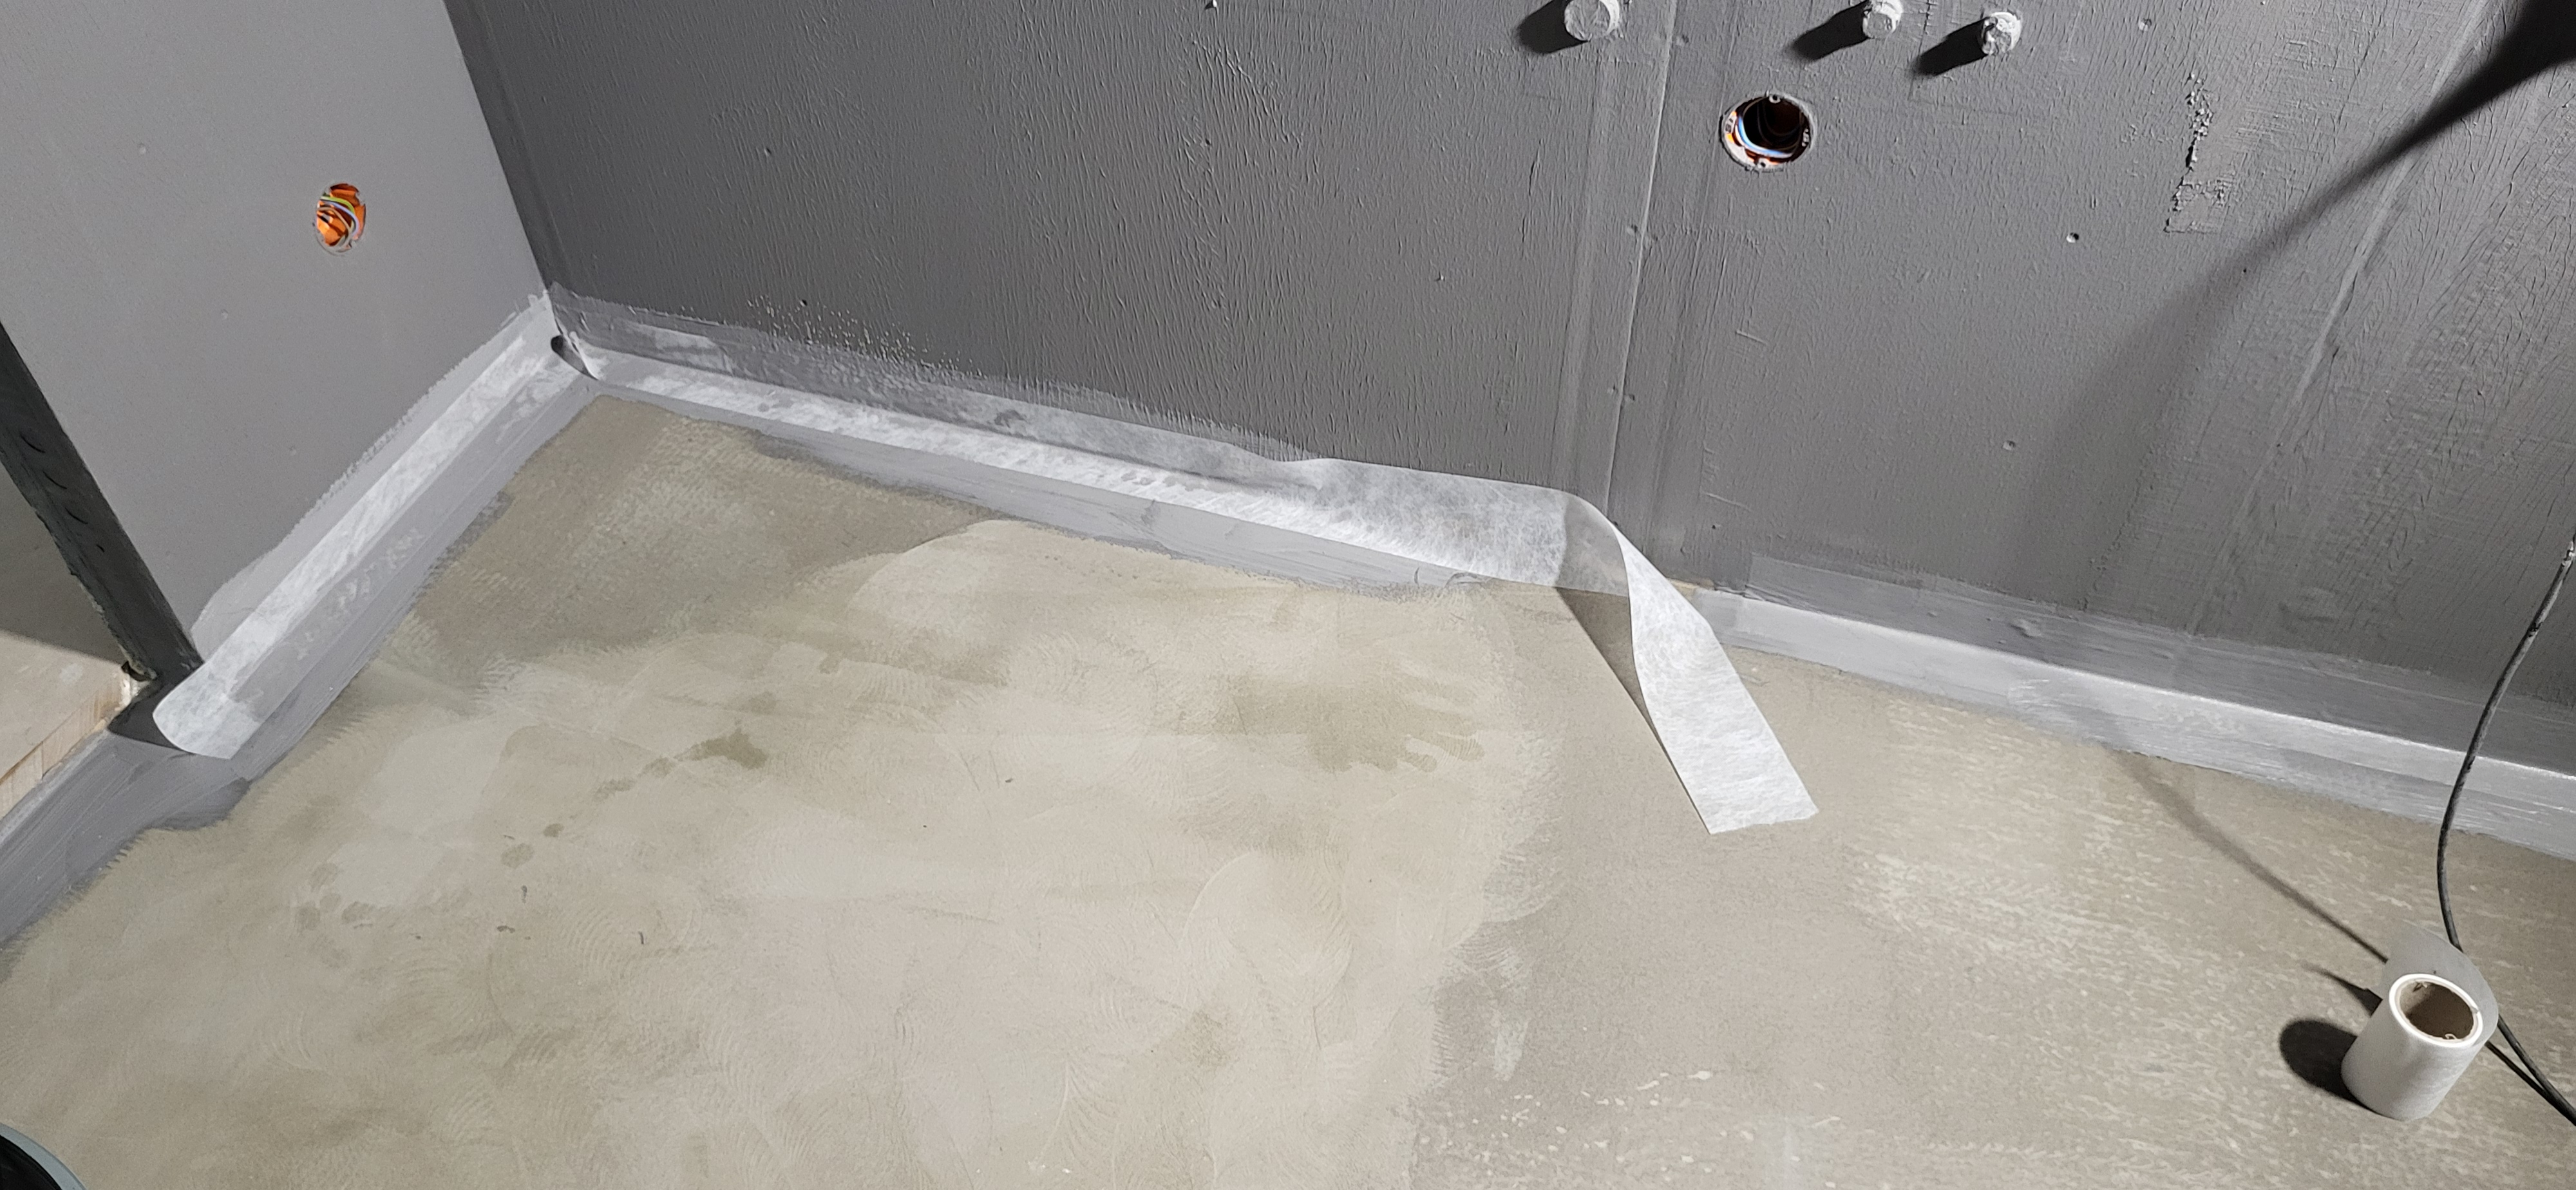
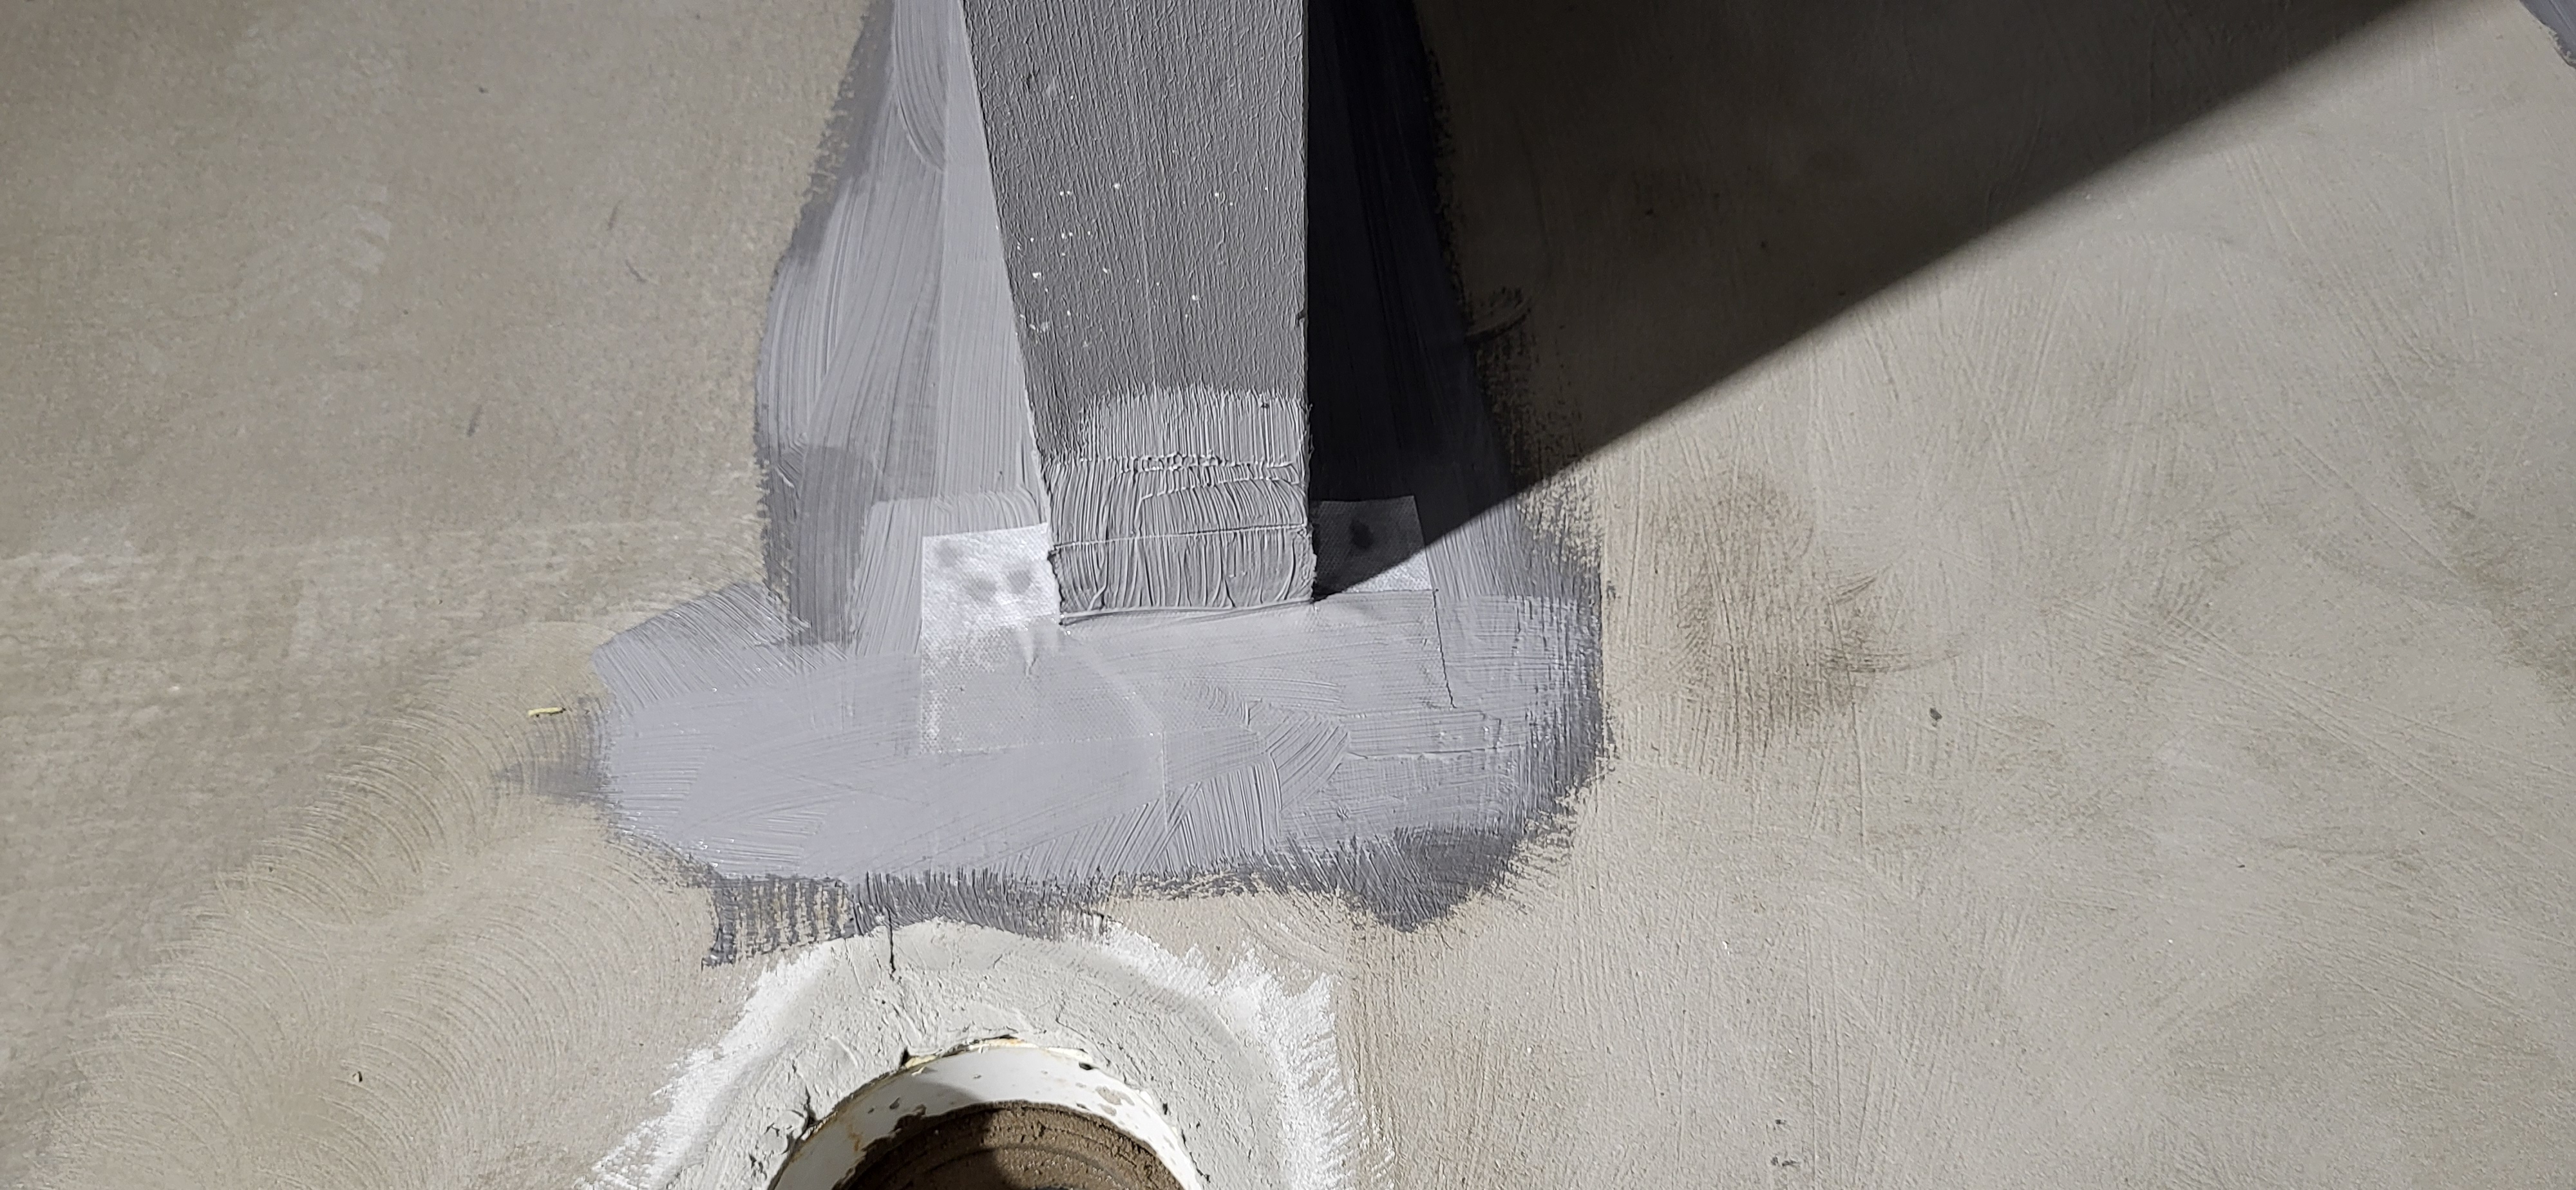
And here's the most important difference: we don't cut the tape, but continue to apply it continuously along the entire length of the shower. In the internal corner, we make an "envelope" system, as shown in the photo above.
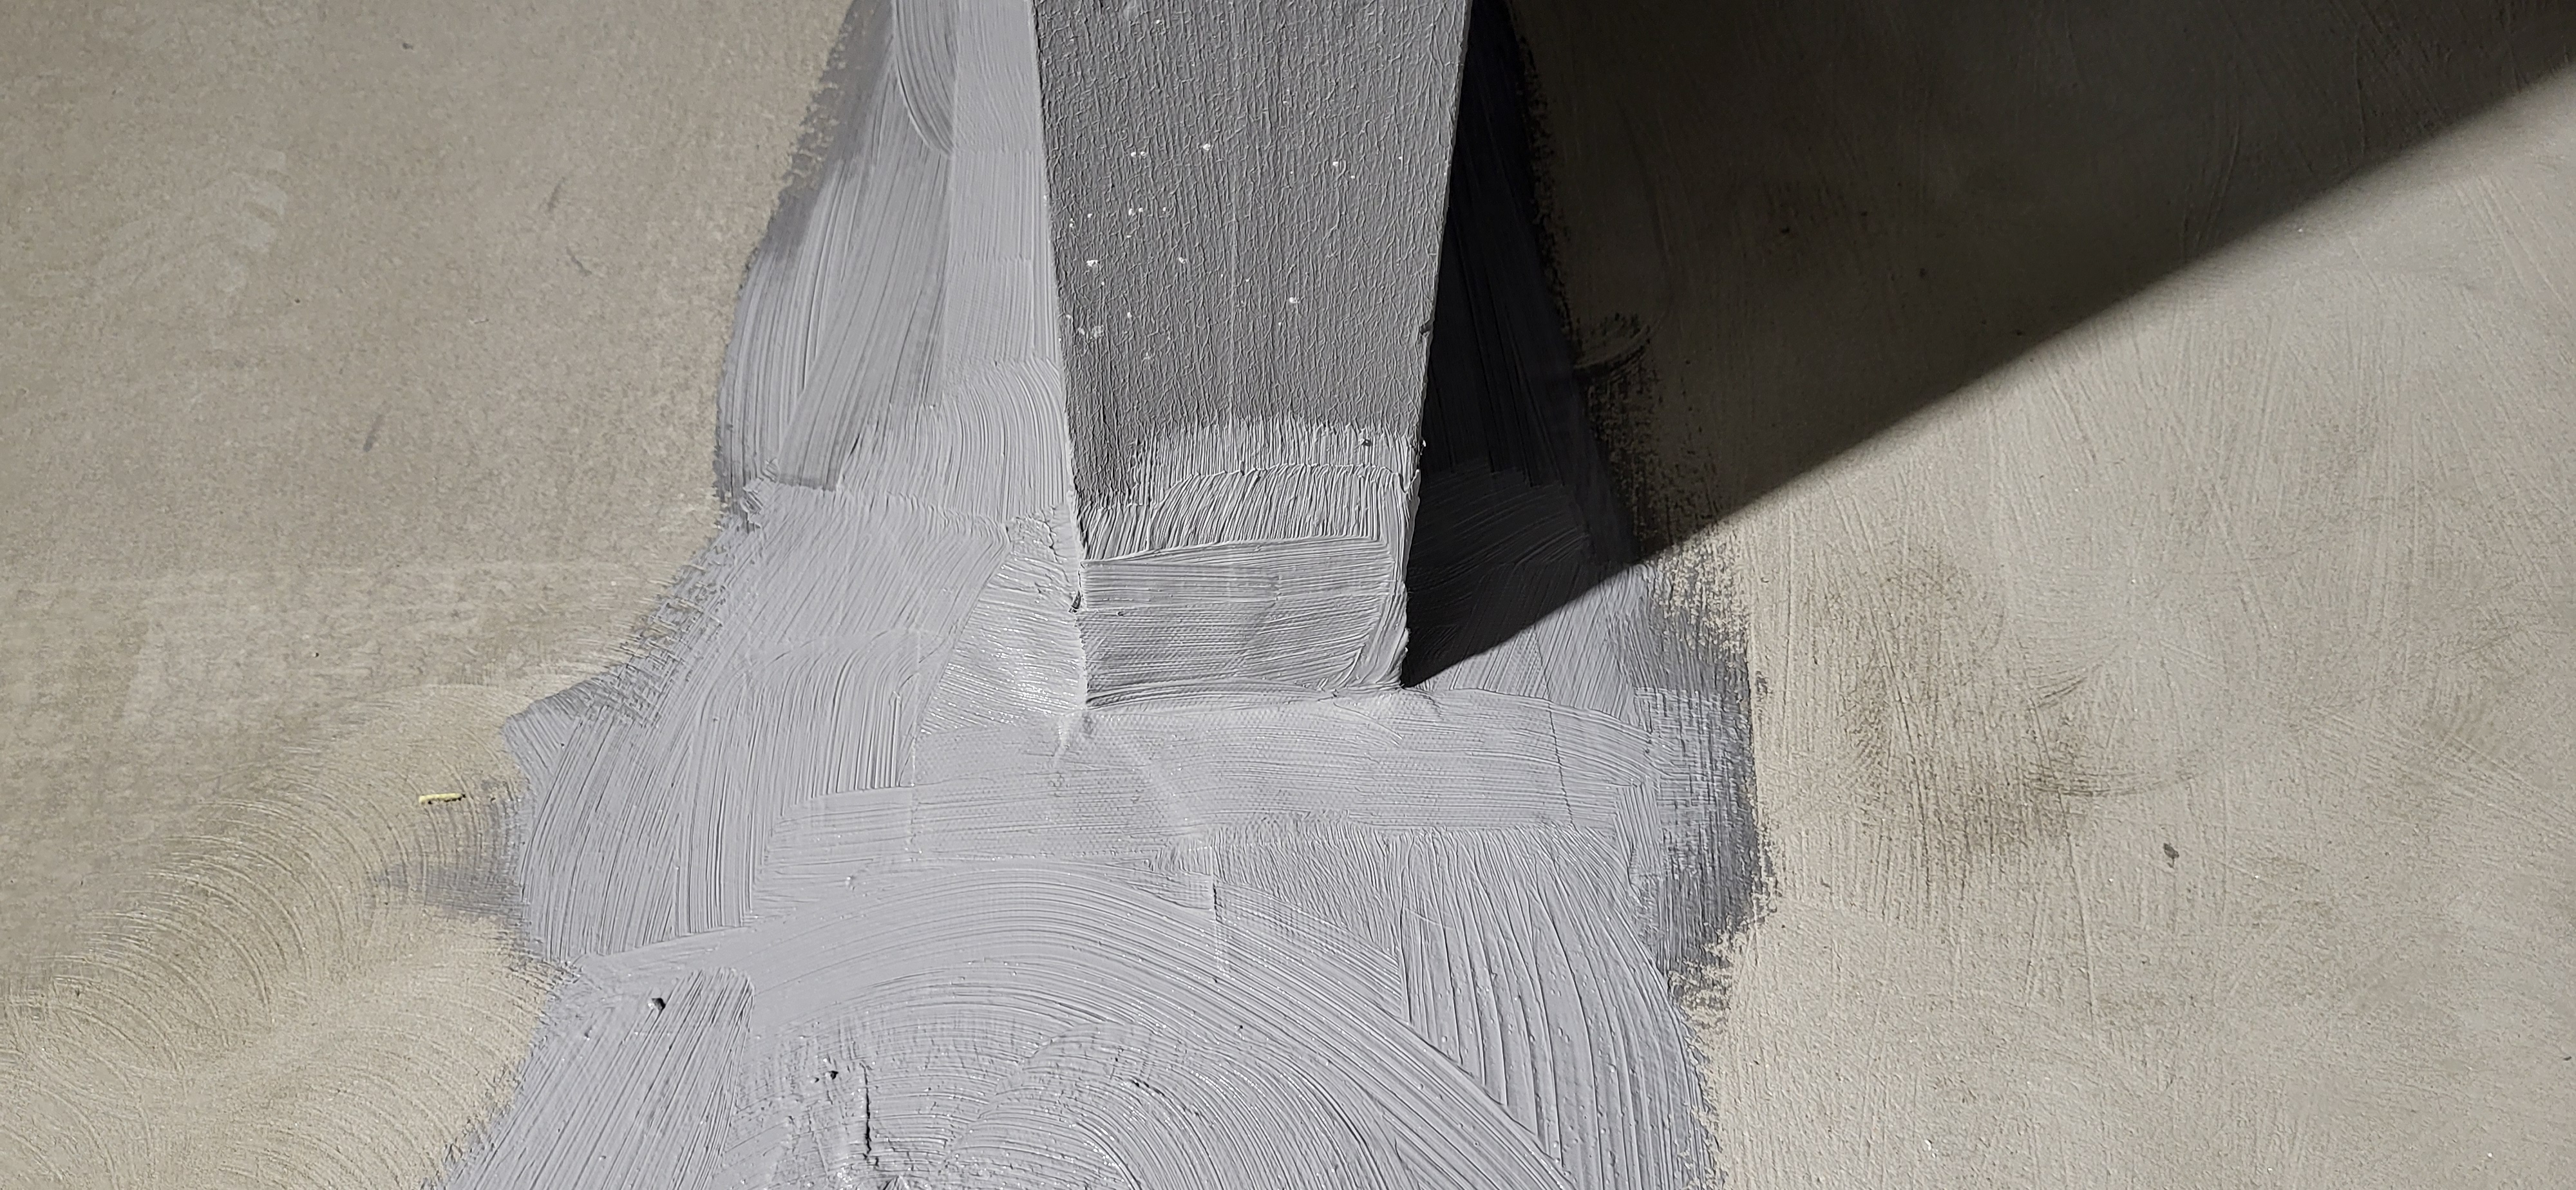
Now we apply waterproofing sealant over the tape and smooth the envelope in one direction.
Next, we proceed the same way through the entire shower. We reach the starting point and make a 10 cm overlap.
External corners can be reinforced either with special ready-made inserts or done the way I do it.

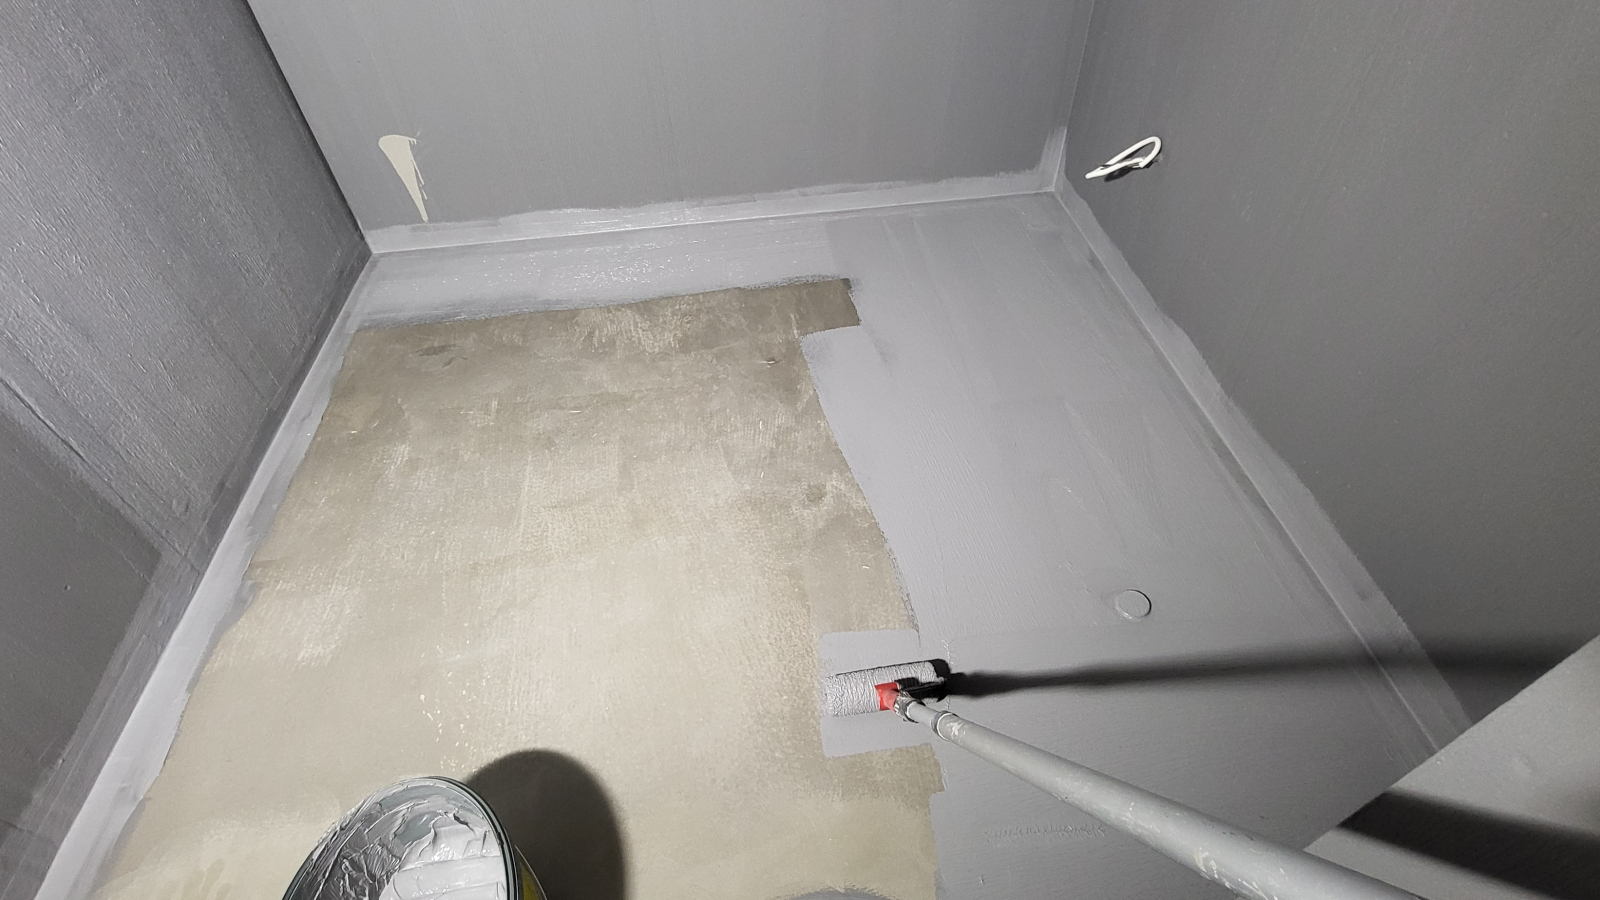
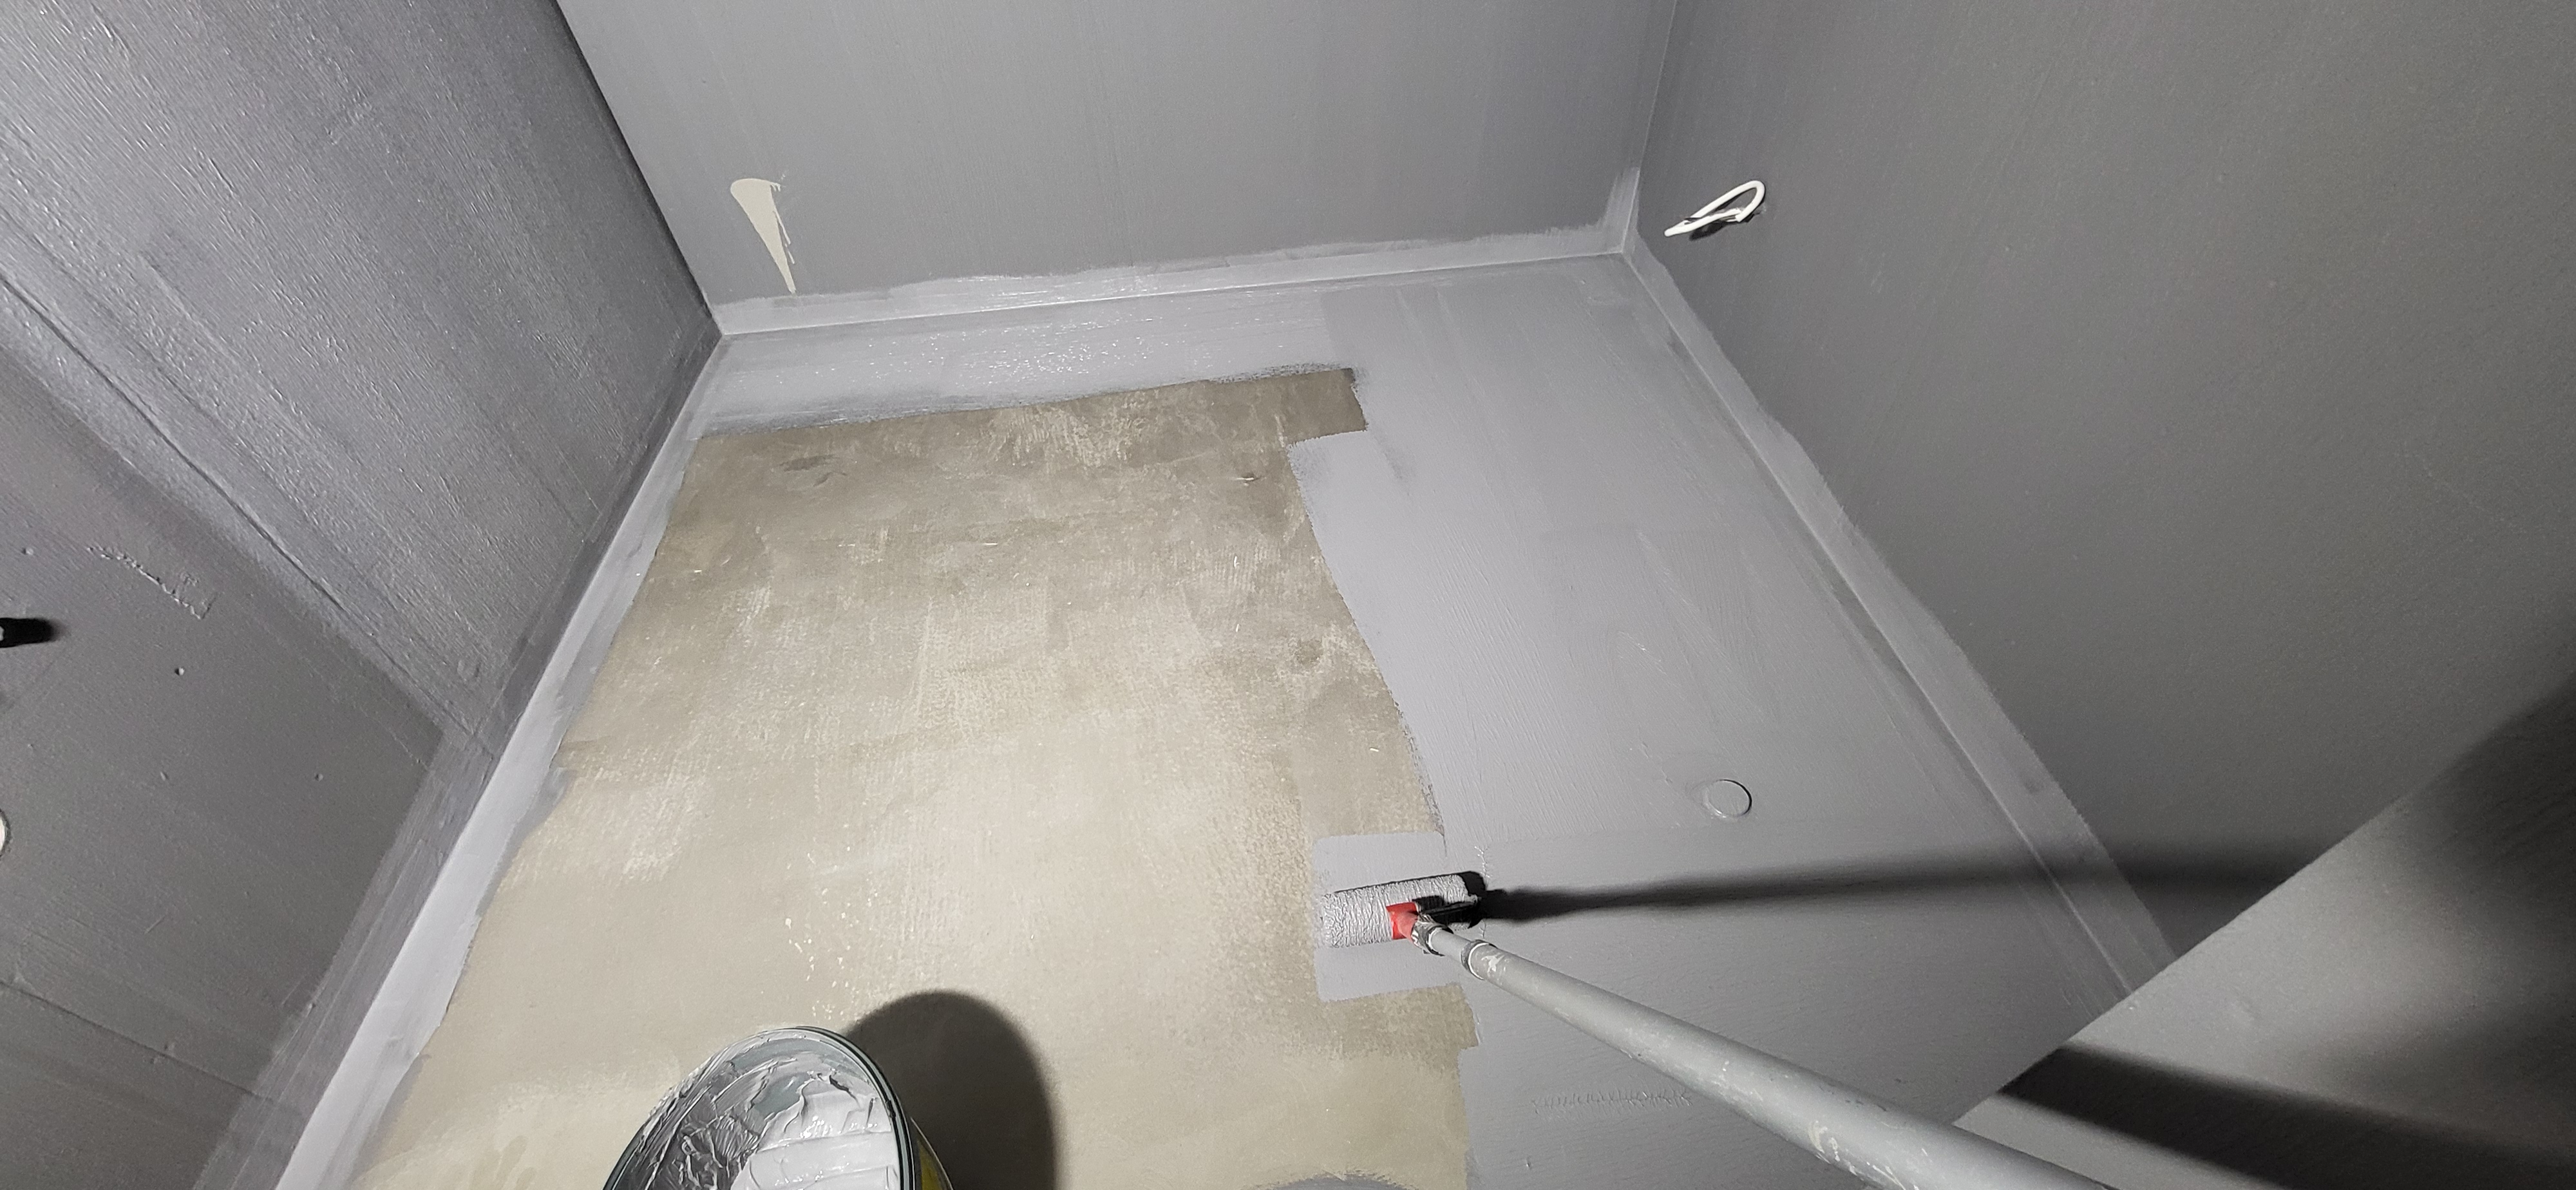
Next, using a roller, we begin applying waterproofing over the entire shower floor area. Apply the first coat generously to get an even layer.
After the waterproofing dries, repeat the operation. Keep in mind: with the correct application technique, consumption should be 1 kg of sealant per 1 m².
Also read from this series
- Part 1: Complete guide to shower waterproofing — types of waterproofing, material selection, corner reinforcement on walls.
- Part 2: Waterproofing plumbing outlets — how to seal outlets for a mixer and sink using special overlays.
Leave your comments.

No comments yet.