

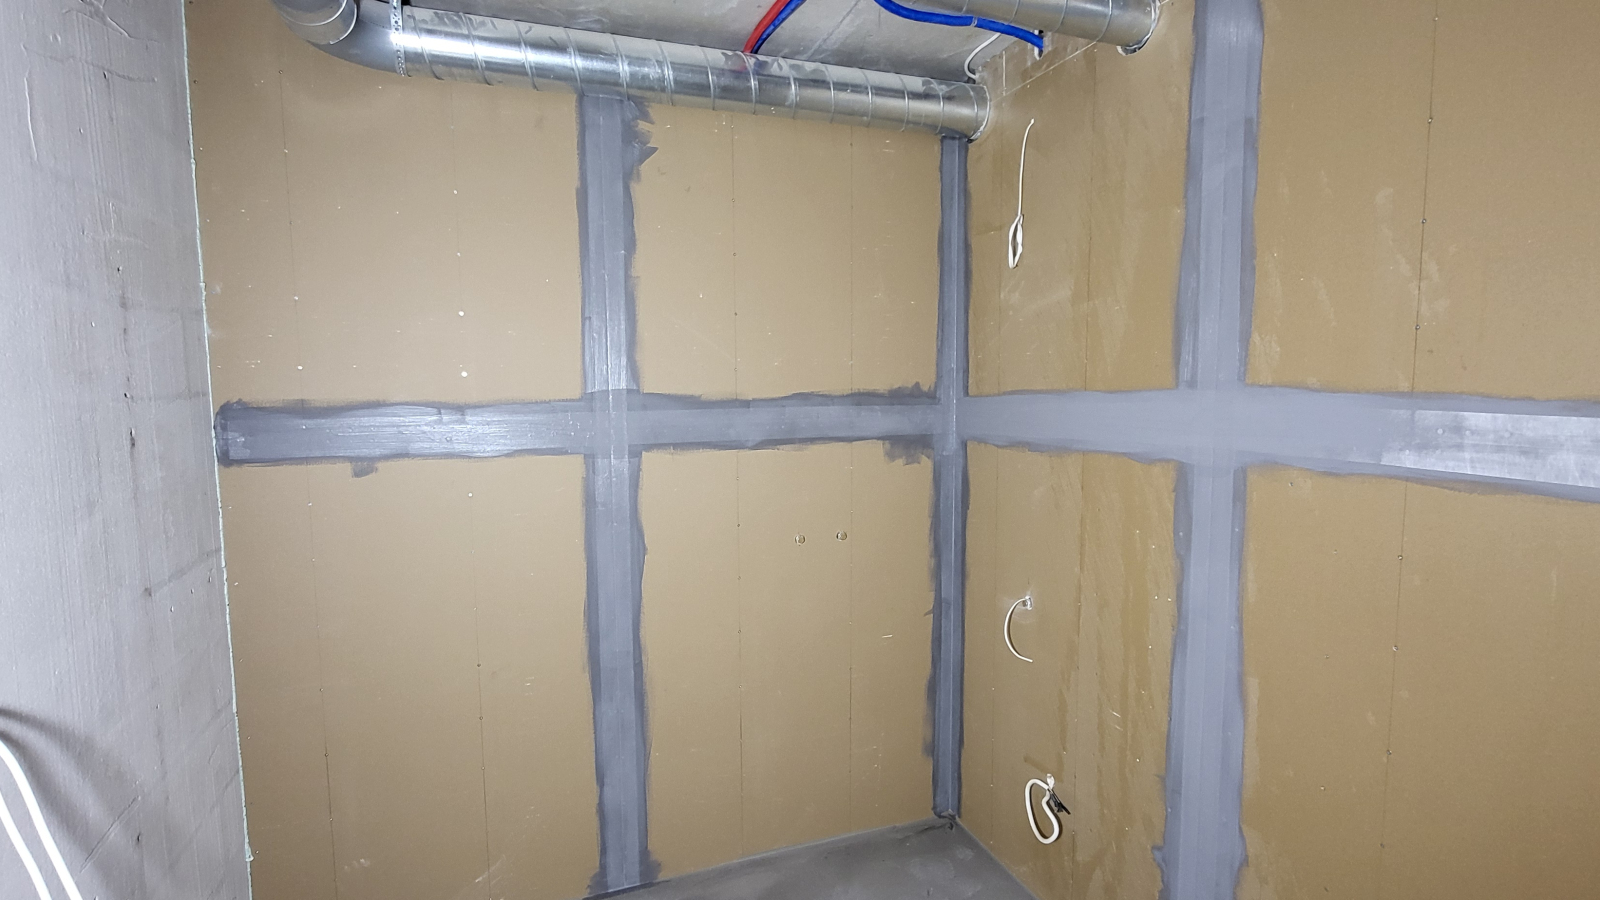
We continue to explore how to waterproof a shower with your own hands. In the first part of the shower waterproofing guide, I showed what types of waterproofing exist and how to properly reinforce corners and joints on walls.
Now I'll tell you how to waterproof around water supply outlets.
📋 Series of articles on shower waterproofing:
- Part 1: Complete guide — materials and walls
- Part 2: Waterproofing plumbing outlets (you are here)
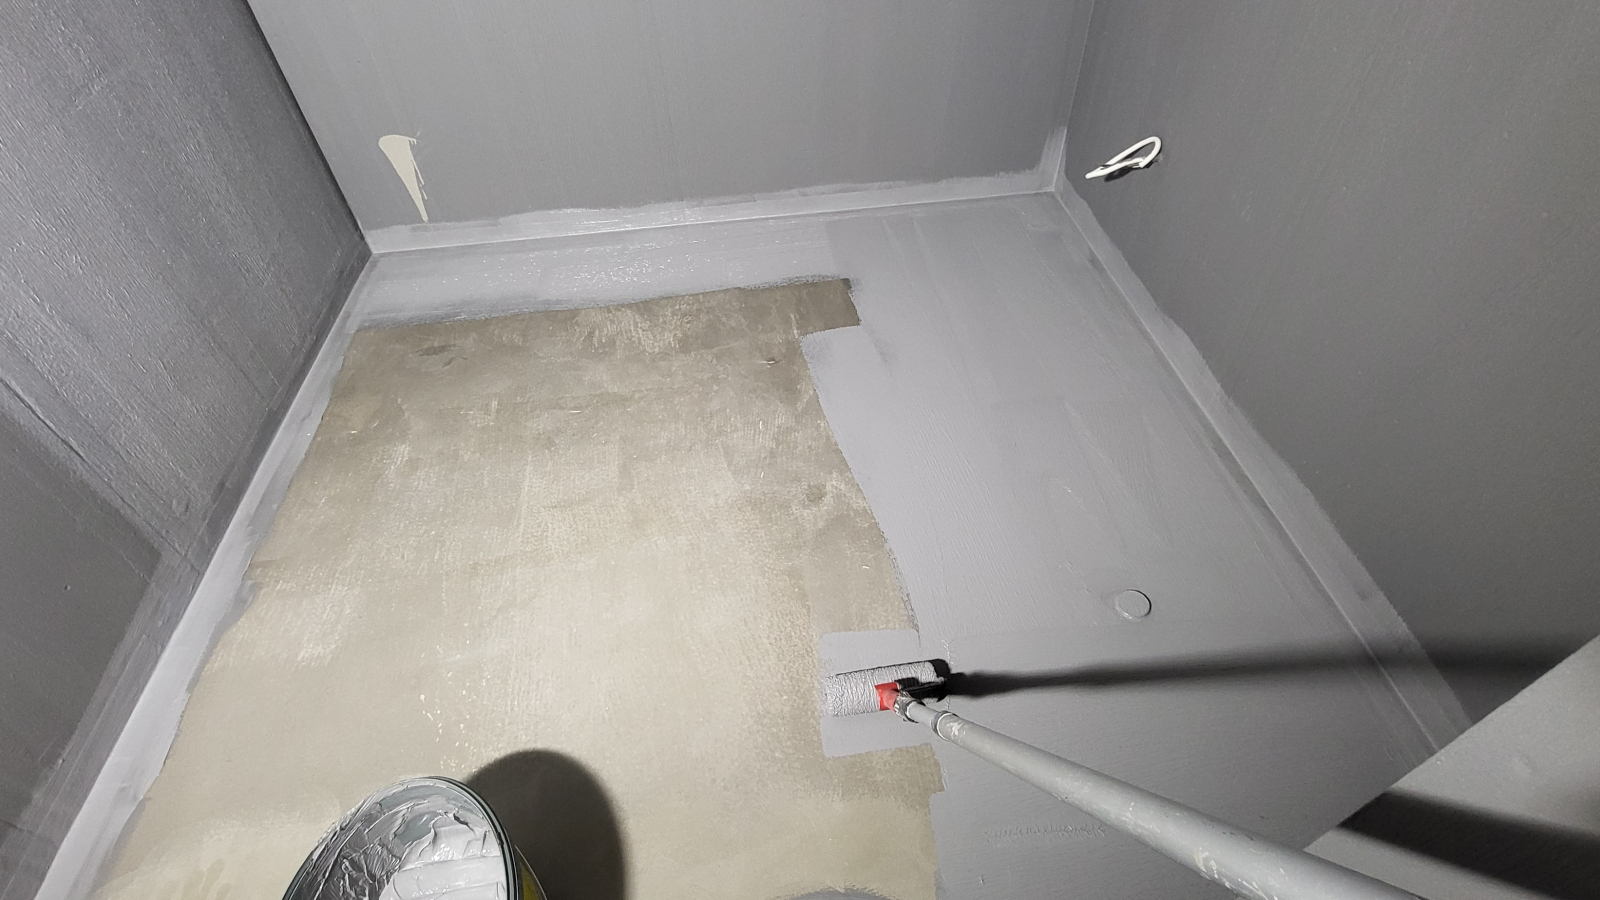
- Part 3: Reinforcing wall-floor corners and applying to the floor
Outlets are a very important part; if done incorrectly or if an error is missed, the consequences can be quite serious. What materials will you need? Currently, there are such overlays for outlets available for sale.
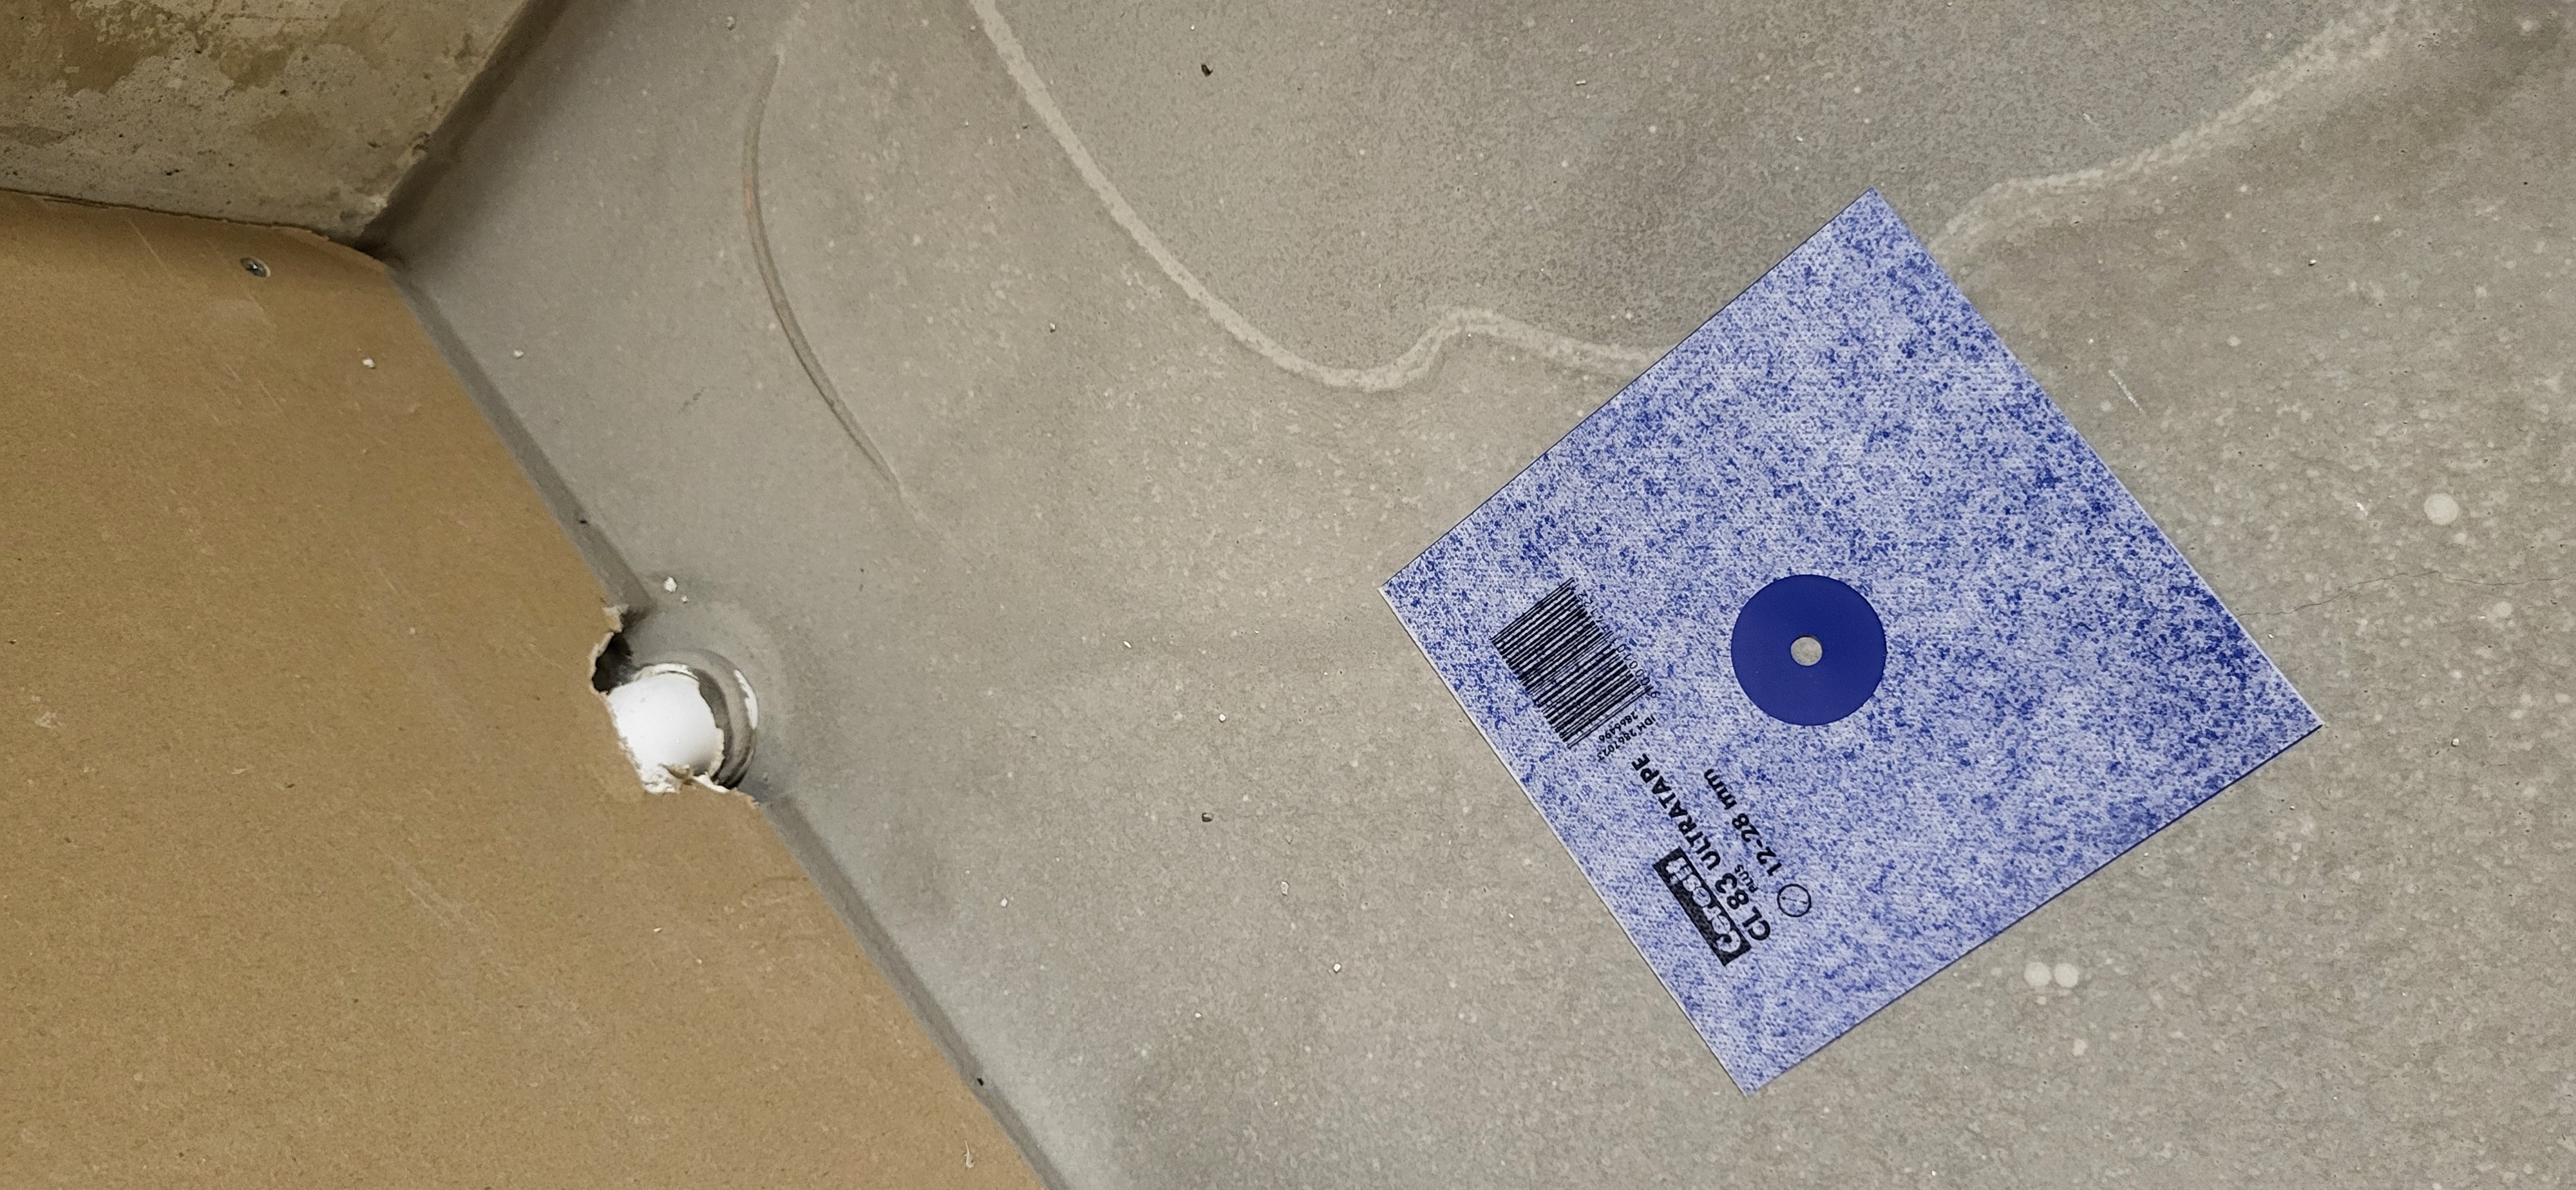
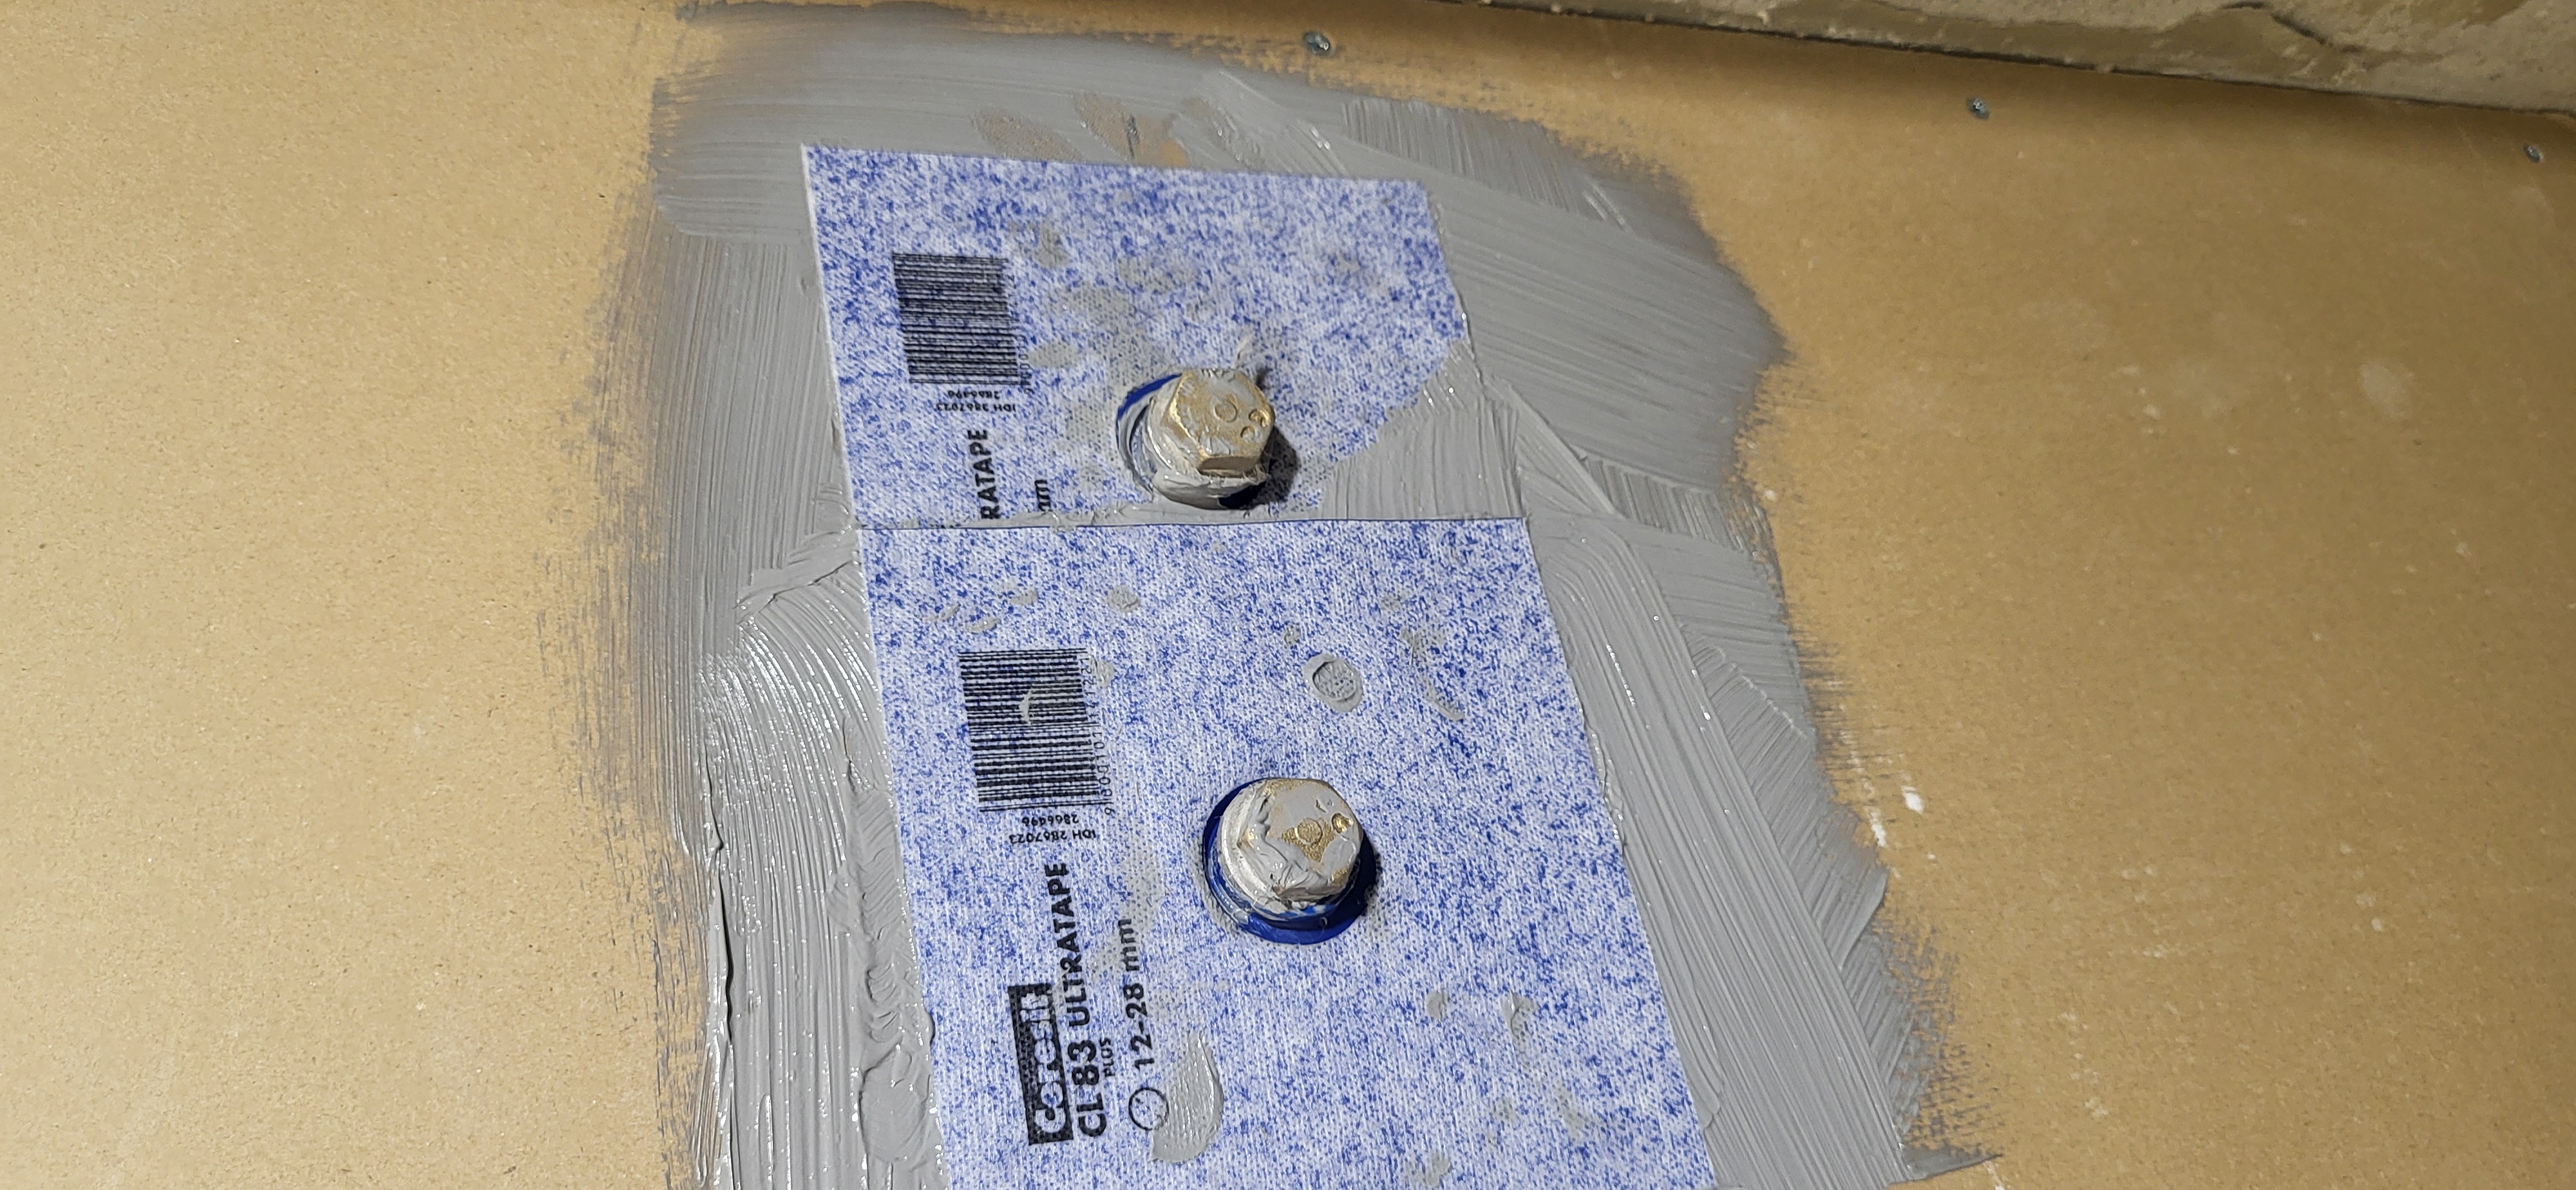
This is a special overlay for half-inch outlets, typically the most common size for mixer outlets and sink outlets.
Inside the overlay there is a special rubber insert.
How to waterproof around outlets using them.
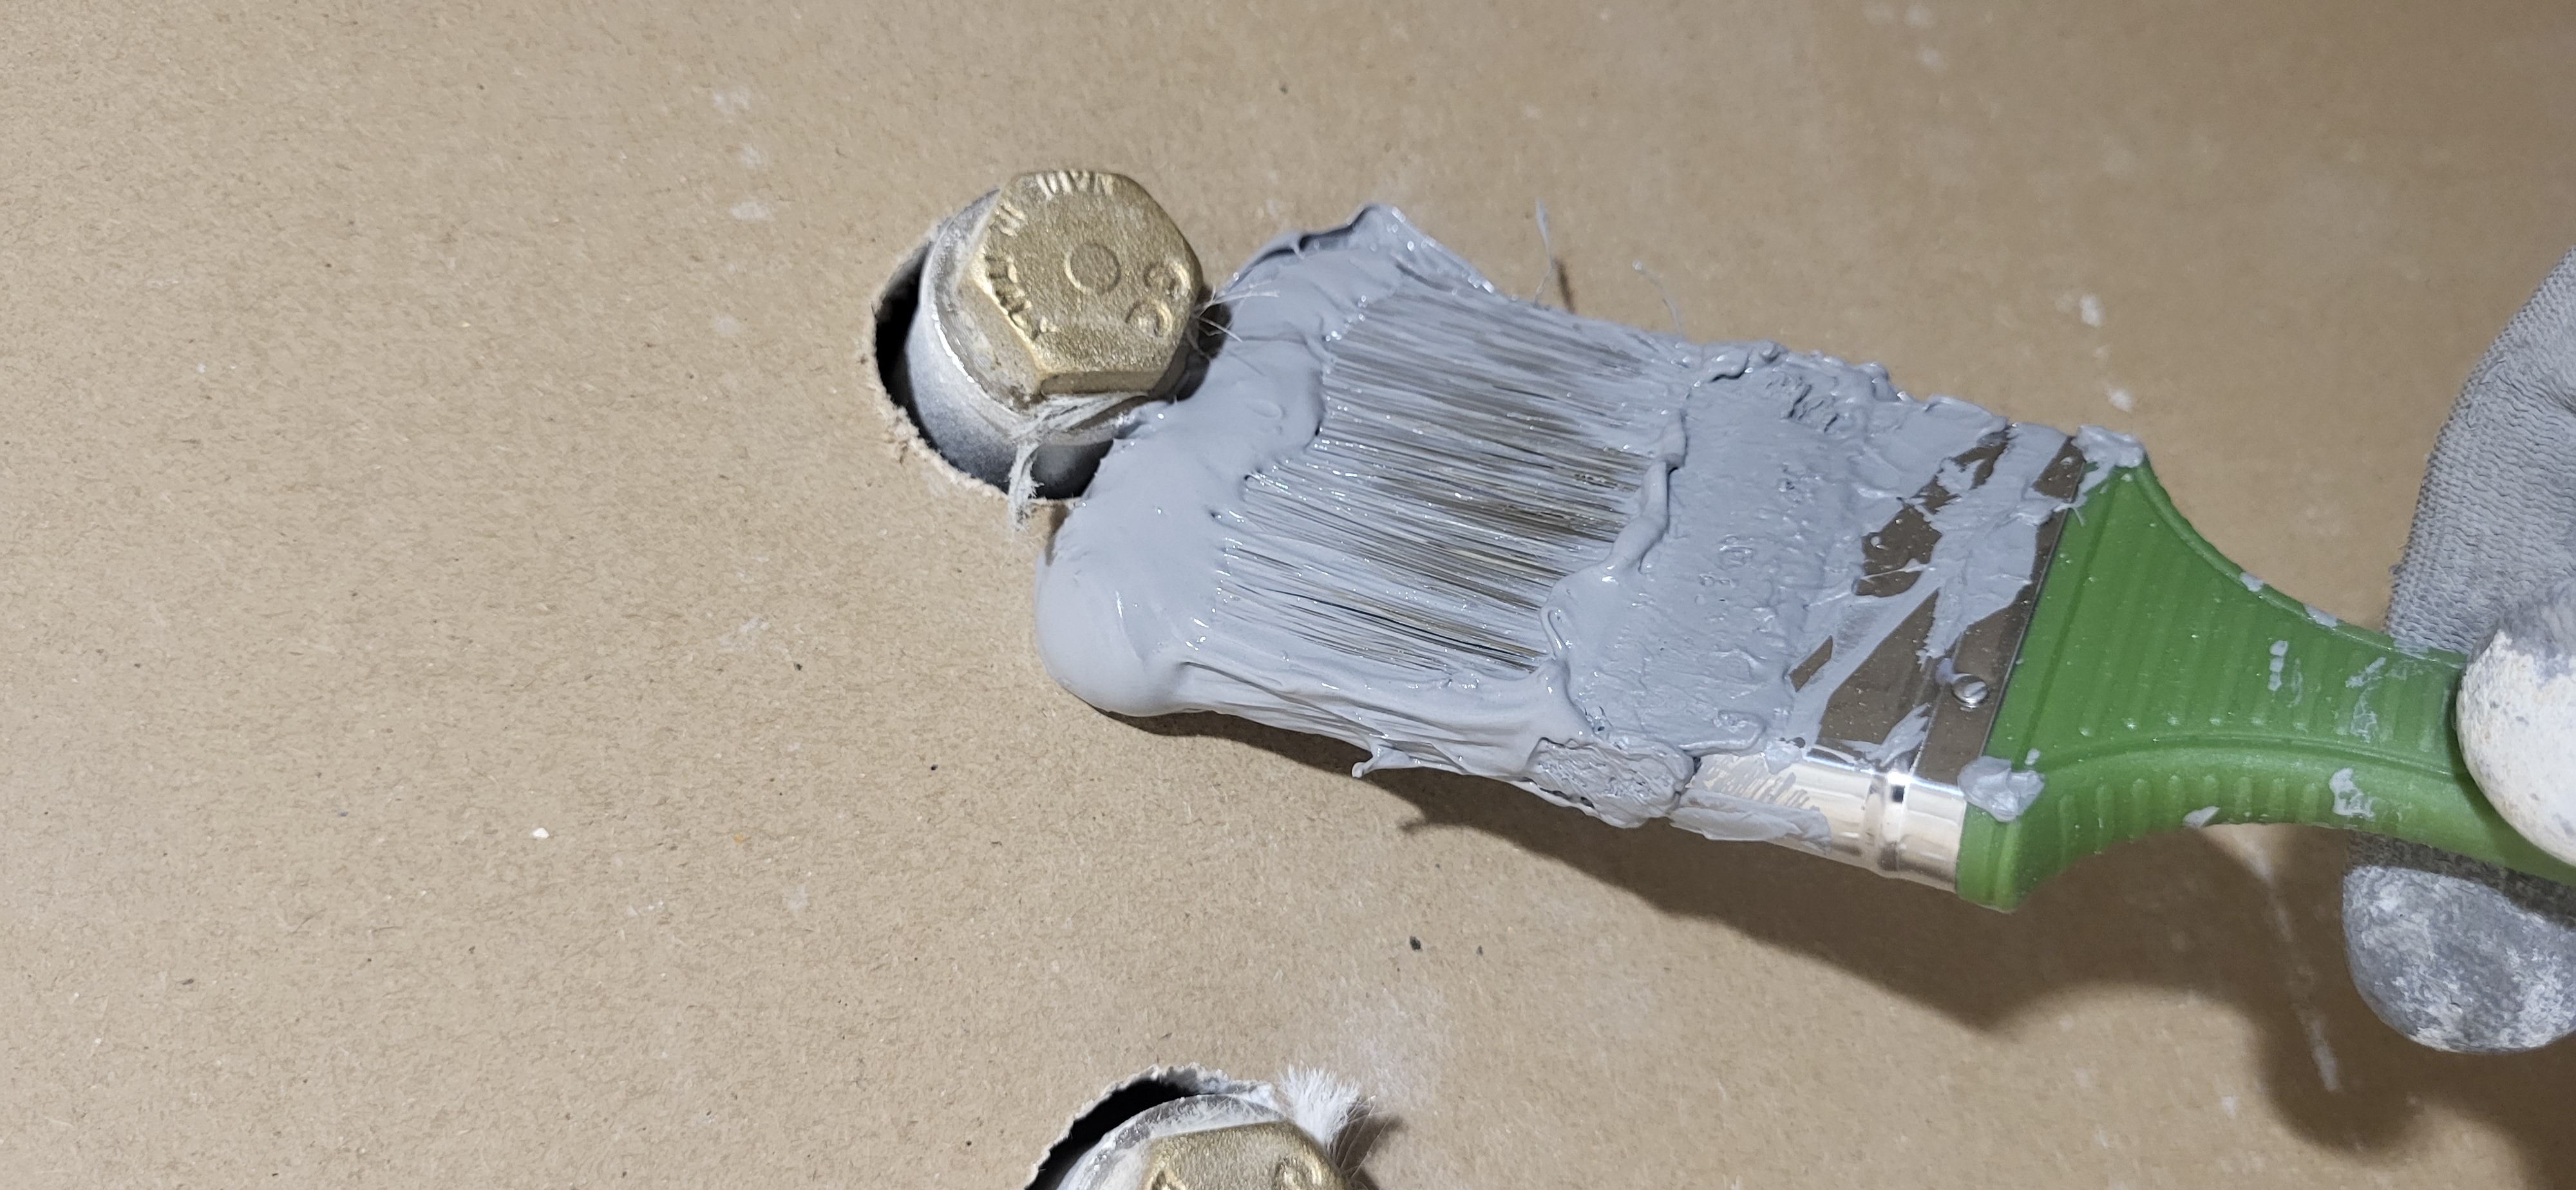
Apply waterproofing sealant webr.tec 822 quite generously around the outlets, approximately slightly larger in area than the overlay. Then carefully slide the overlay onto the outlet and level it.
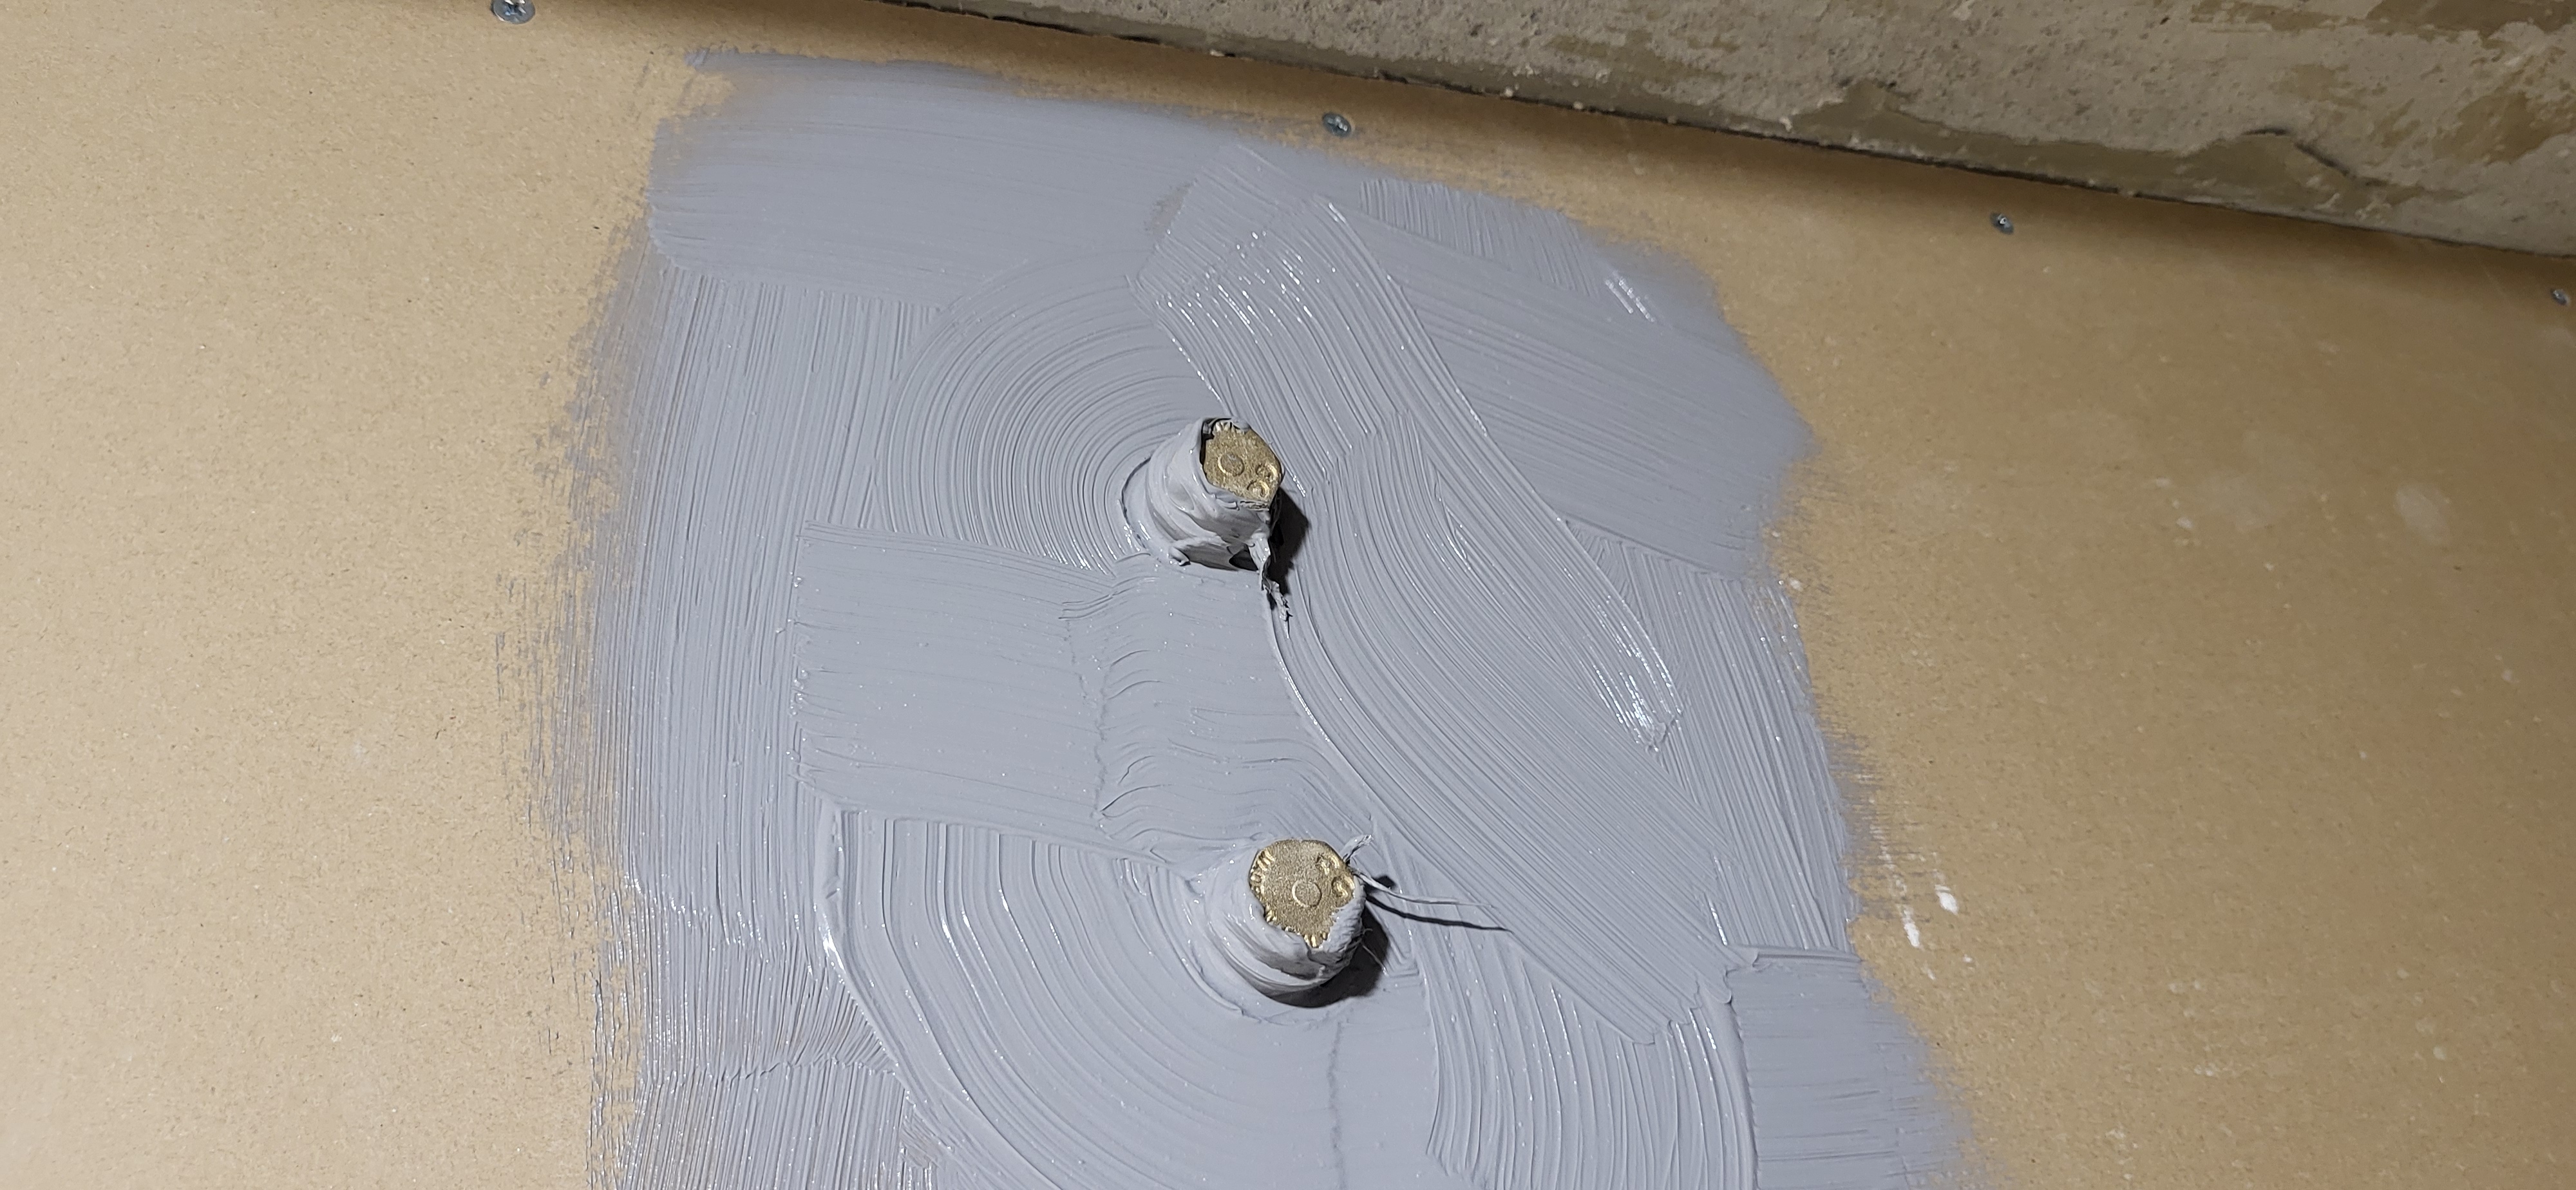
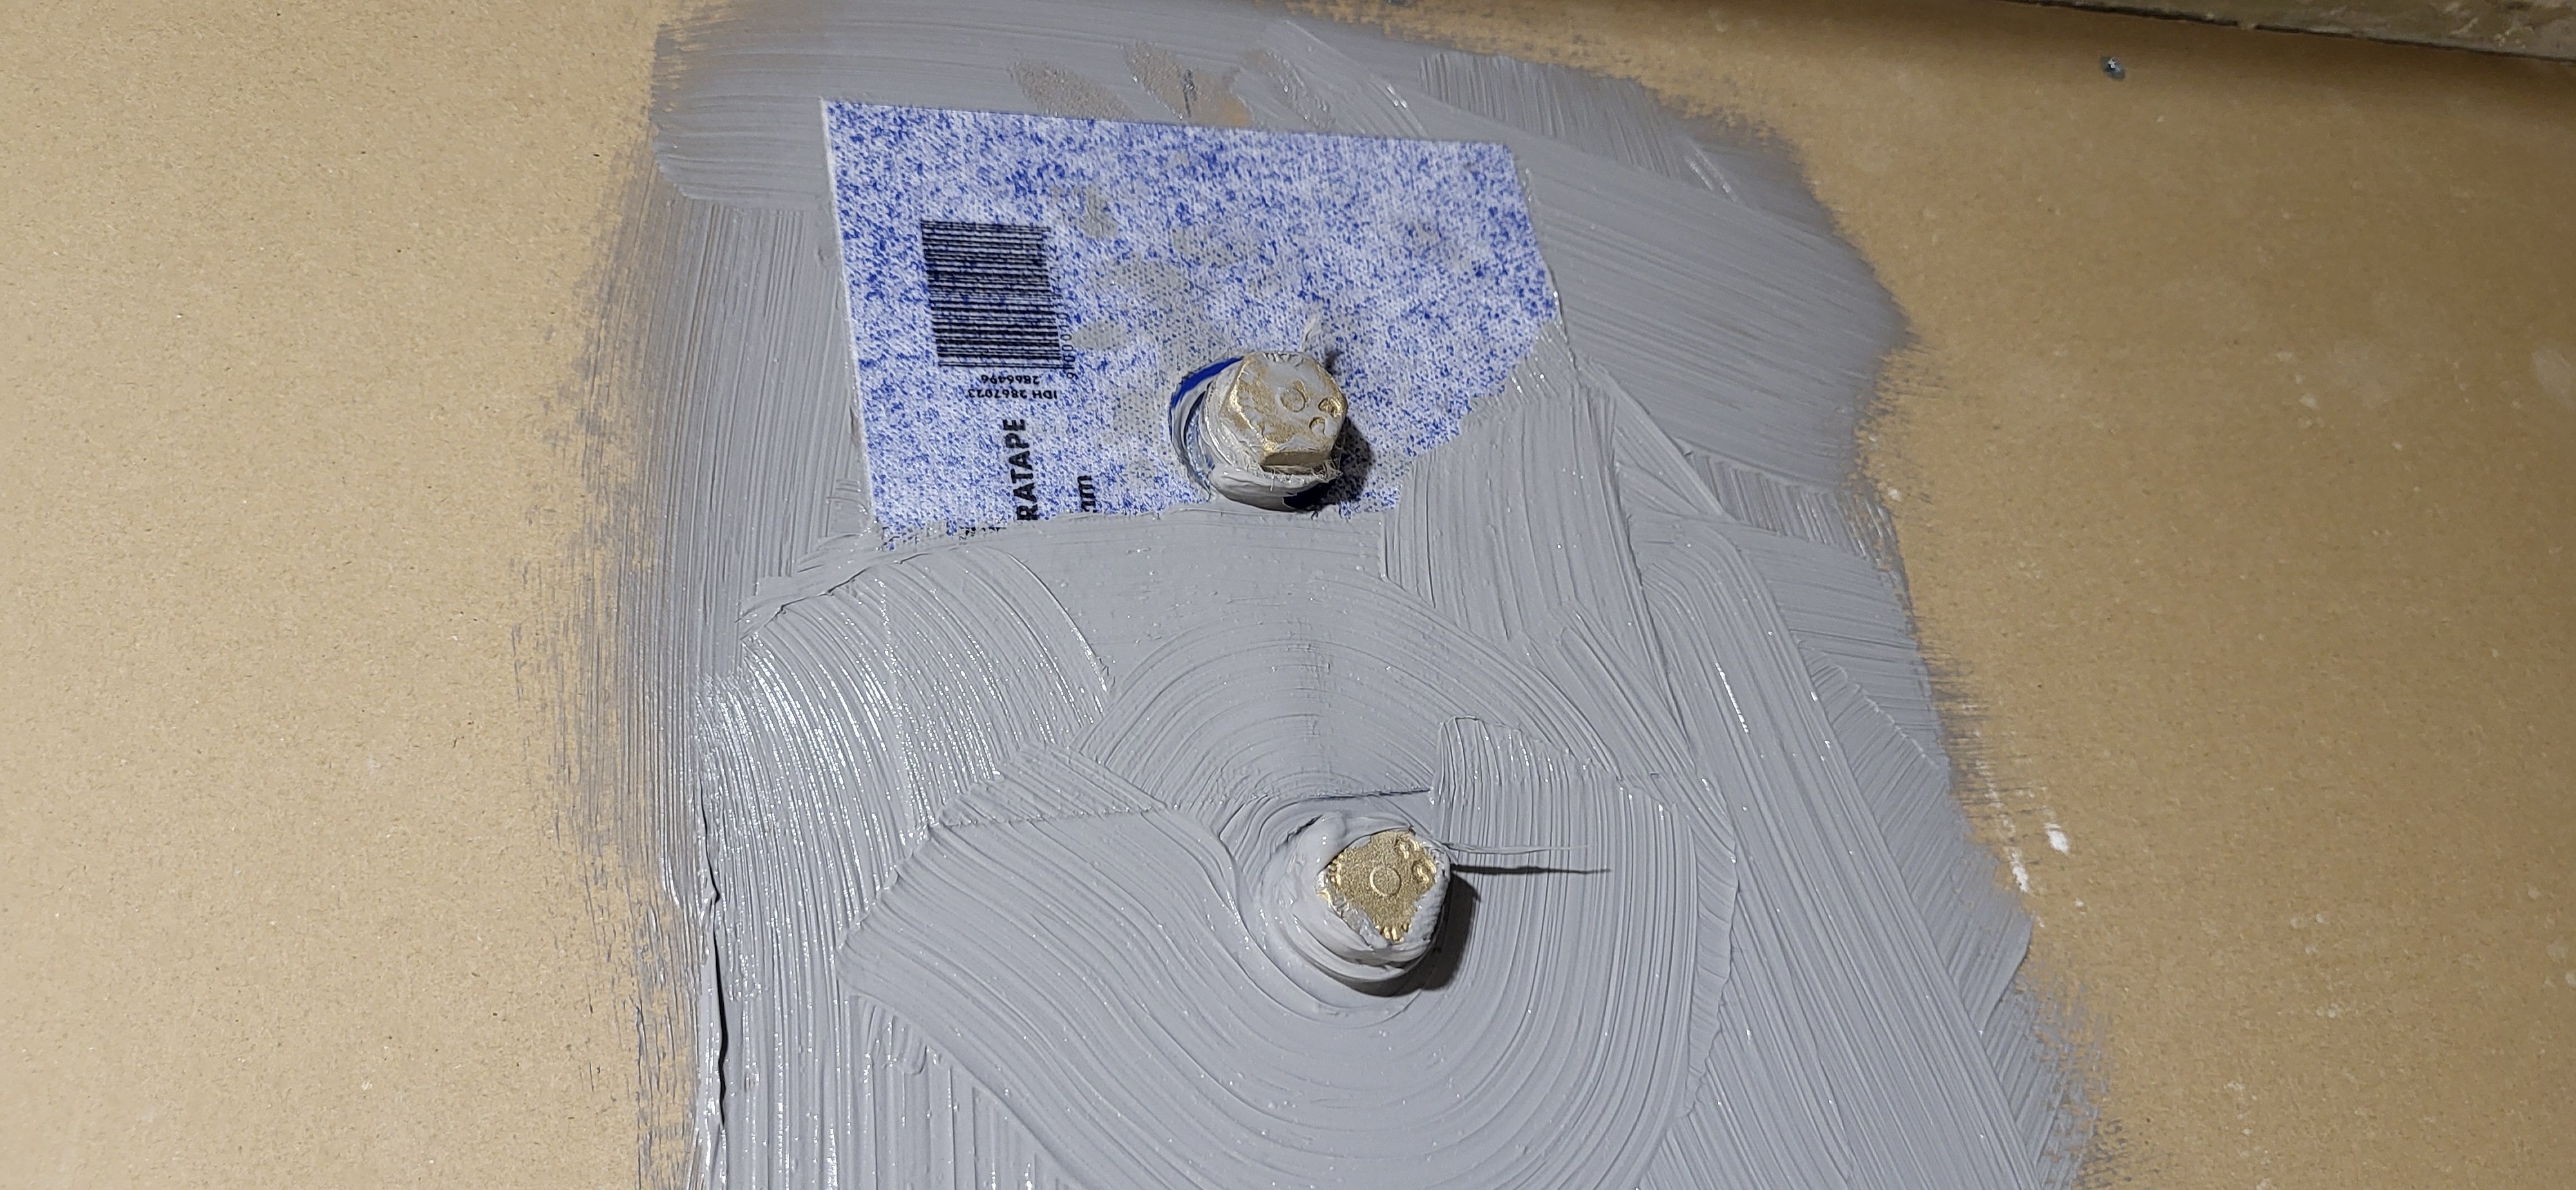
After which, apply waterproofing again over the overlay.
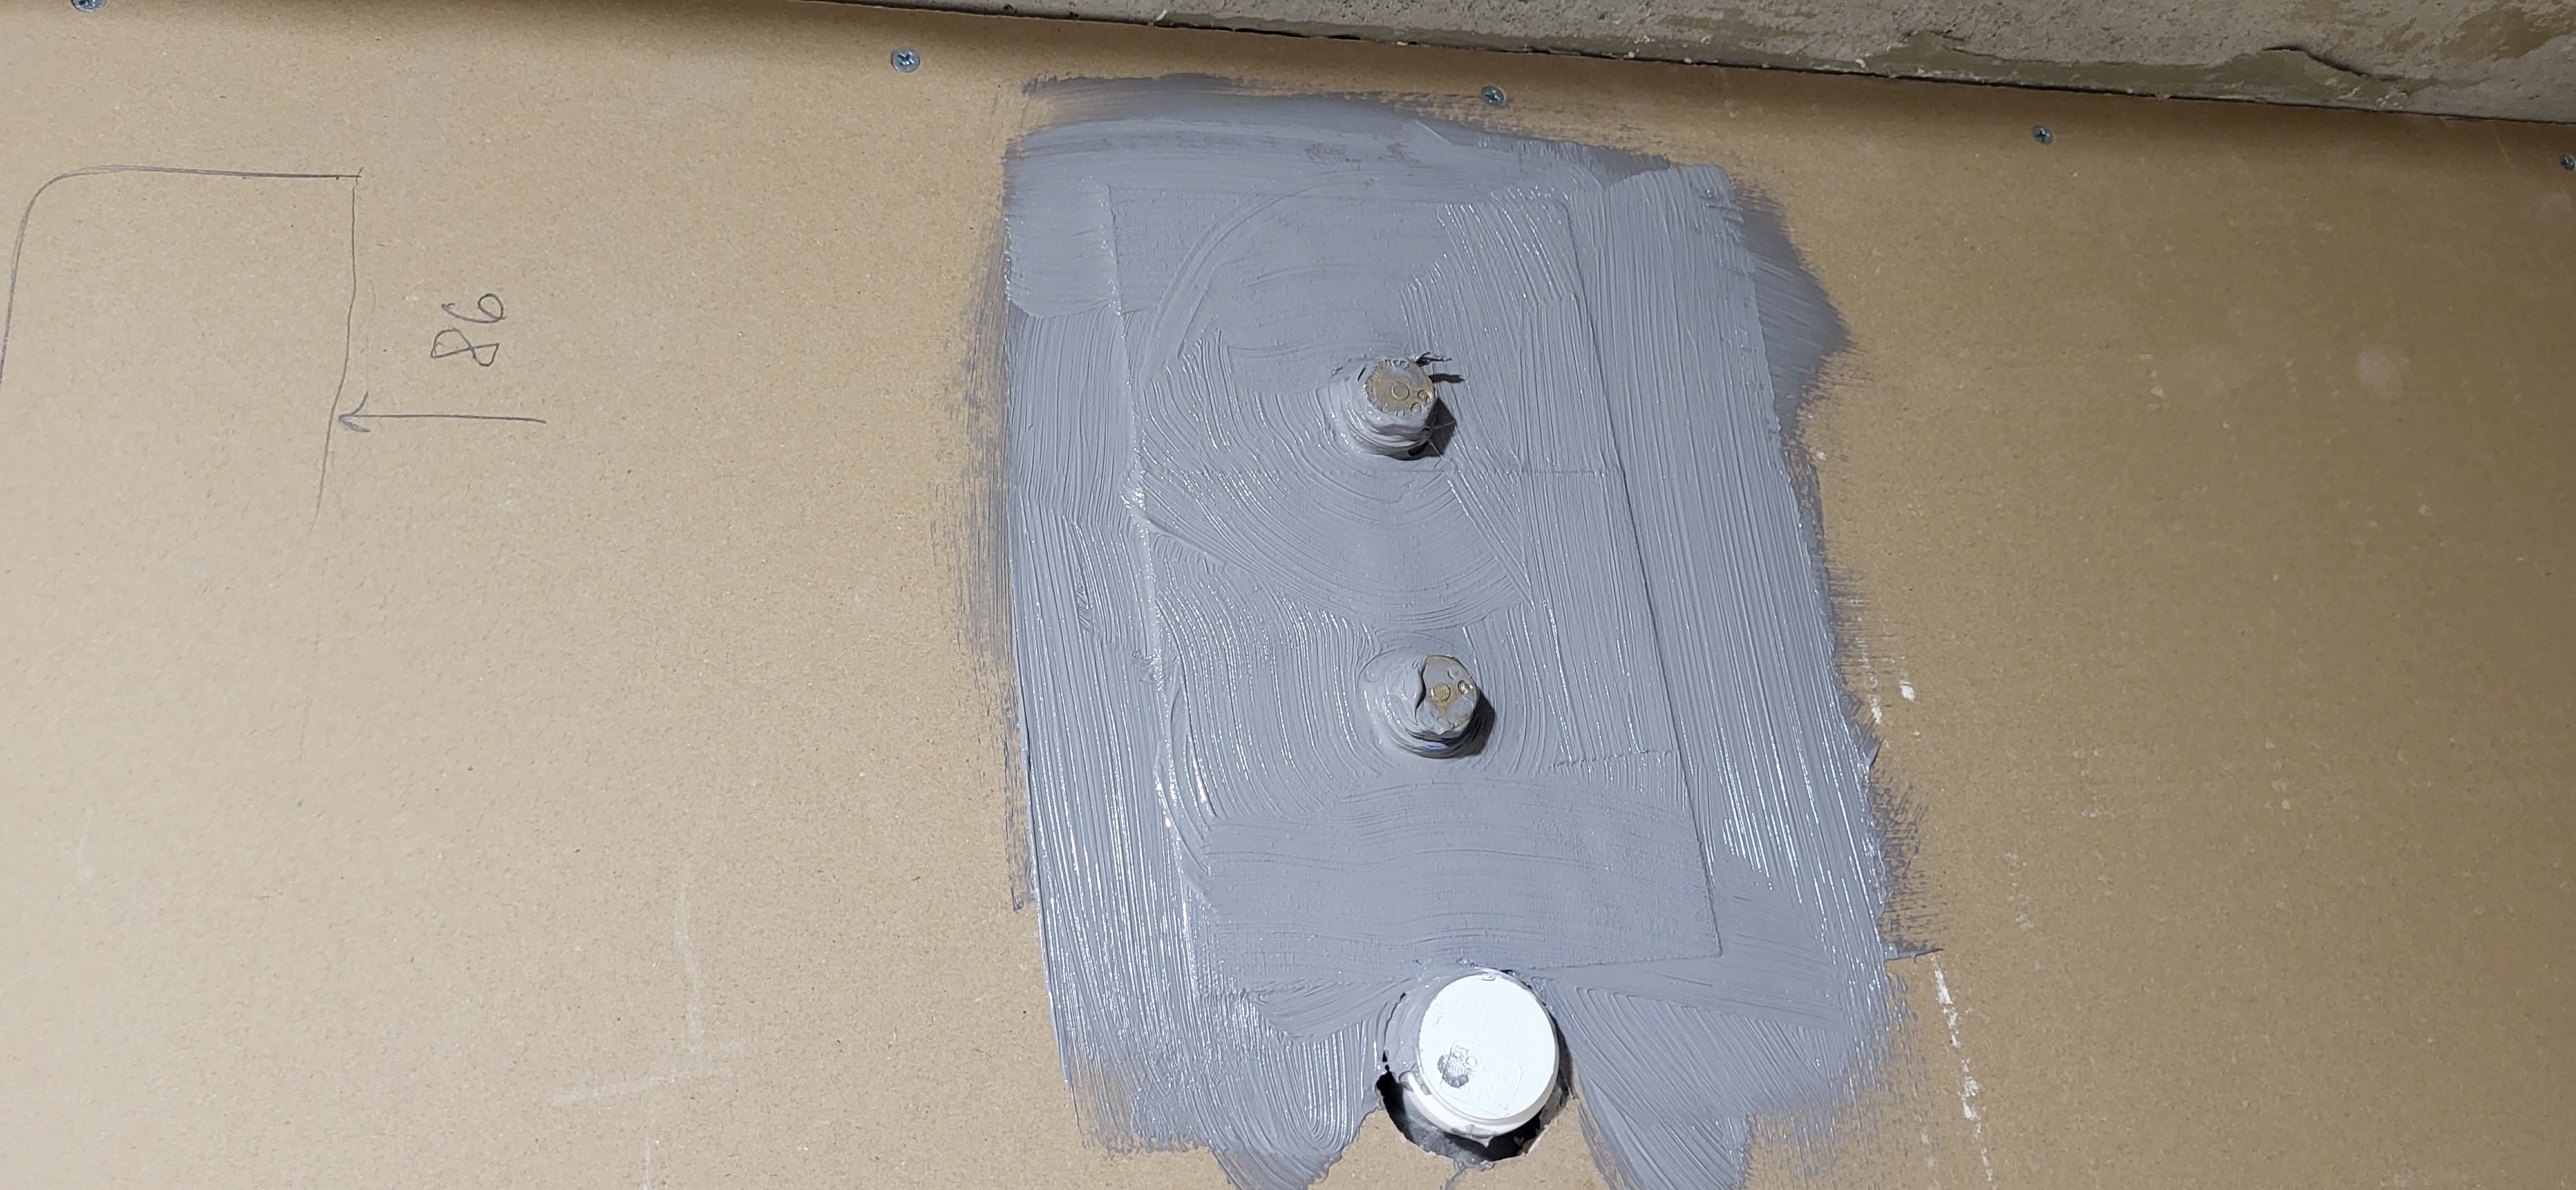
The result should look the same as mine. If you doubt the quality, it's better to redo it. Remember, waterproofing is a very important stage and cannot be neglected.
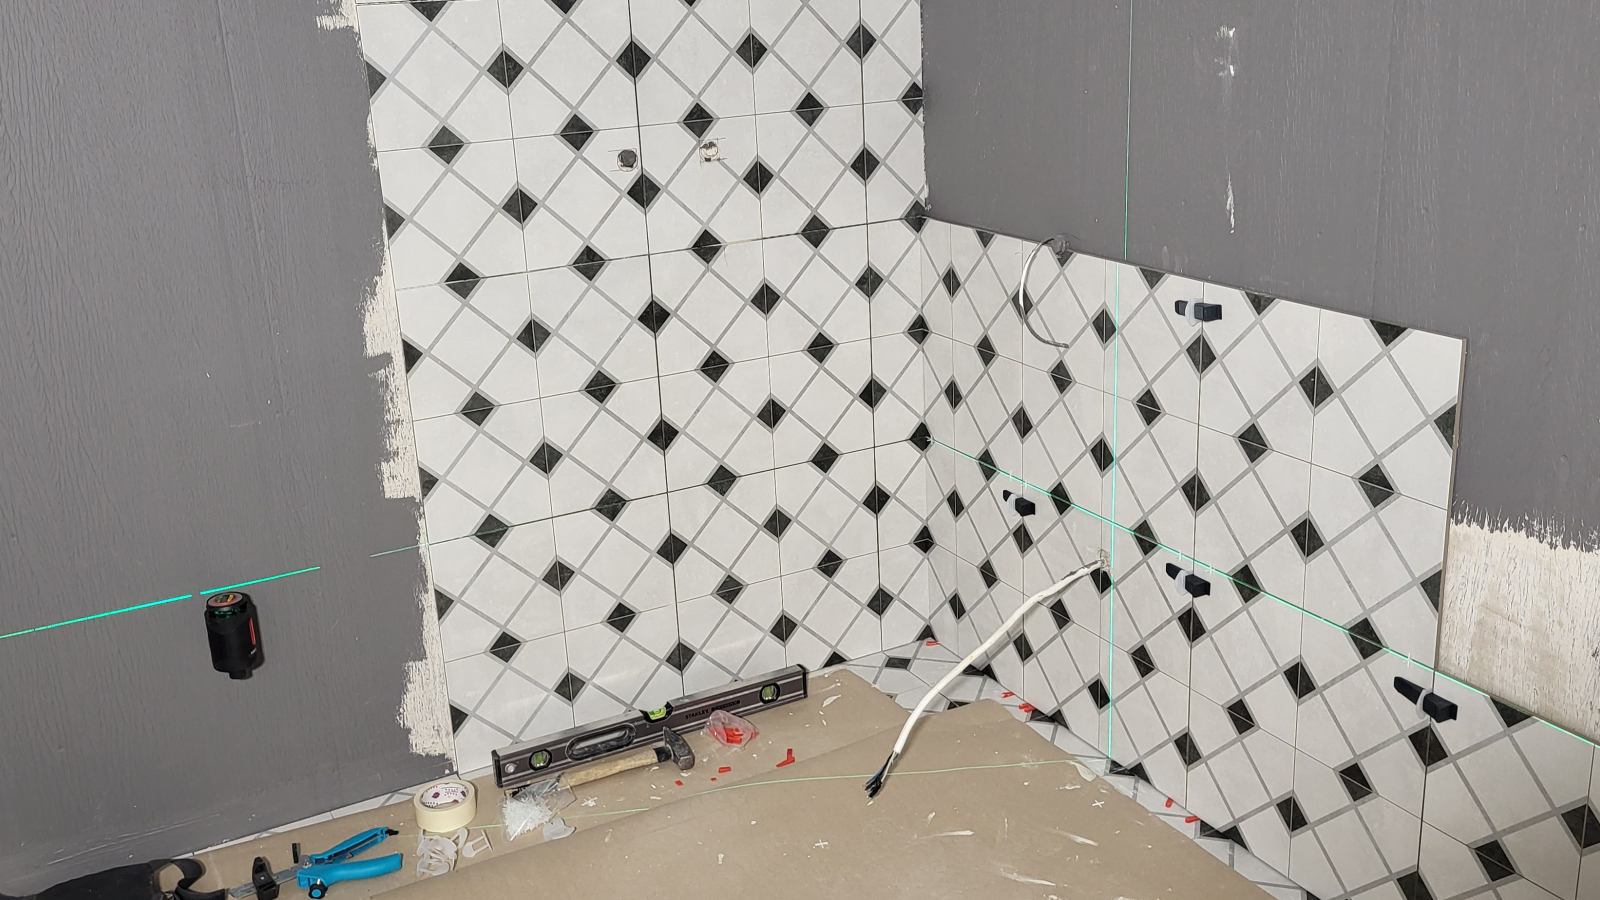
When the plumbing outlets are sealed, the next step is to move to the floor and reinforce the internal wall-floor joint using the "envelope" system. This is covered in the third part of the guide — reinforcing wall-floor corners when waterproofing a shower.
Also read from this series
- Part 1: Complete guide to shower waterproofing — types of waterproofing, material selection, corner reinforcement on walls.
- Part 3: Reinforcing wall-floor corners and applying to the floor — "envelope" technique, tape overlap and applying sealant to the floor with a roller.
Leave your questions in the comments.

No comments yet.