


Shower waterproofing: why do you need to do it at all and how critical is it? Can you skip this step when renovating a shower or bathroom?
I'll try to answer these questions in this introductory publication, sharing my experience as a master with 30 years of bathroom renovation experience. Let's break it all down point by point.
📋 Series of articles on shower waterproofing:
- Part 1: Complete Guide — Materials and Walls (you are here)
- Part 2: Waterproofing Plumbing Outlets
- Part 3: Reinforcing Wall-Floor Corners and Floor Application
The Importance of Waterproofing
Types of Waterproofing
Common Mistakes
Next will be a series of publications from a real project with all process photos.
The Importance of Waterproofing
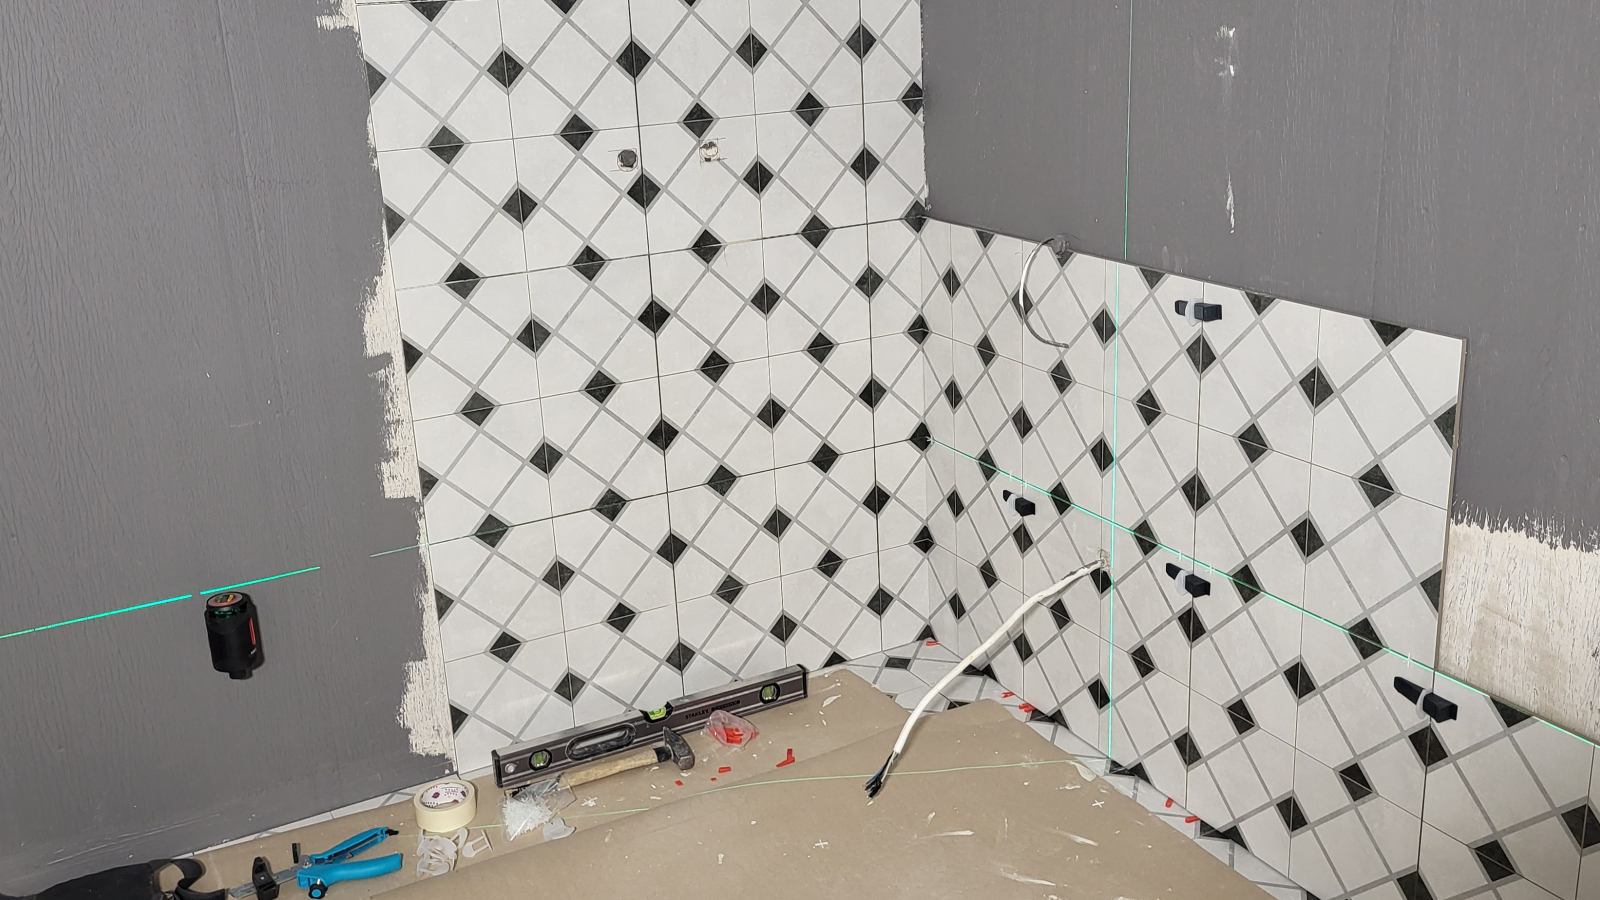
If we're talking about a shower corner with an open design, like this one:
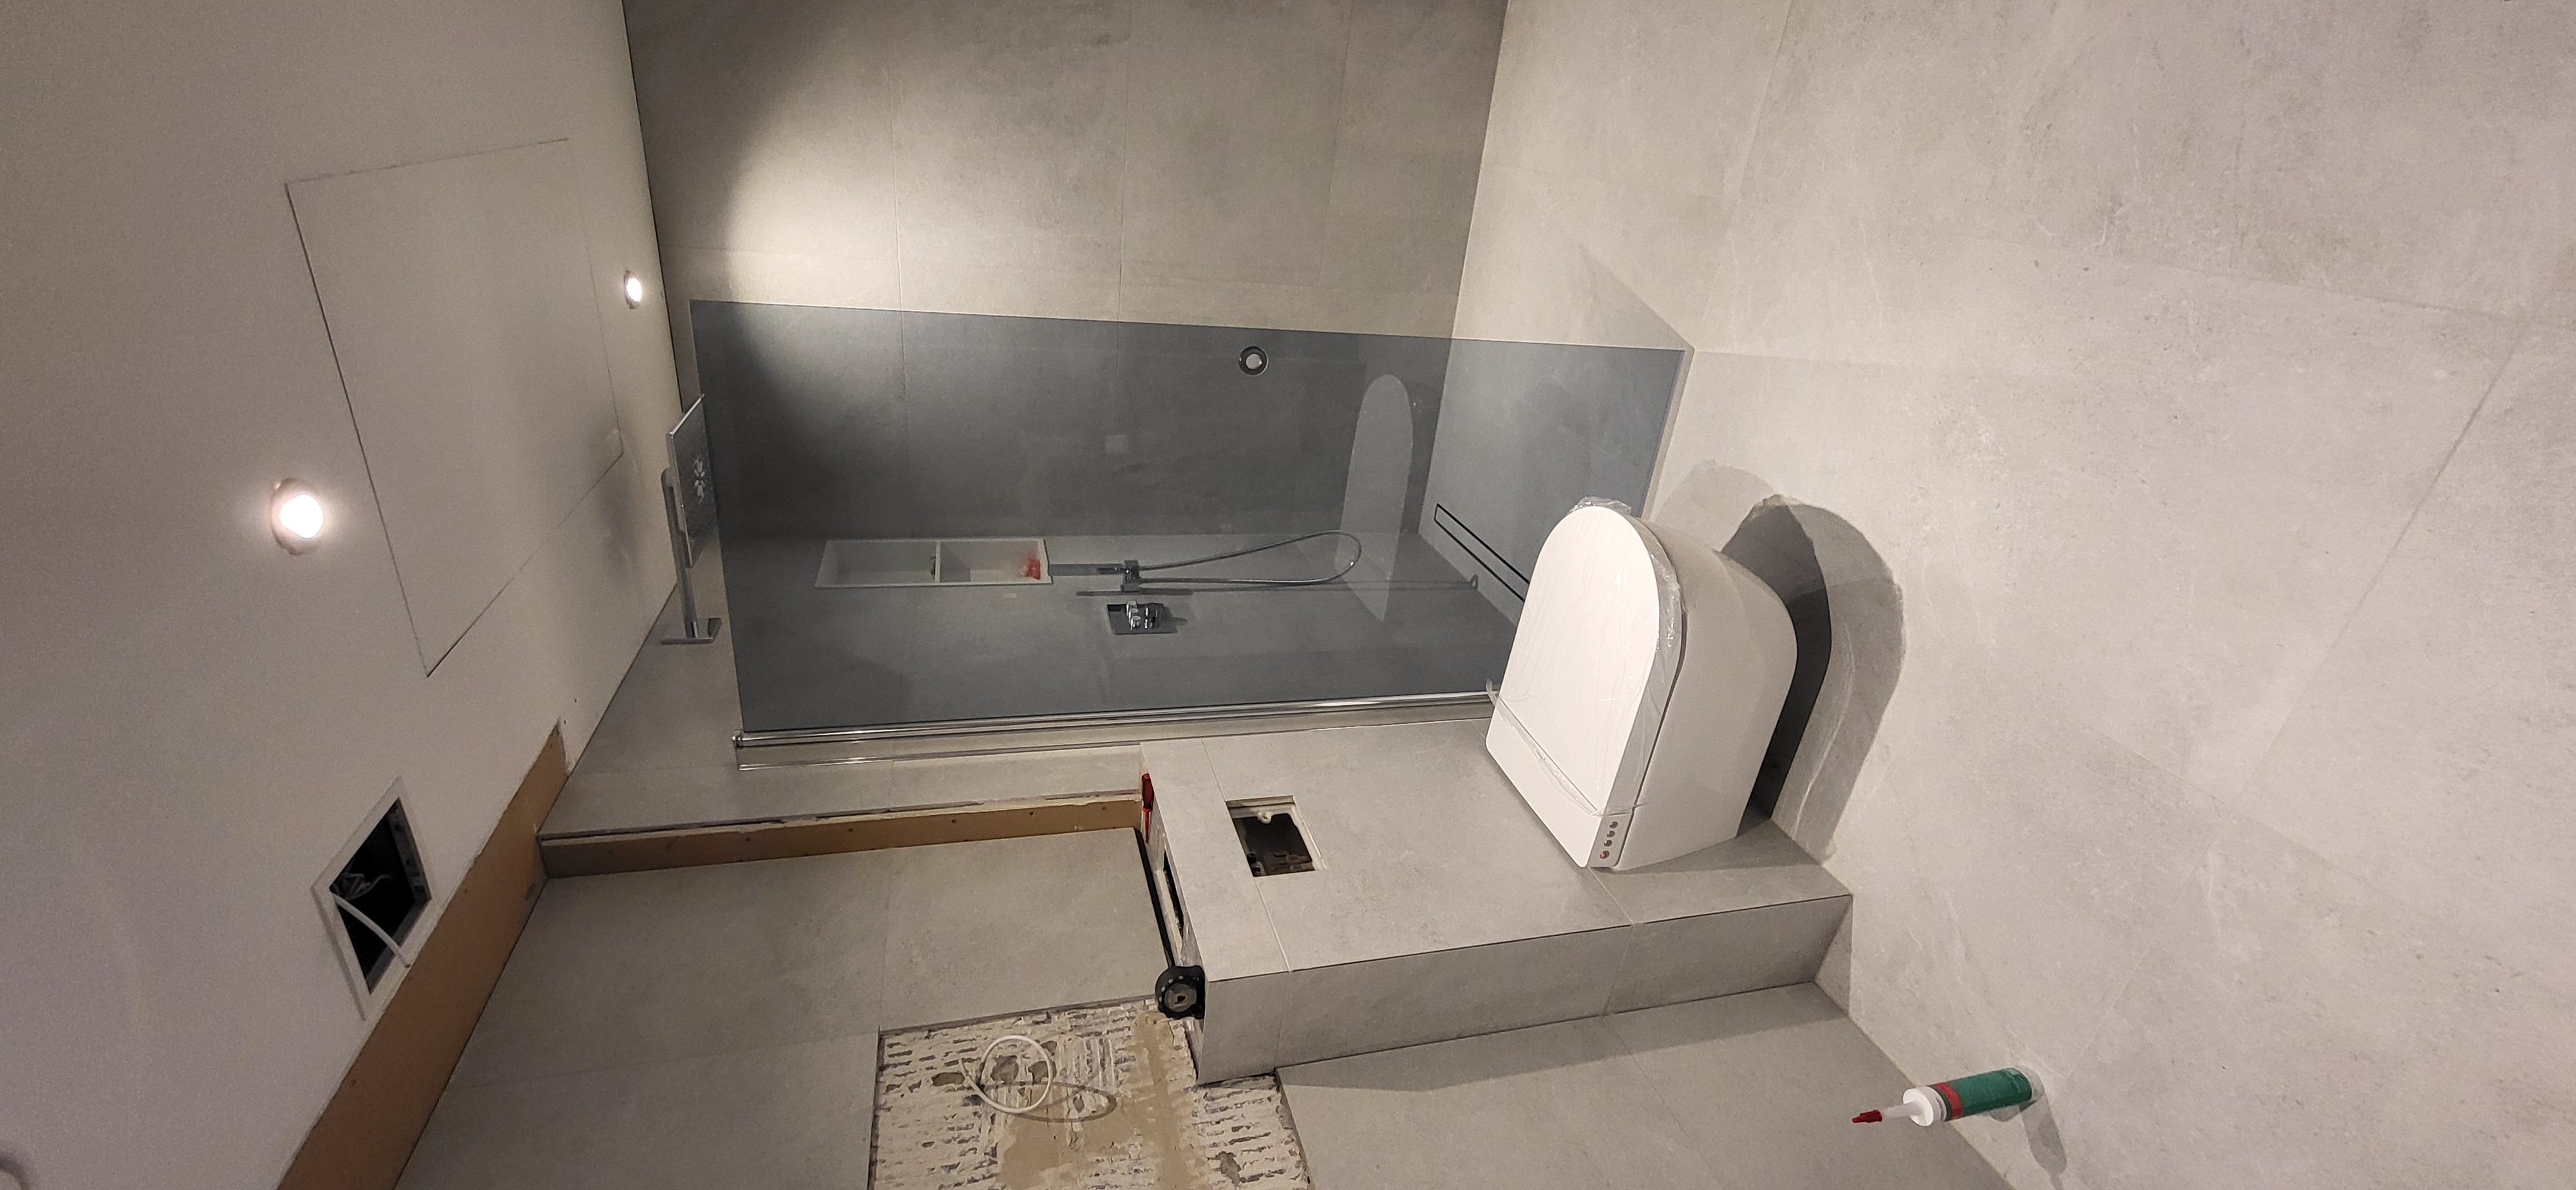
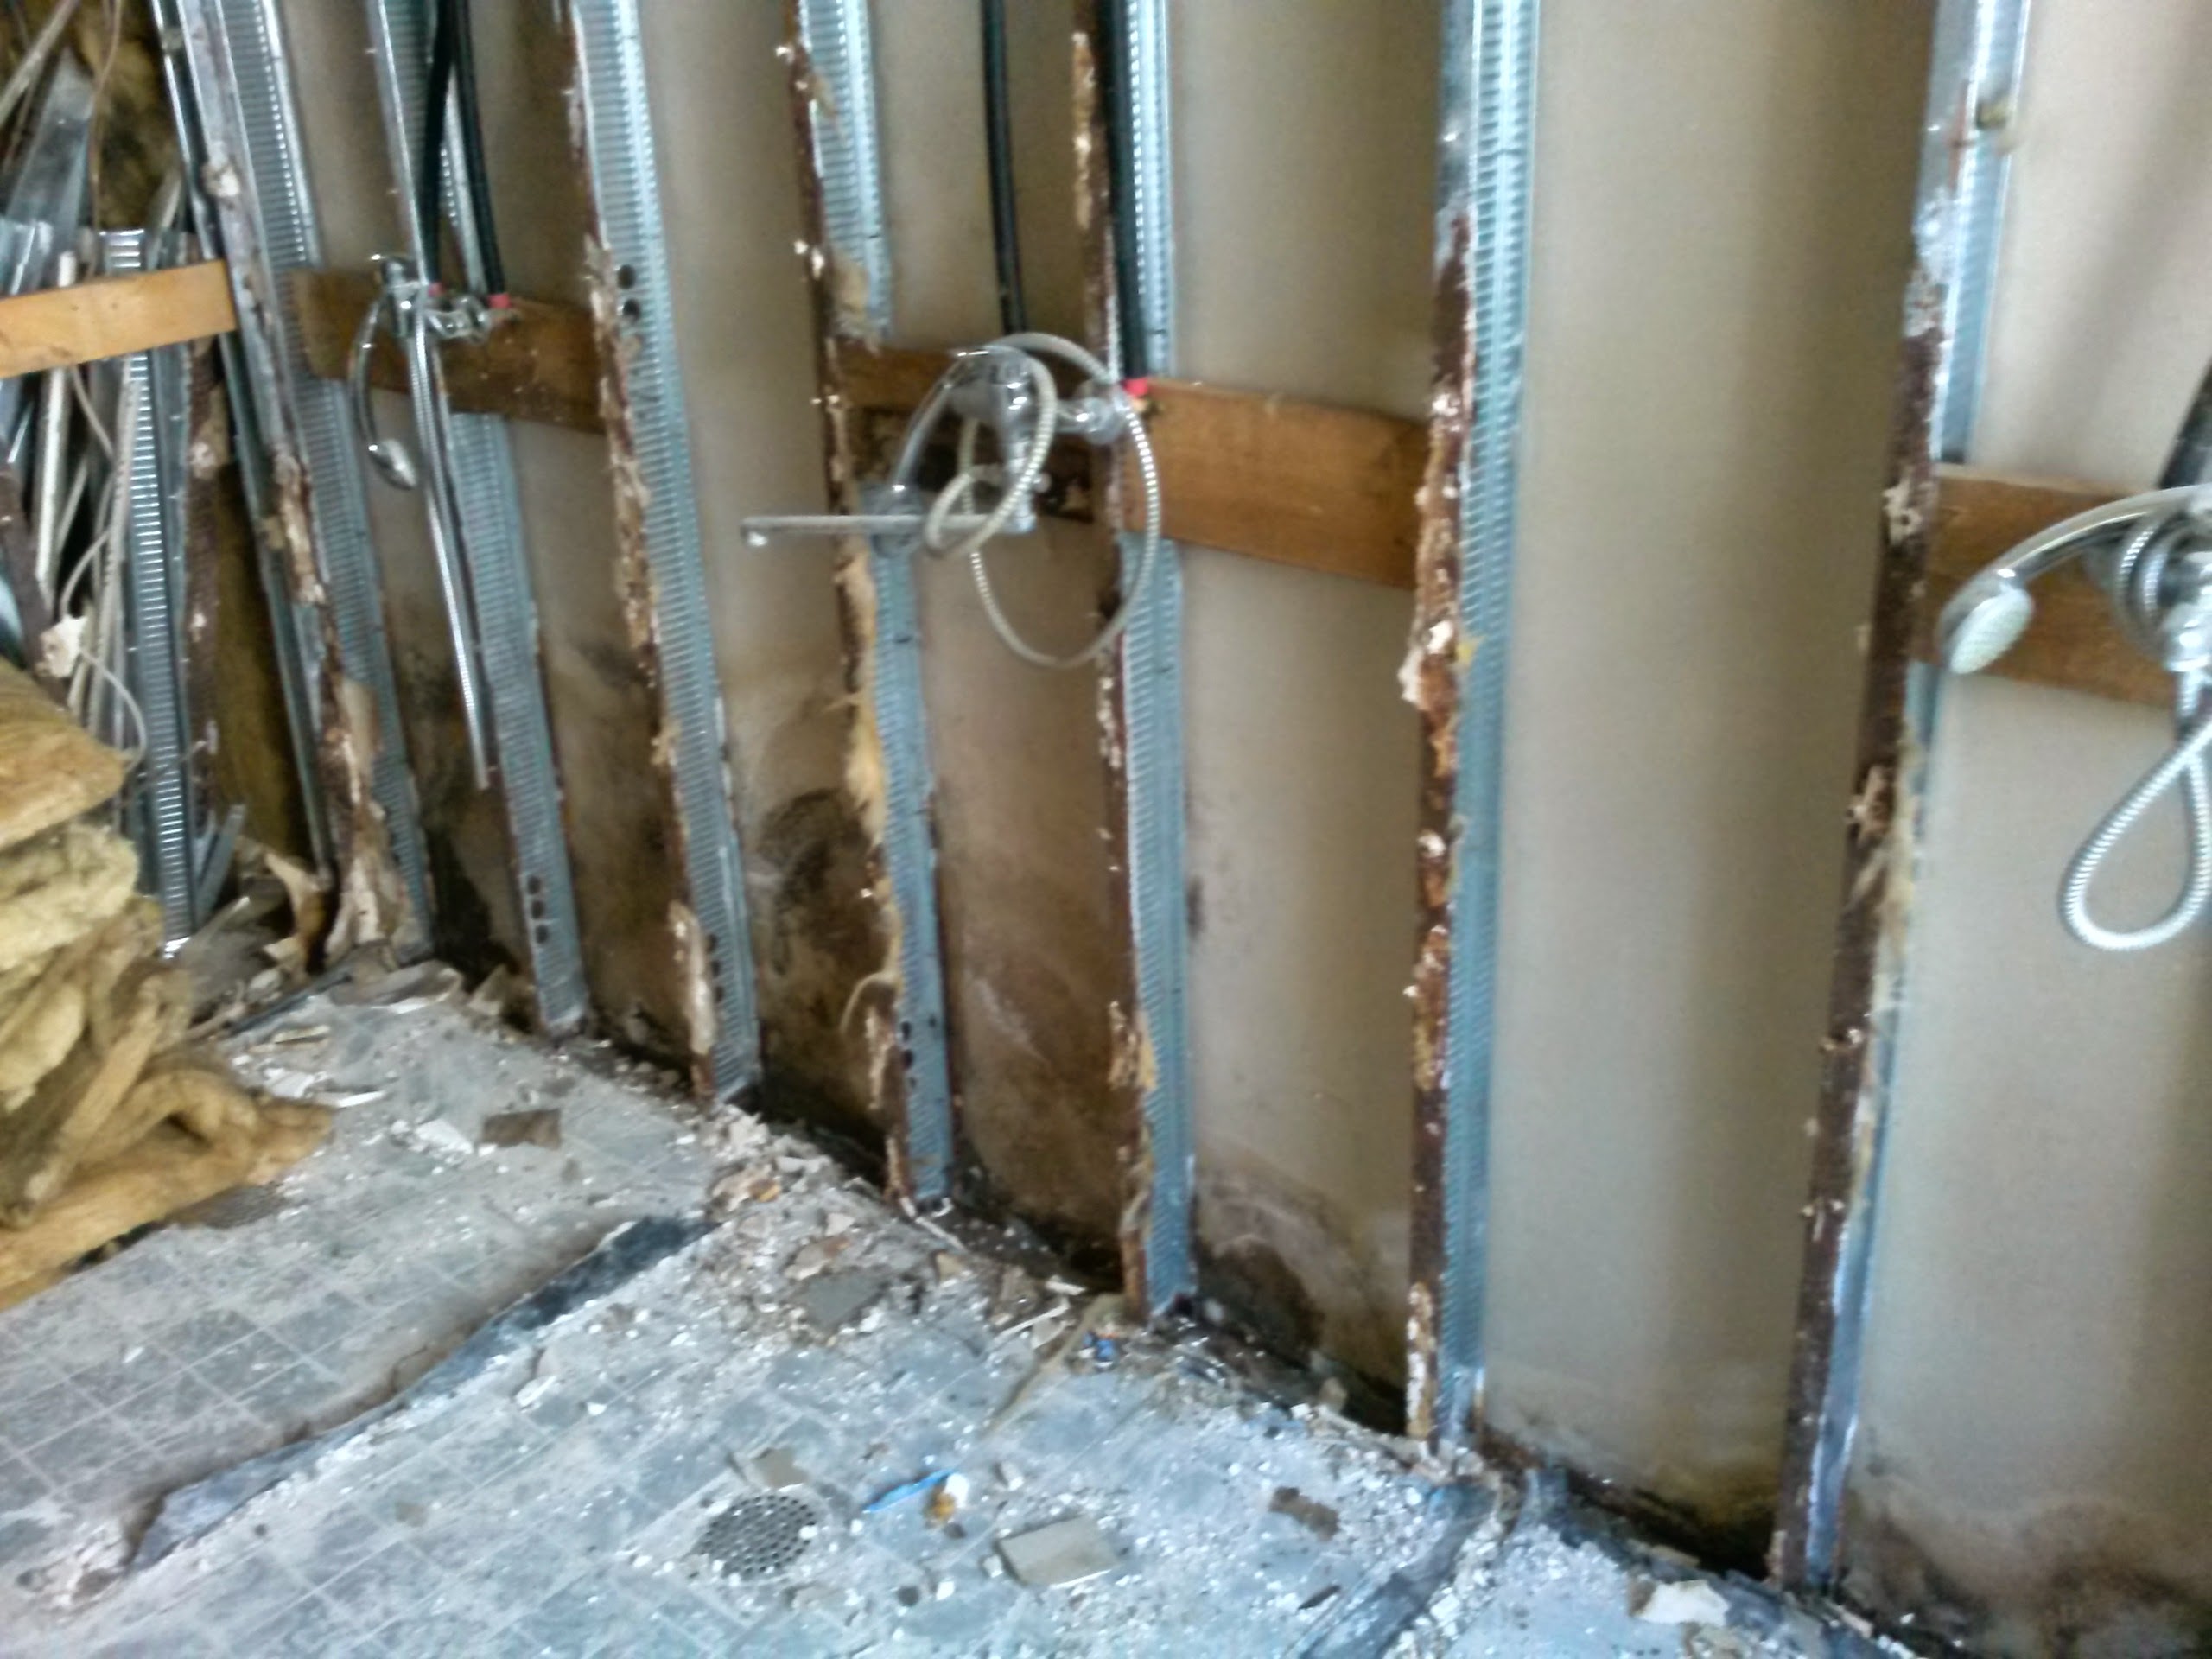
Then we're dealing with water constantly flowing down the walls and floor. Hoping that ceramic tile or porcelain, even combined with epoxy grout, won't allow moisture to seep into the base is very weak protection. What's the risk? Moisture seeping under the tiles will gradually be absorbed by concrete or drywall, instantly creating mold there and destroying the base. We've had cases on job sites where shower walls made of drywall without waterproofing were completely eaten away by water, corroding the metal frame. We had to completely redo the entire shower.
In Europe, strict norms and requirements for waterproofing in humid and wet rooms have long been established. It's a requirement, not a whim.
Types of Waterproofing
Waterproofing comes in several types and varies in both composition and application.
In this overview, we'll only discuss waterproofing for interior spaces — bathrooms and showers.
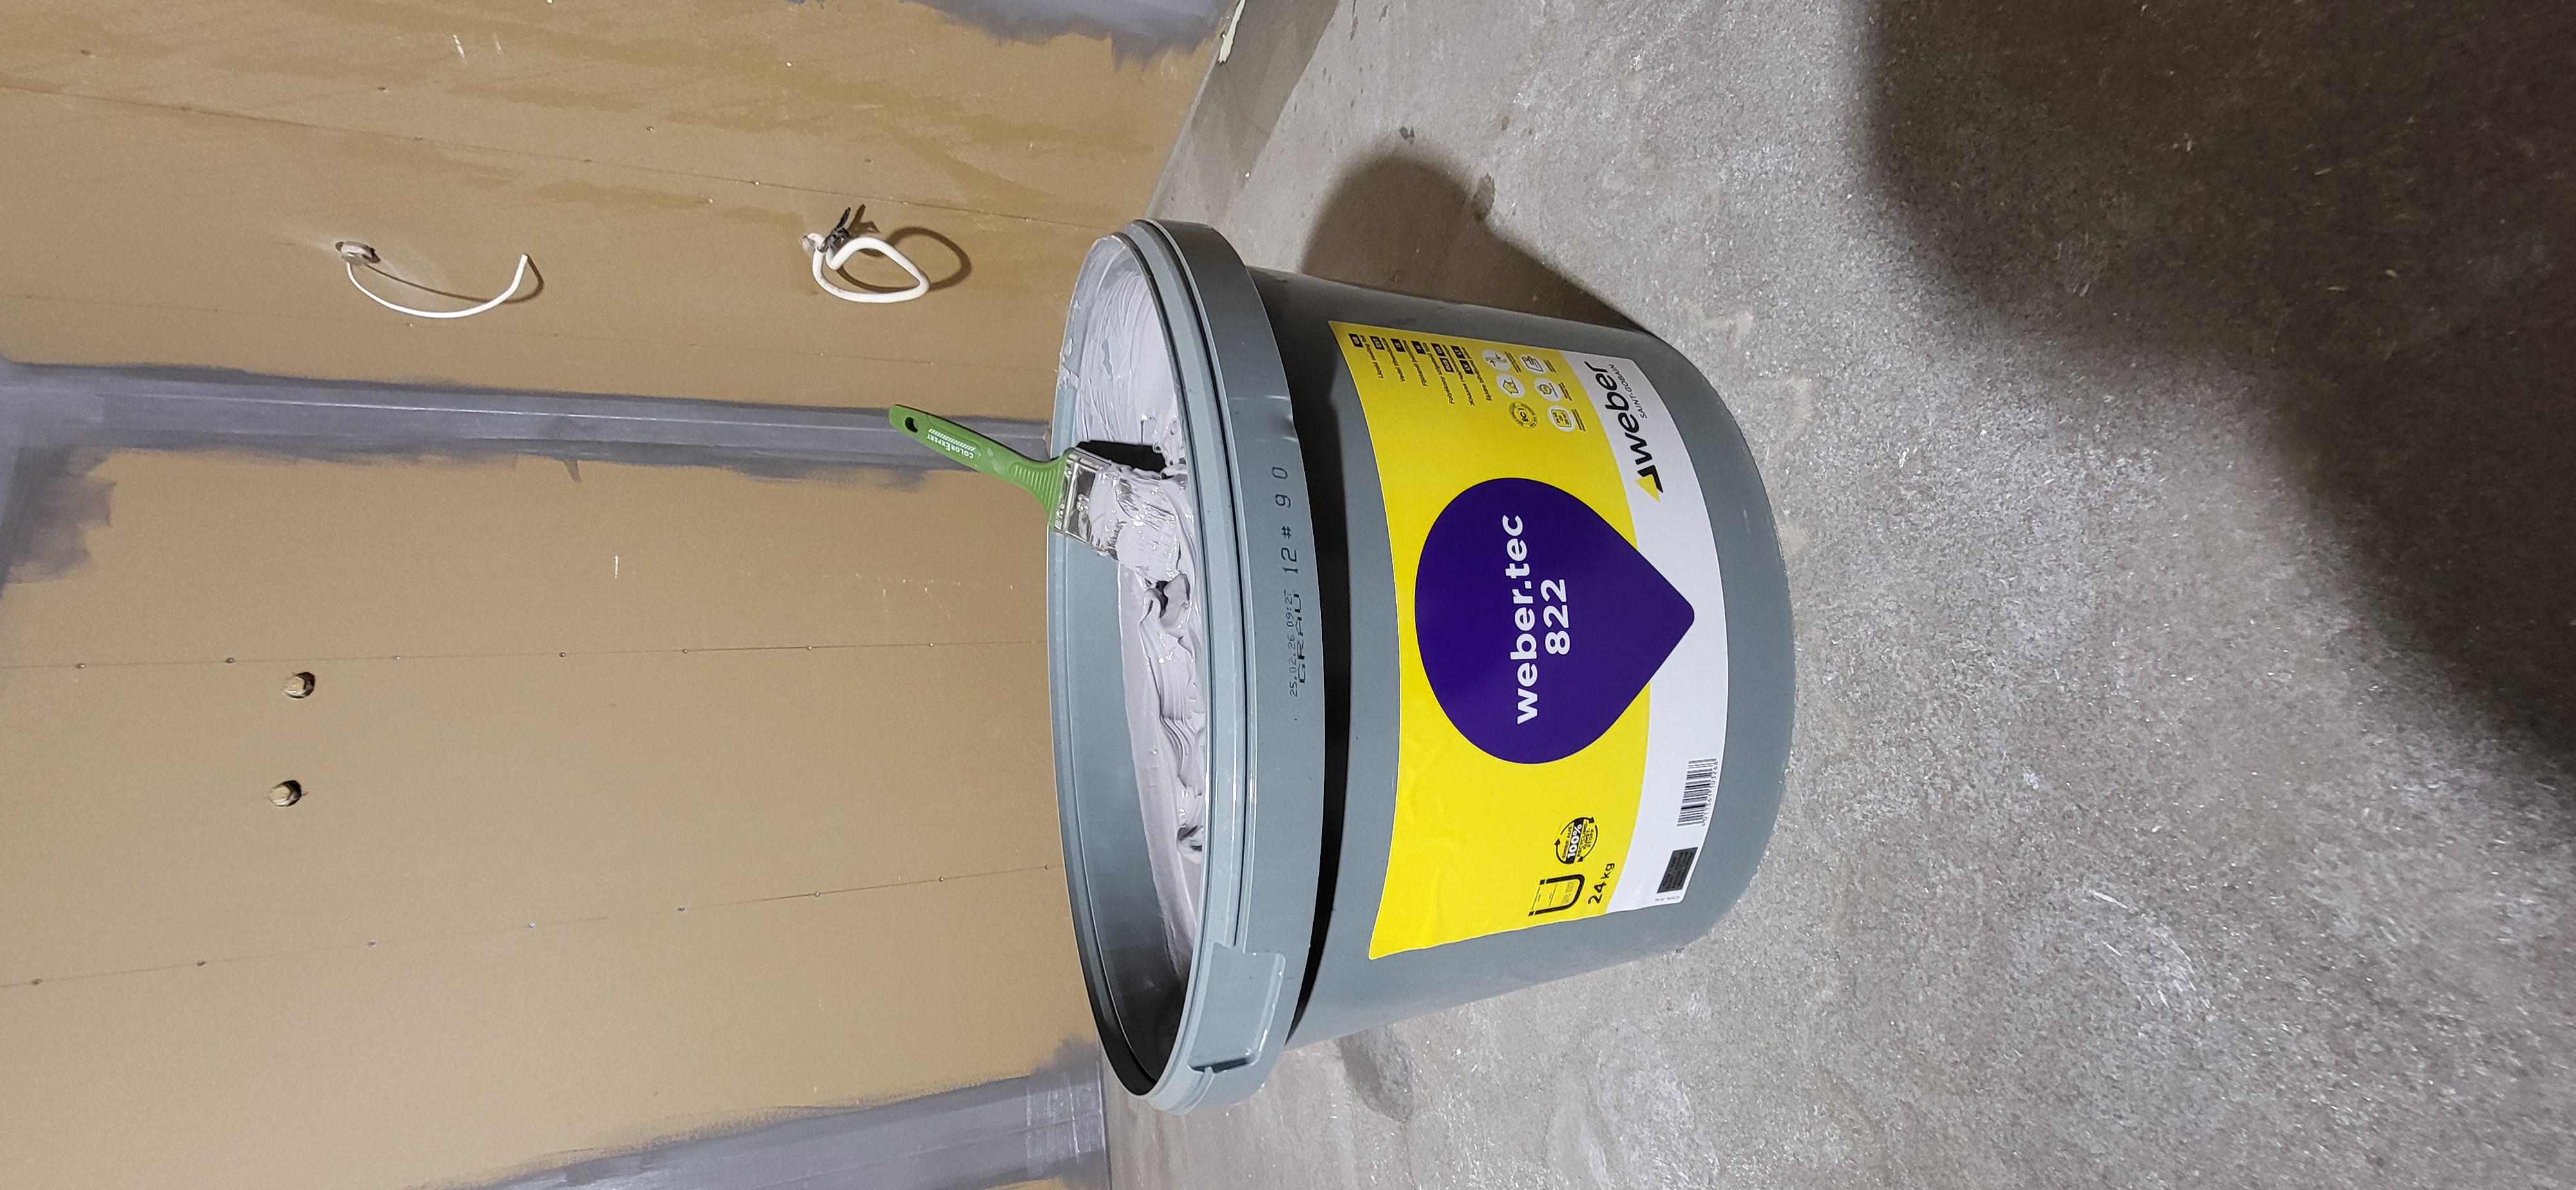
First option — so-called coating waterproofing, which looks like ready-made thick mastic.
Second option — membrane waterproofing. This is a special fabric that is glued according to special rules using special adhesive.
There are waterproofing products for exterior work, and they also differ in composition and application. We won't cover them in this publication.
I use coating mastics in my work. Why this particular option? In Estonia, we have membrane waterproofing available for sale, but it's more expensive, and in 99 percent of cases, coating mastics are used.
Common Mistakes
I'll talk about mistakes related to coating mastics, since I've been working exclusively with this type of waterproofing for the last 20 years.
Improper Application
Insufficient layer thickness of mastic application. This is the main mistake and occurs quite often. You need to understand that waterproofing mastic is not paint. It shouldn't just be applied; it needs to have adequate layer thickness.
The second mistake involves reinforcing tapes. There are fewer mistakes here, but they do happen occasionally.
Waterproofing Walls
Before you start waterproofing work, the first thing is to decide which specific waterproofing you'll use. Lately, I choose waterproofing mastic from Weber because I like its price-to-quality ratio the most.
Good advice: if you're using waterproofing from Weber, also get the primer from the same company and the appropriate one.
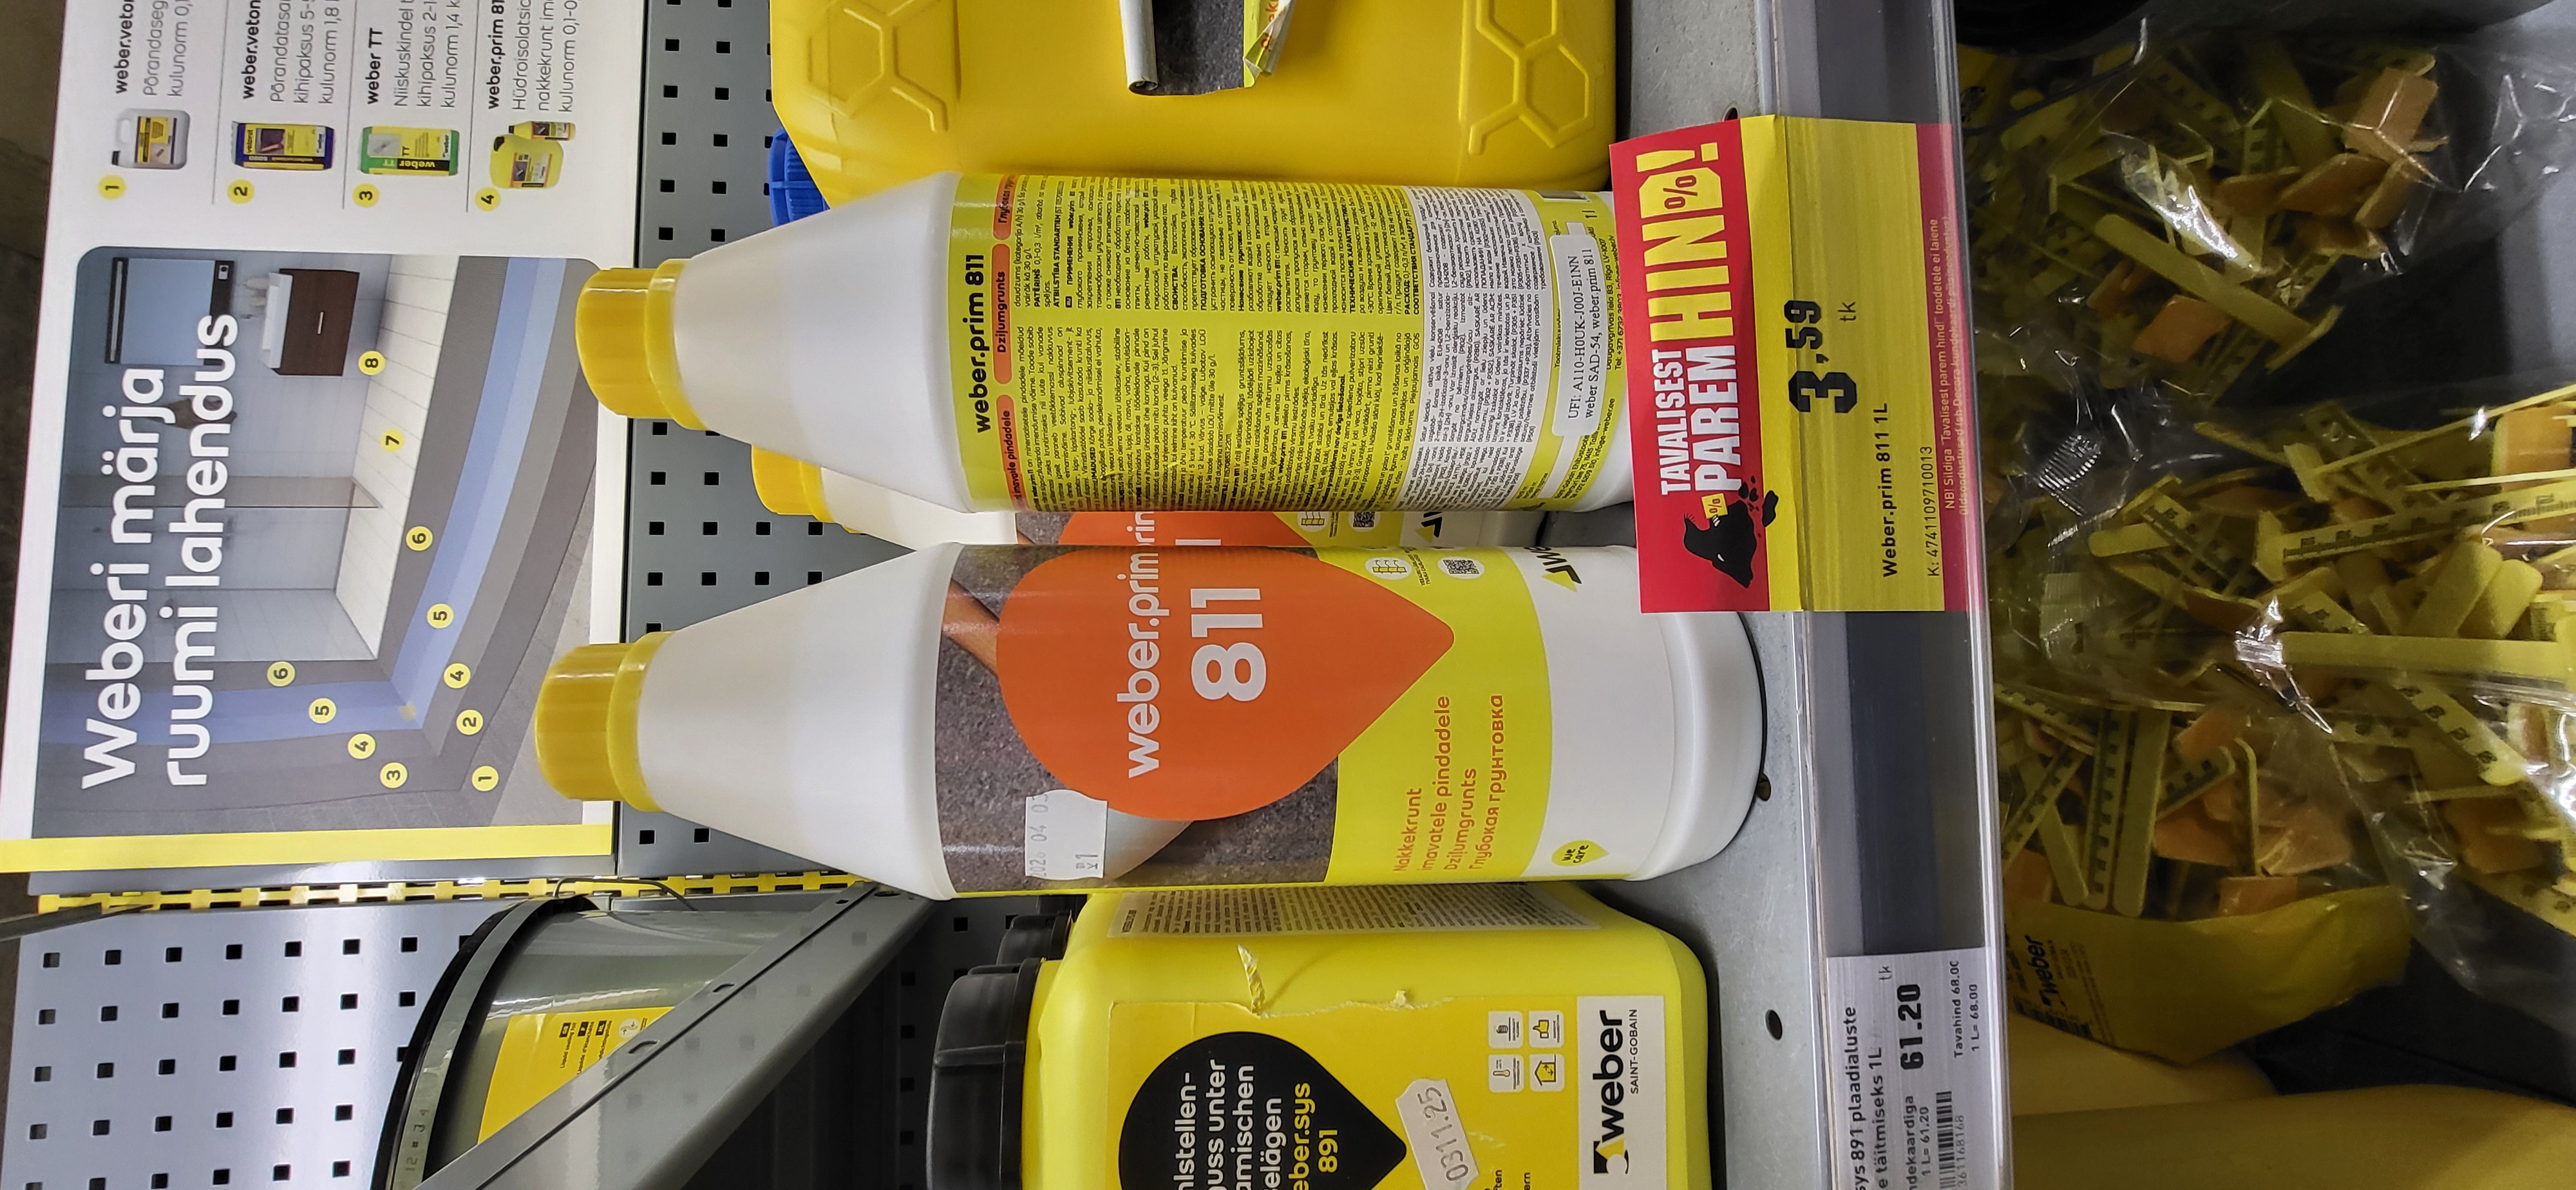
Before you start applying primer to walls or floors, first clean the surface. Remove debris, smooth out irregularities, prepare the surface, level it. Then dilute the primer according to requirements, mixing it in the proper proportion with water. Don't use undiluted primer — it will only worsen adhesion and primer penetration.
Next, prime the walls. I use a roller with medium pile.

While working, use gloves with a rubberized base — this will greatly protect your hands.
After applying the primer, wait for it to dry. This depends on your wall surface. For me, complete drying took about 3 hours.
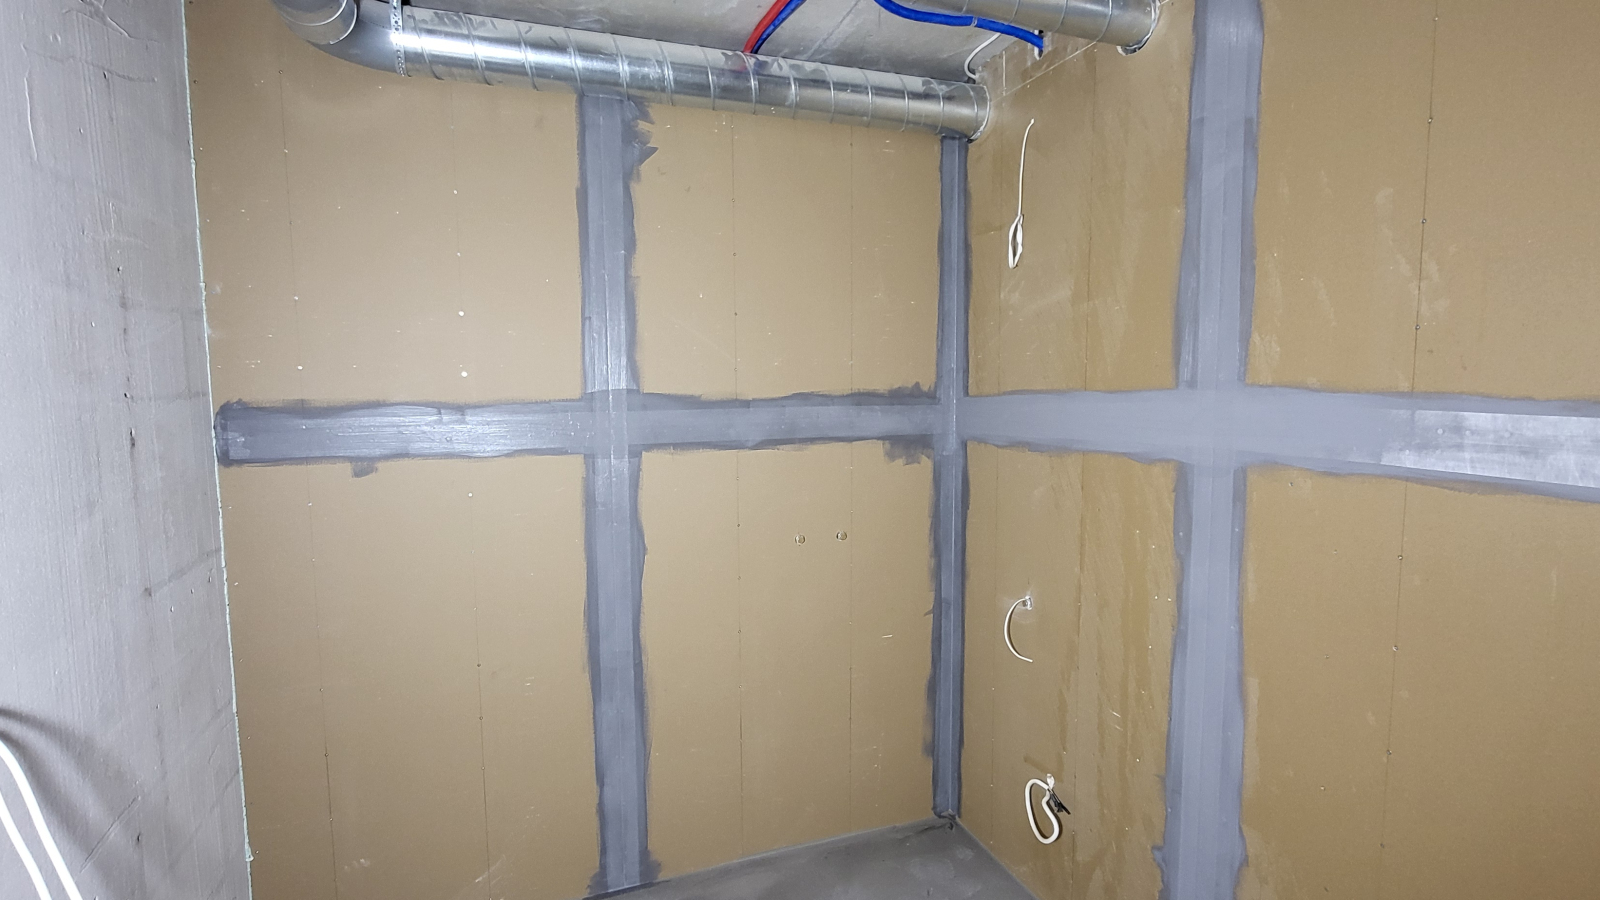
Joint Reinforcement
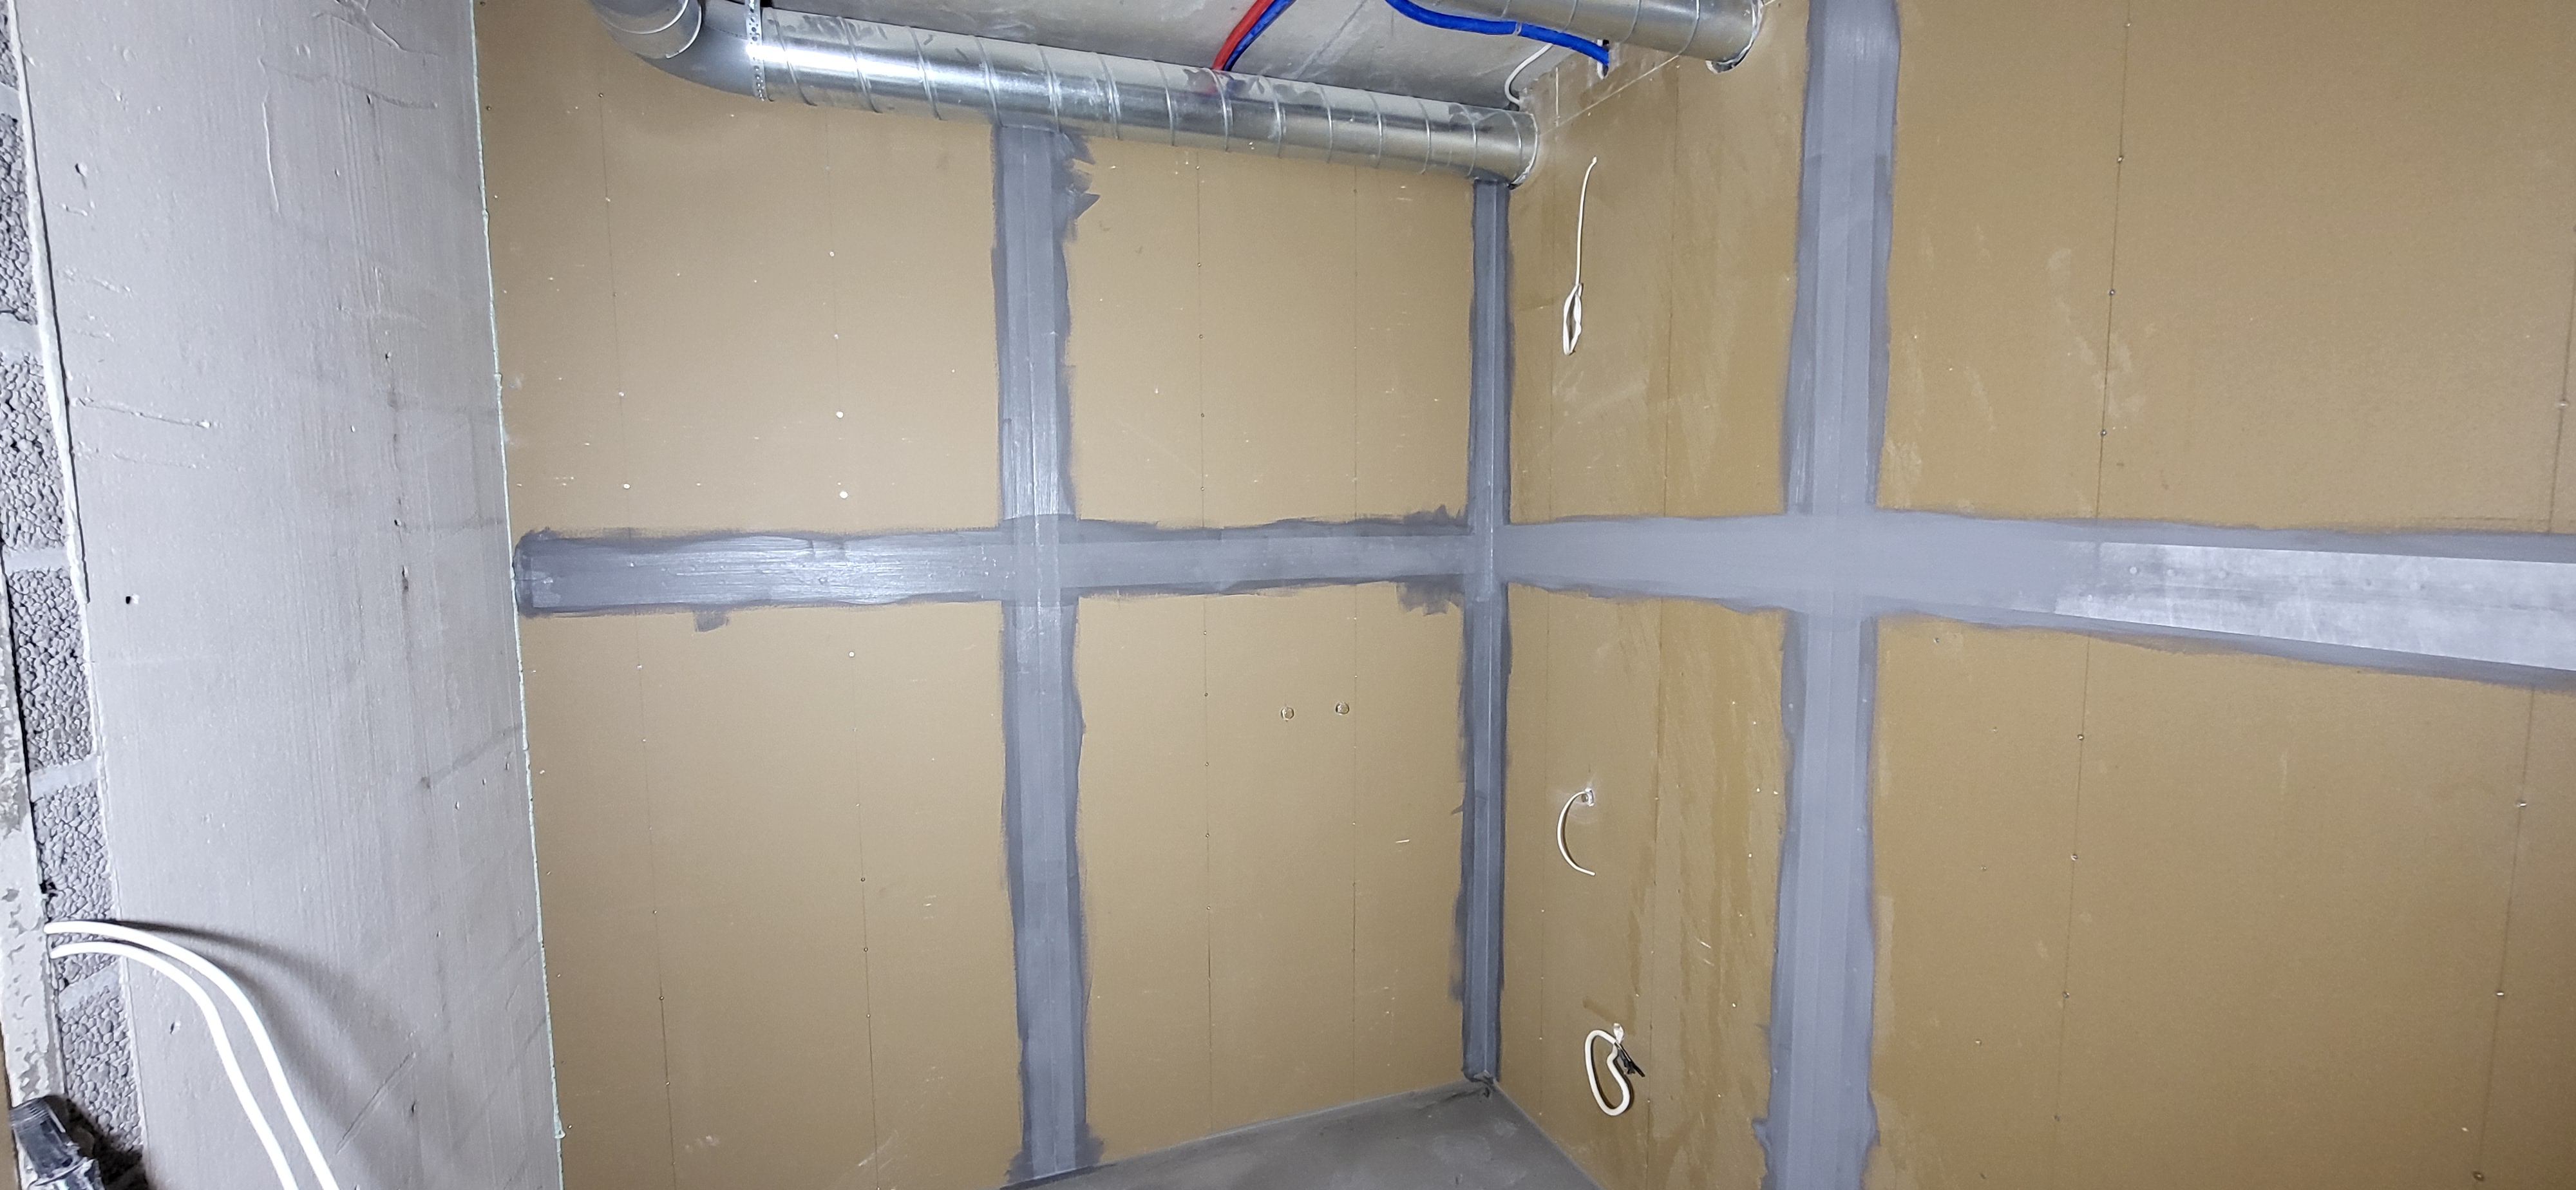
All internal corners, external corners, joints between different surfaces — all of this needs to be sealed with reinforcing tape.
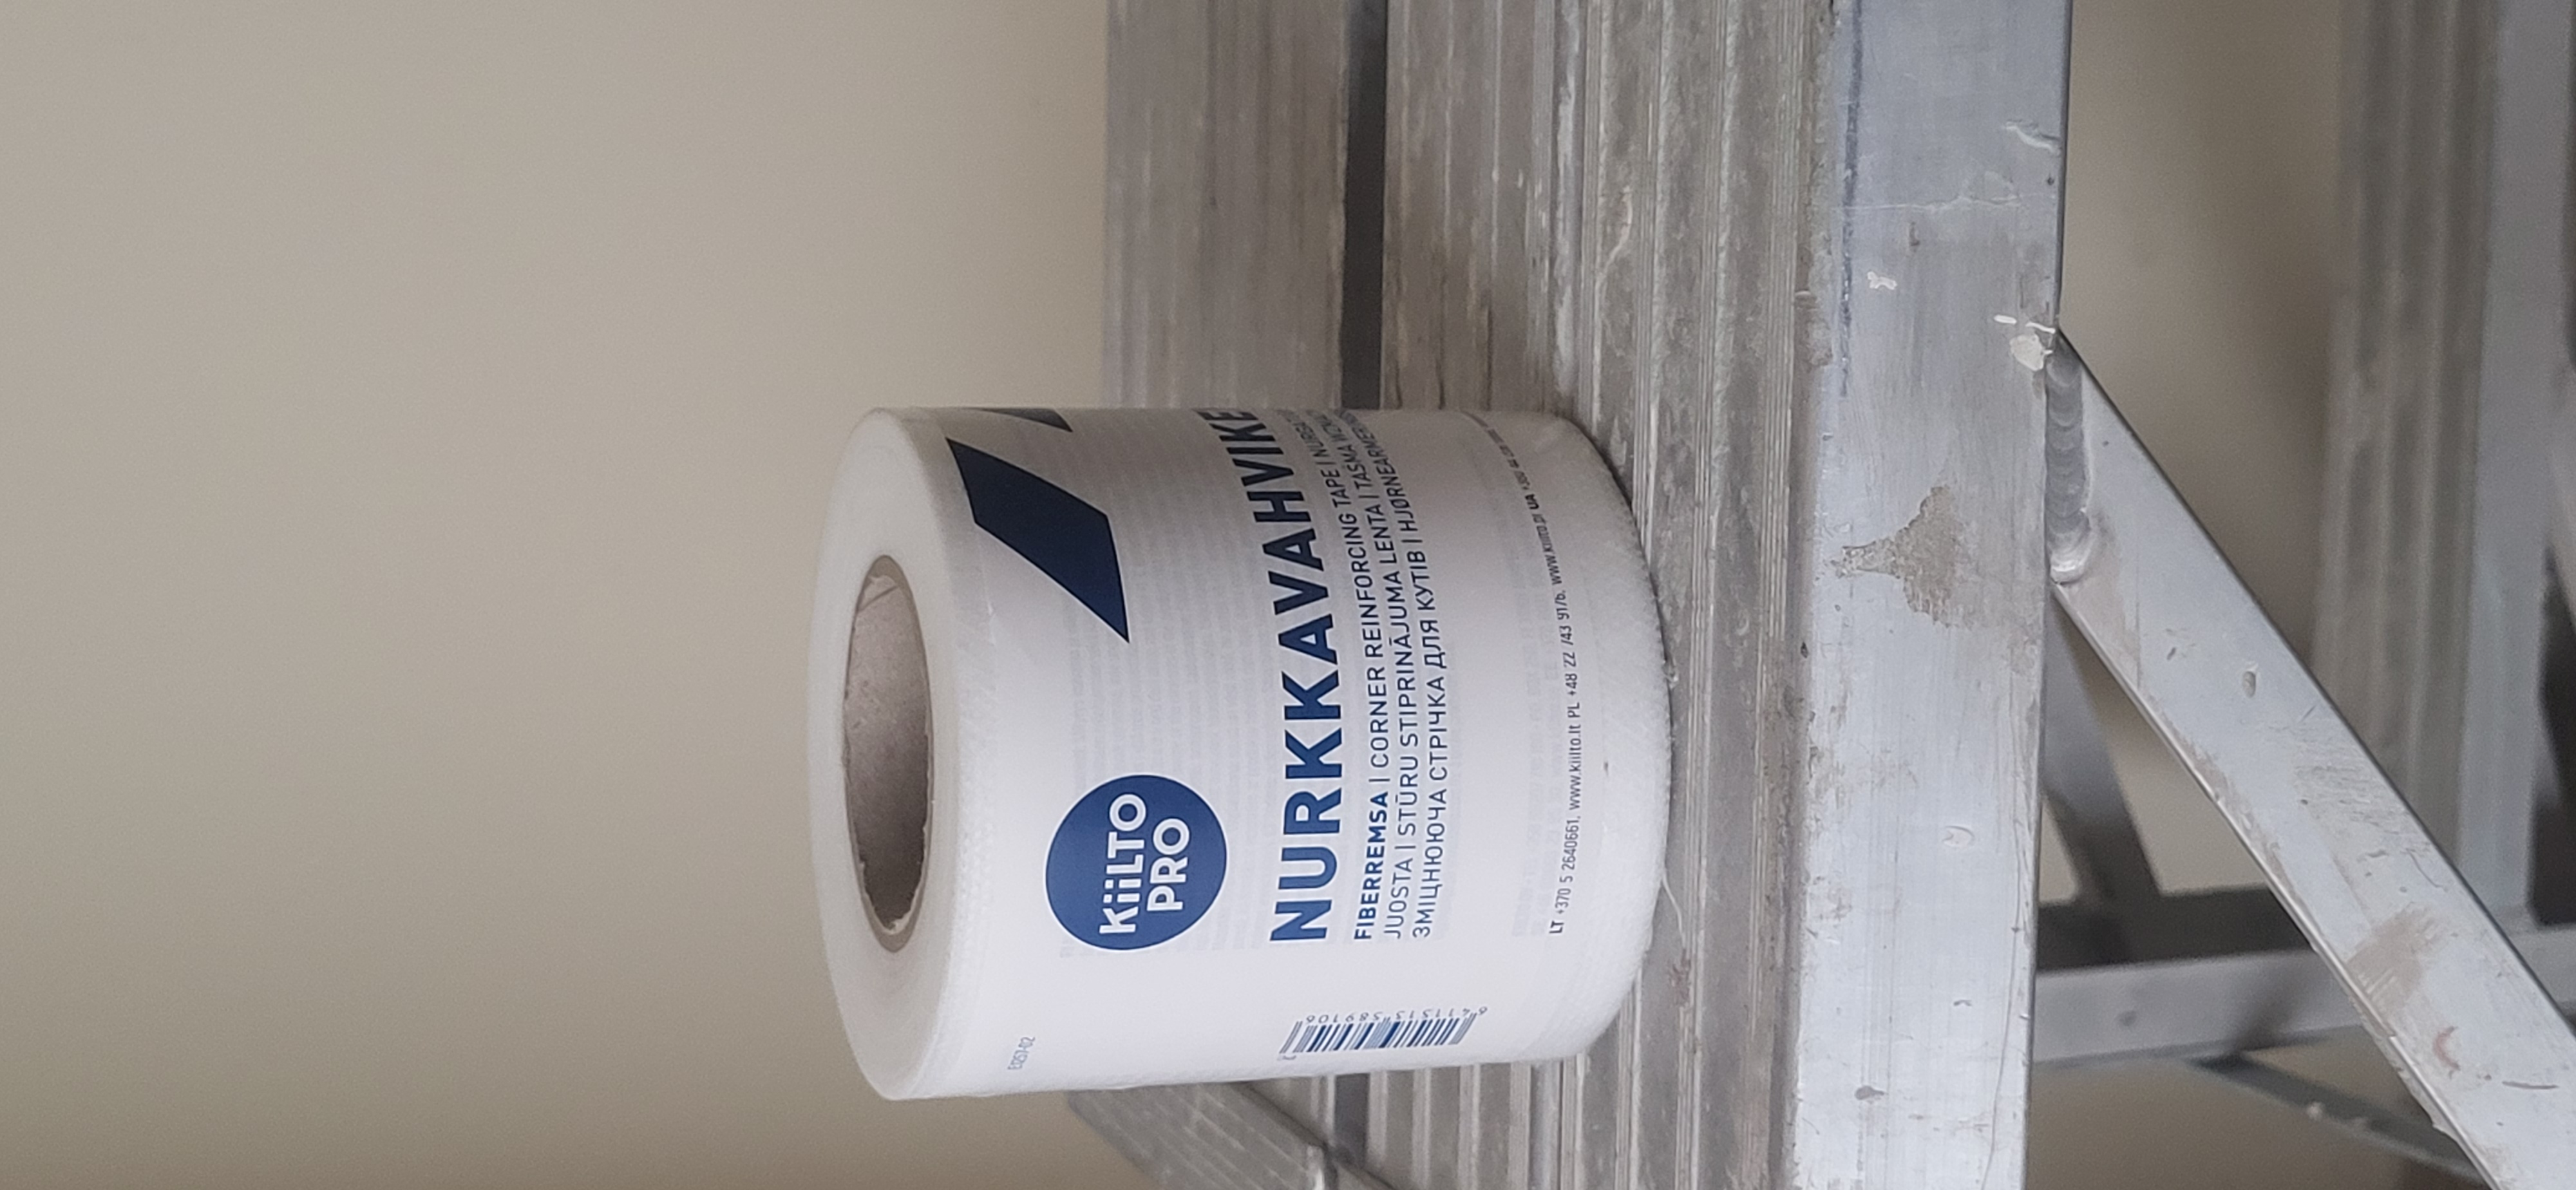
I use reinforcing tape from Kiilto; I like it better because it's easier to work with.
Additionally, you'll need a 5 cm wide brush and another roller the same as the one for priming.
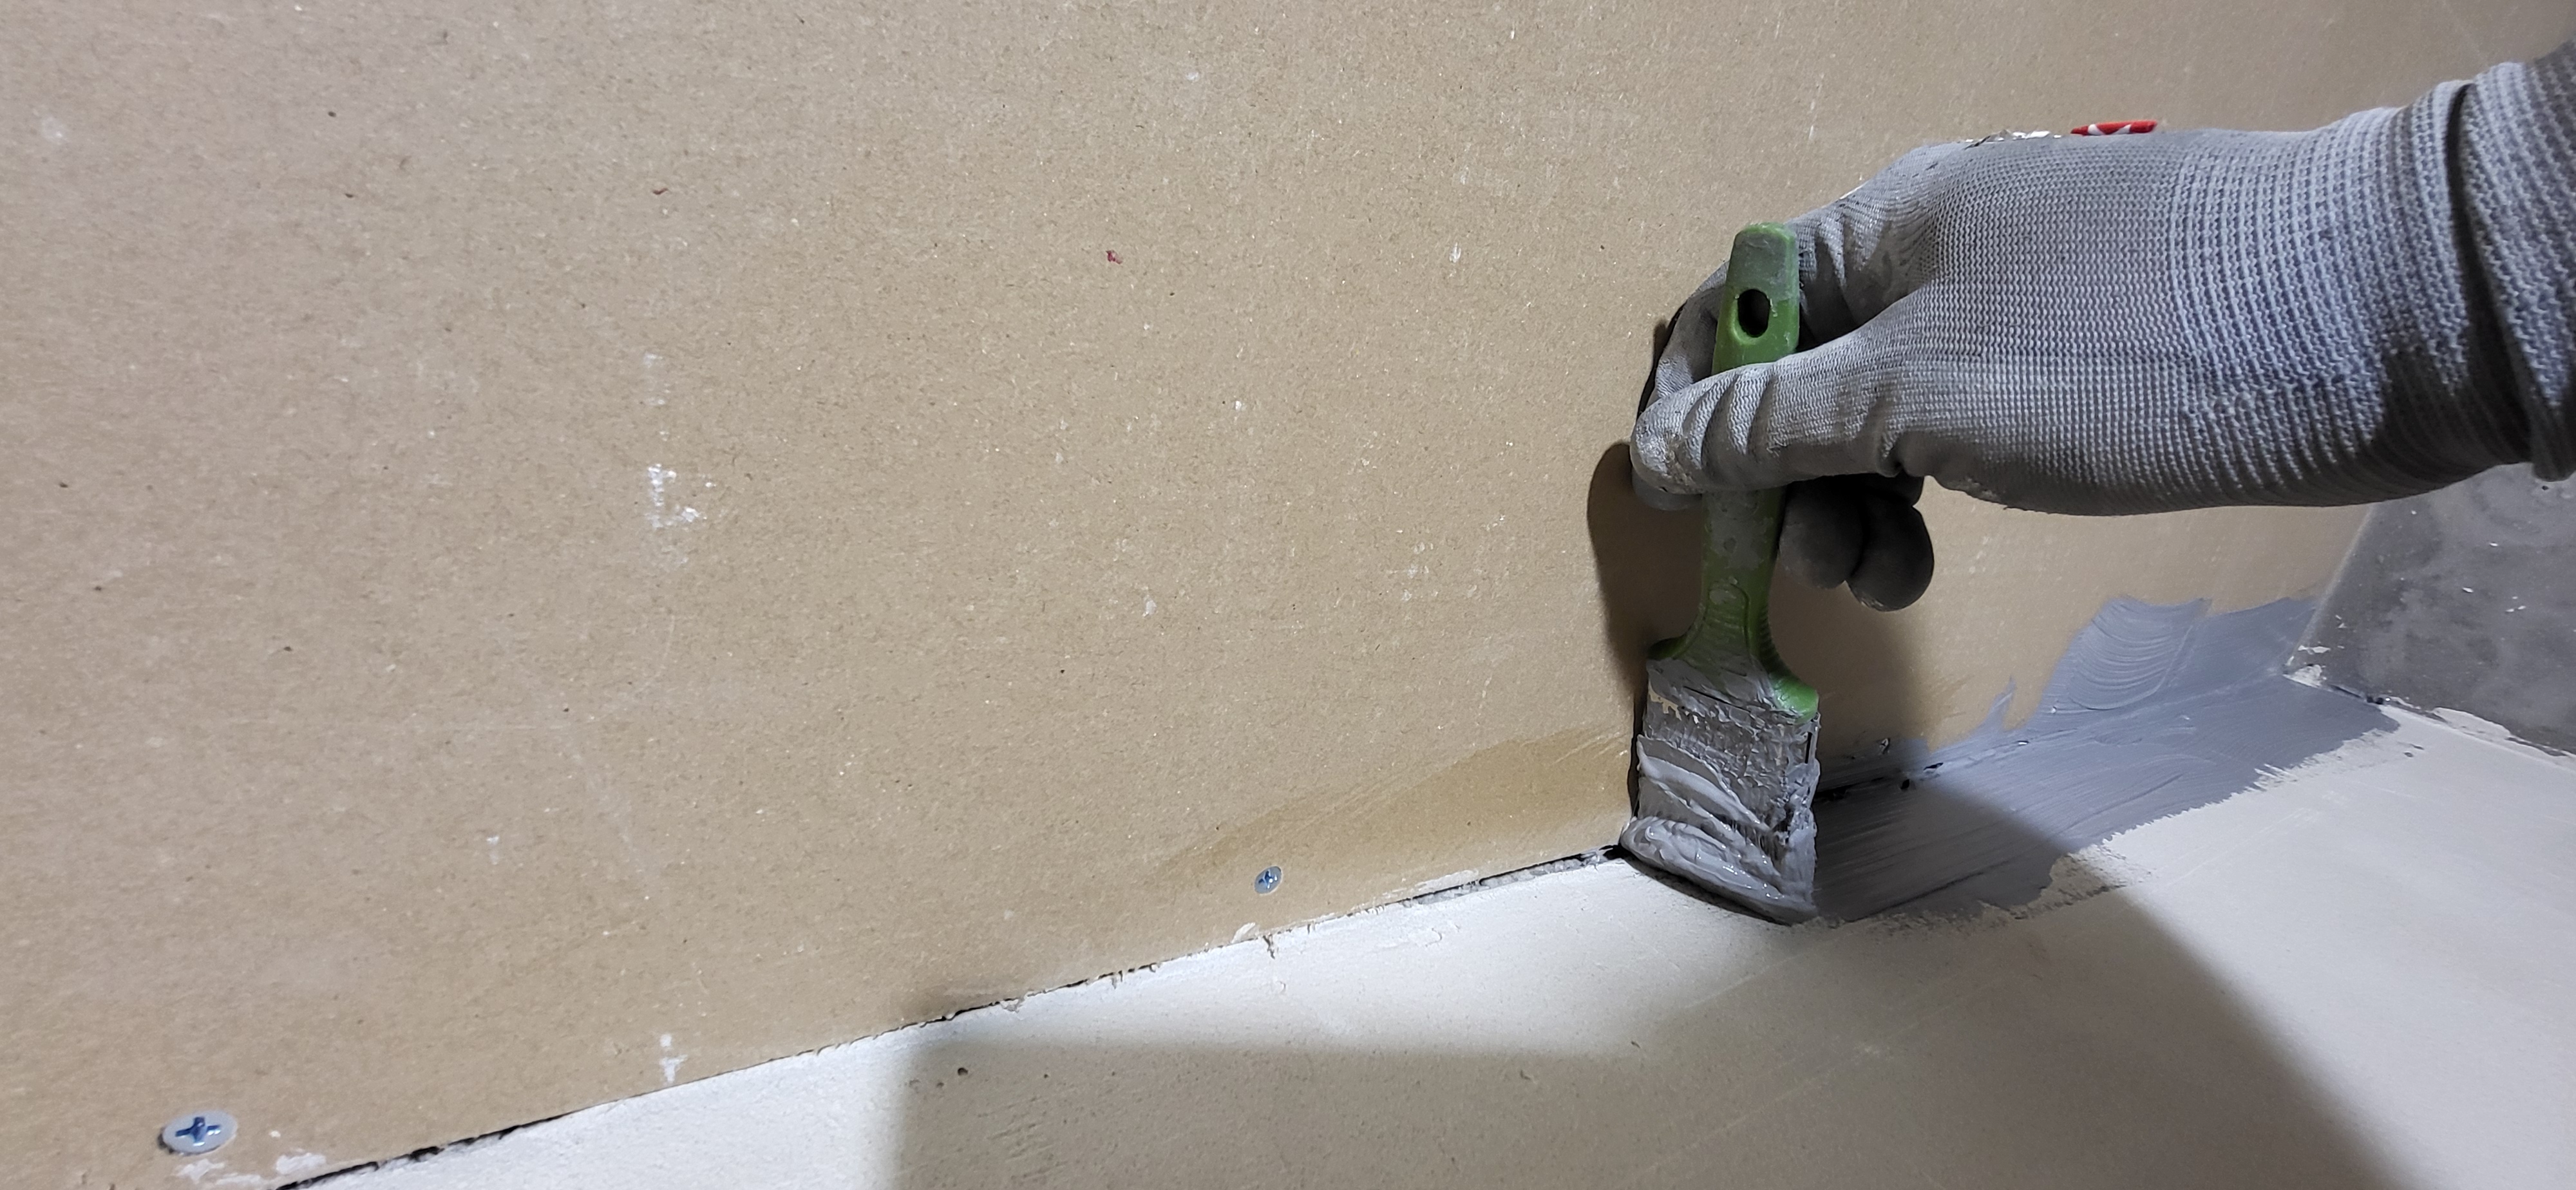
The first thing I do is prepare reinforcing tape of the required length for the internal corner. Then we apply waterproofing mastic to the internal corner approximately 7–10 cm on each side. We apply a normal thick layer, not sparing the mastic.
After applying waterproofing along the entire length of the internal corner, we take our prepared tape and bend it evenly in the middle from one edge.
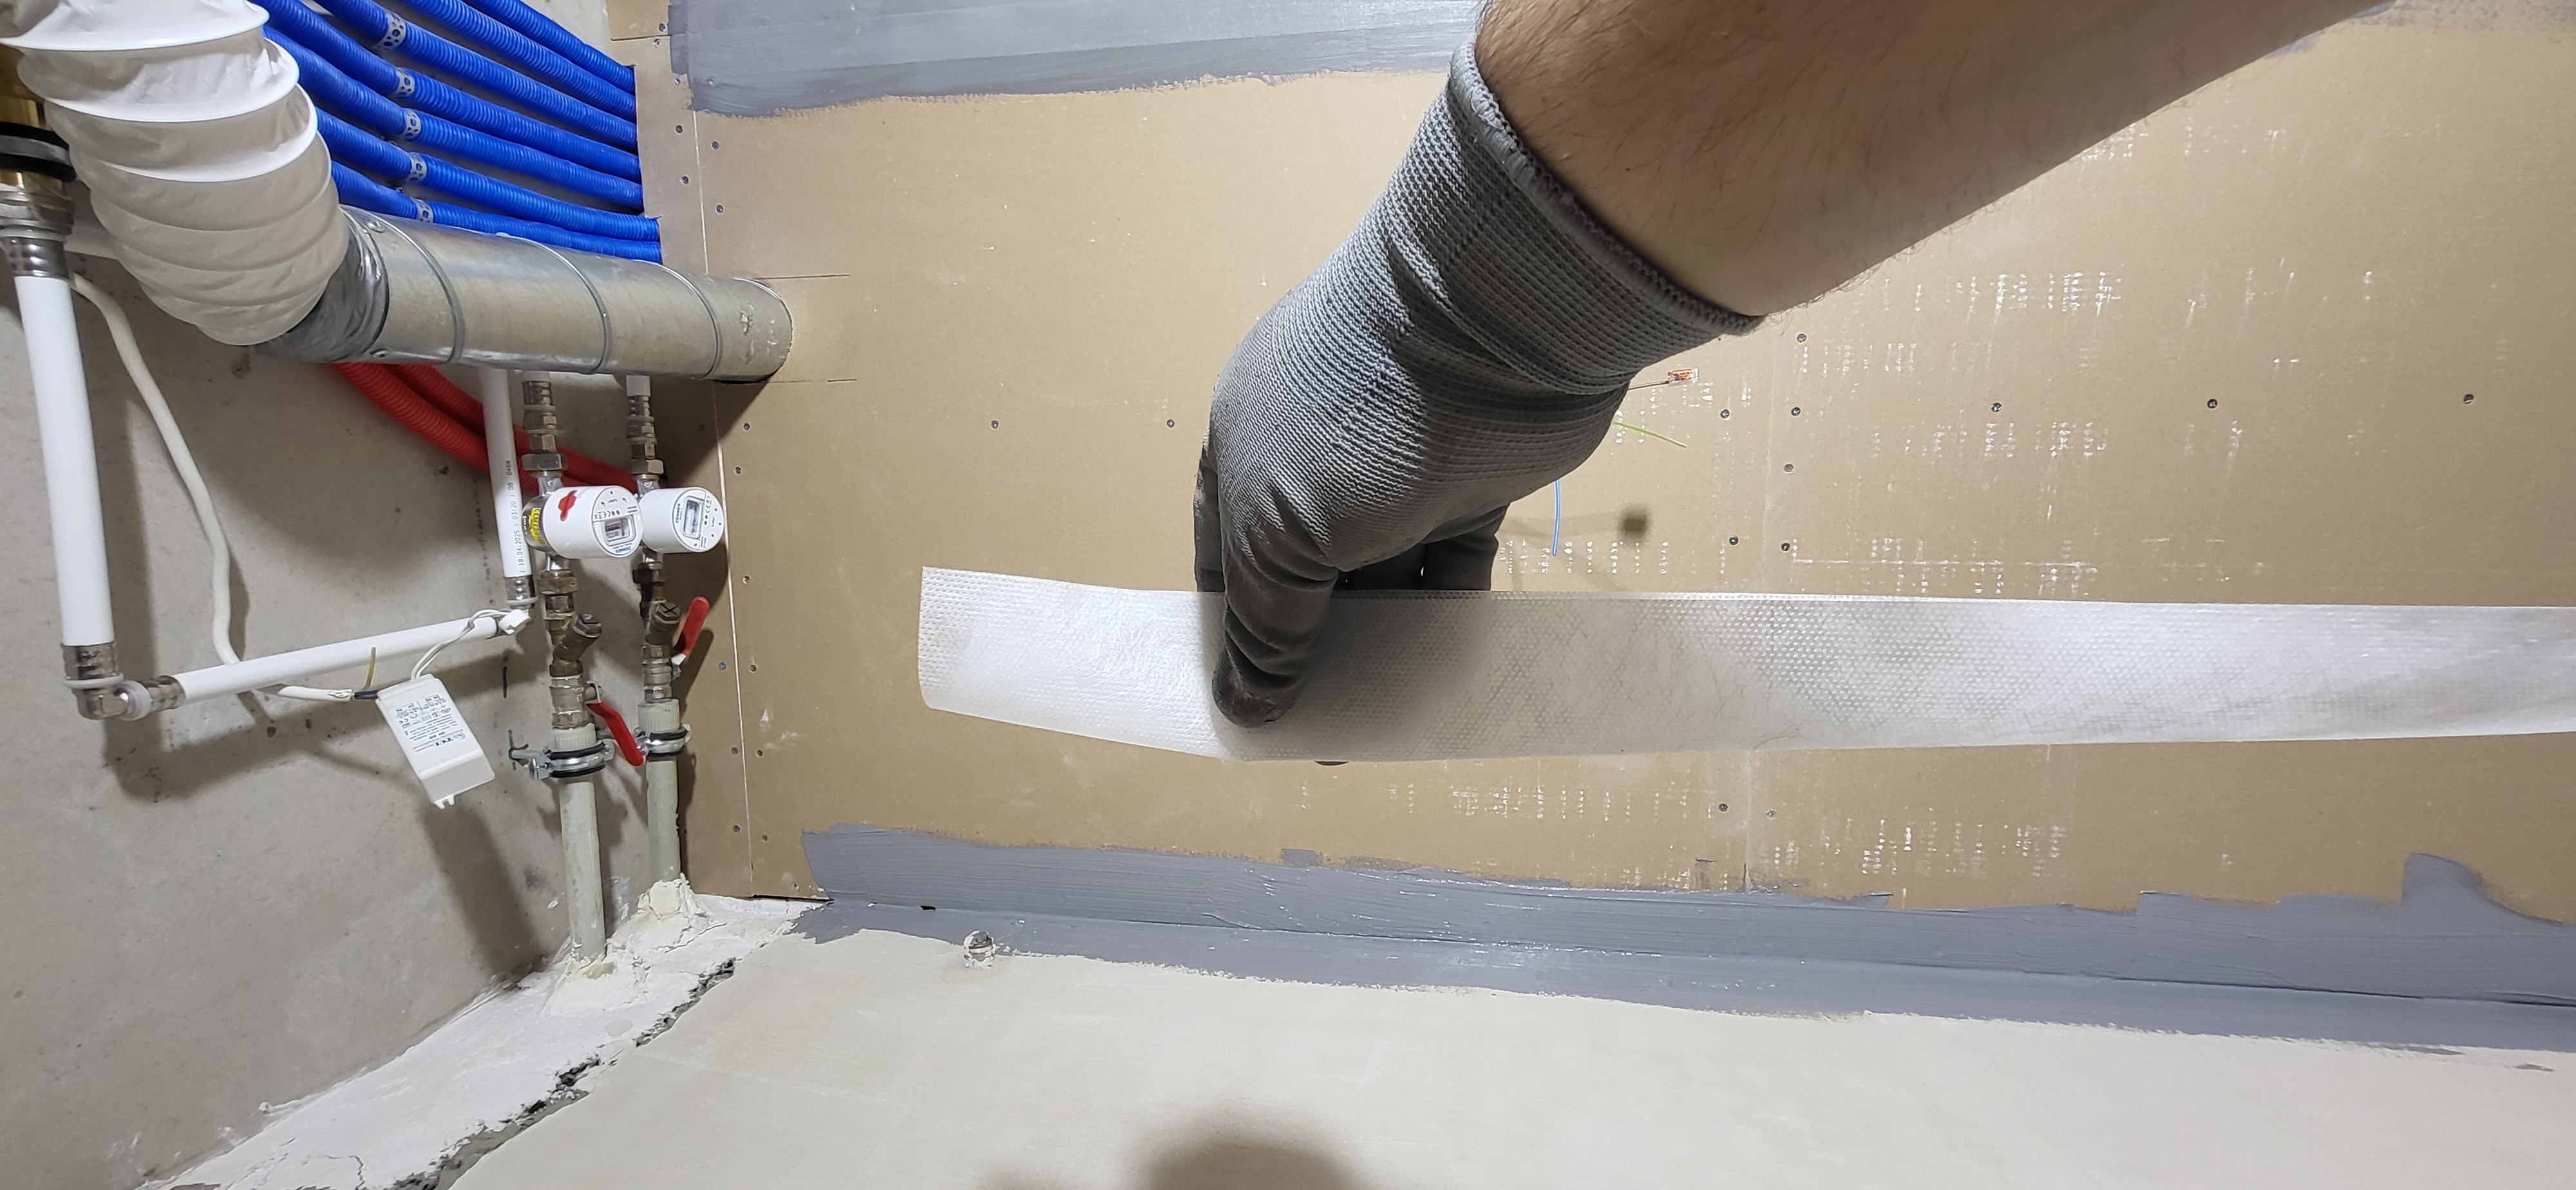
Now carefully and slowly, we glue the tape into the corner. Don't rush; it's important to avoid shifting and bending. Use the brush to gently press and smooth it out.
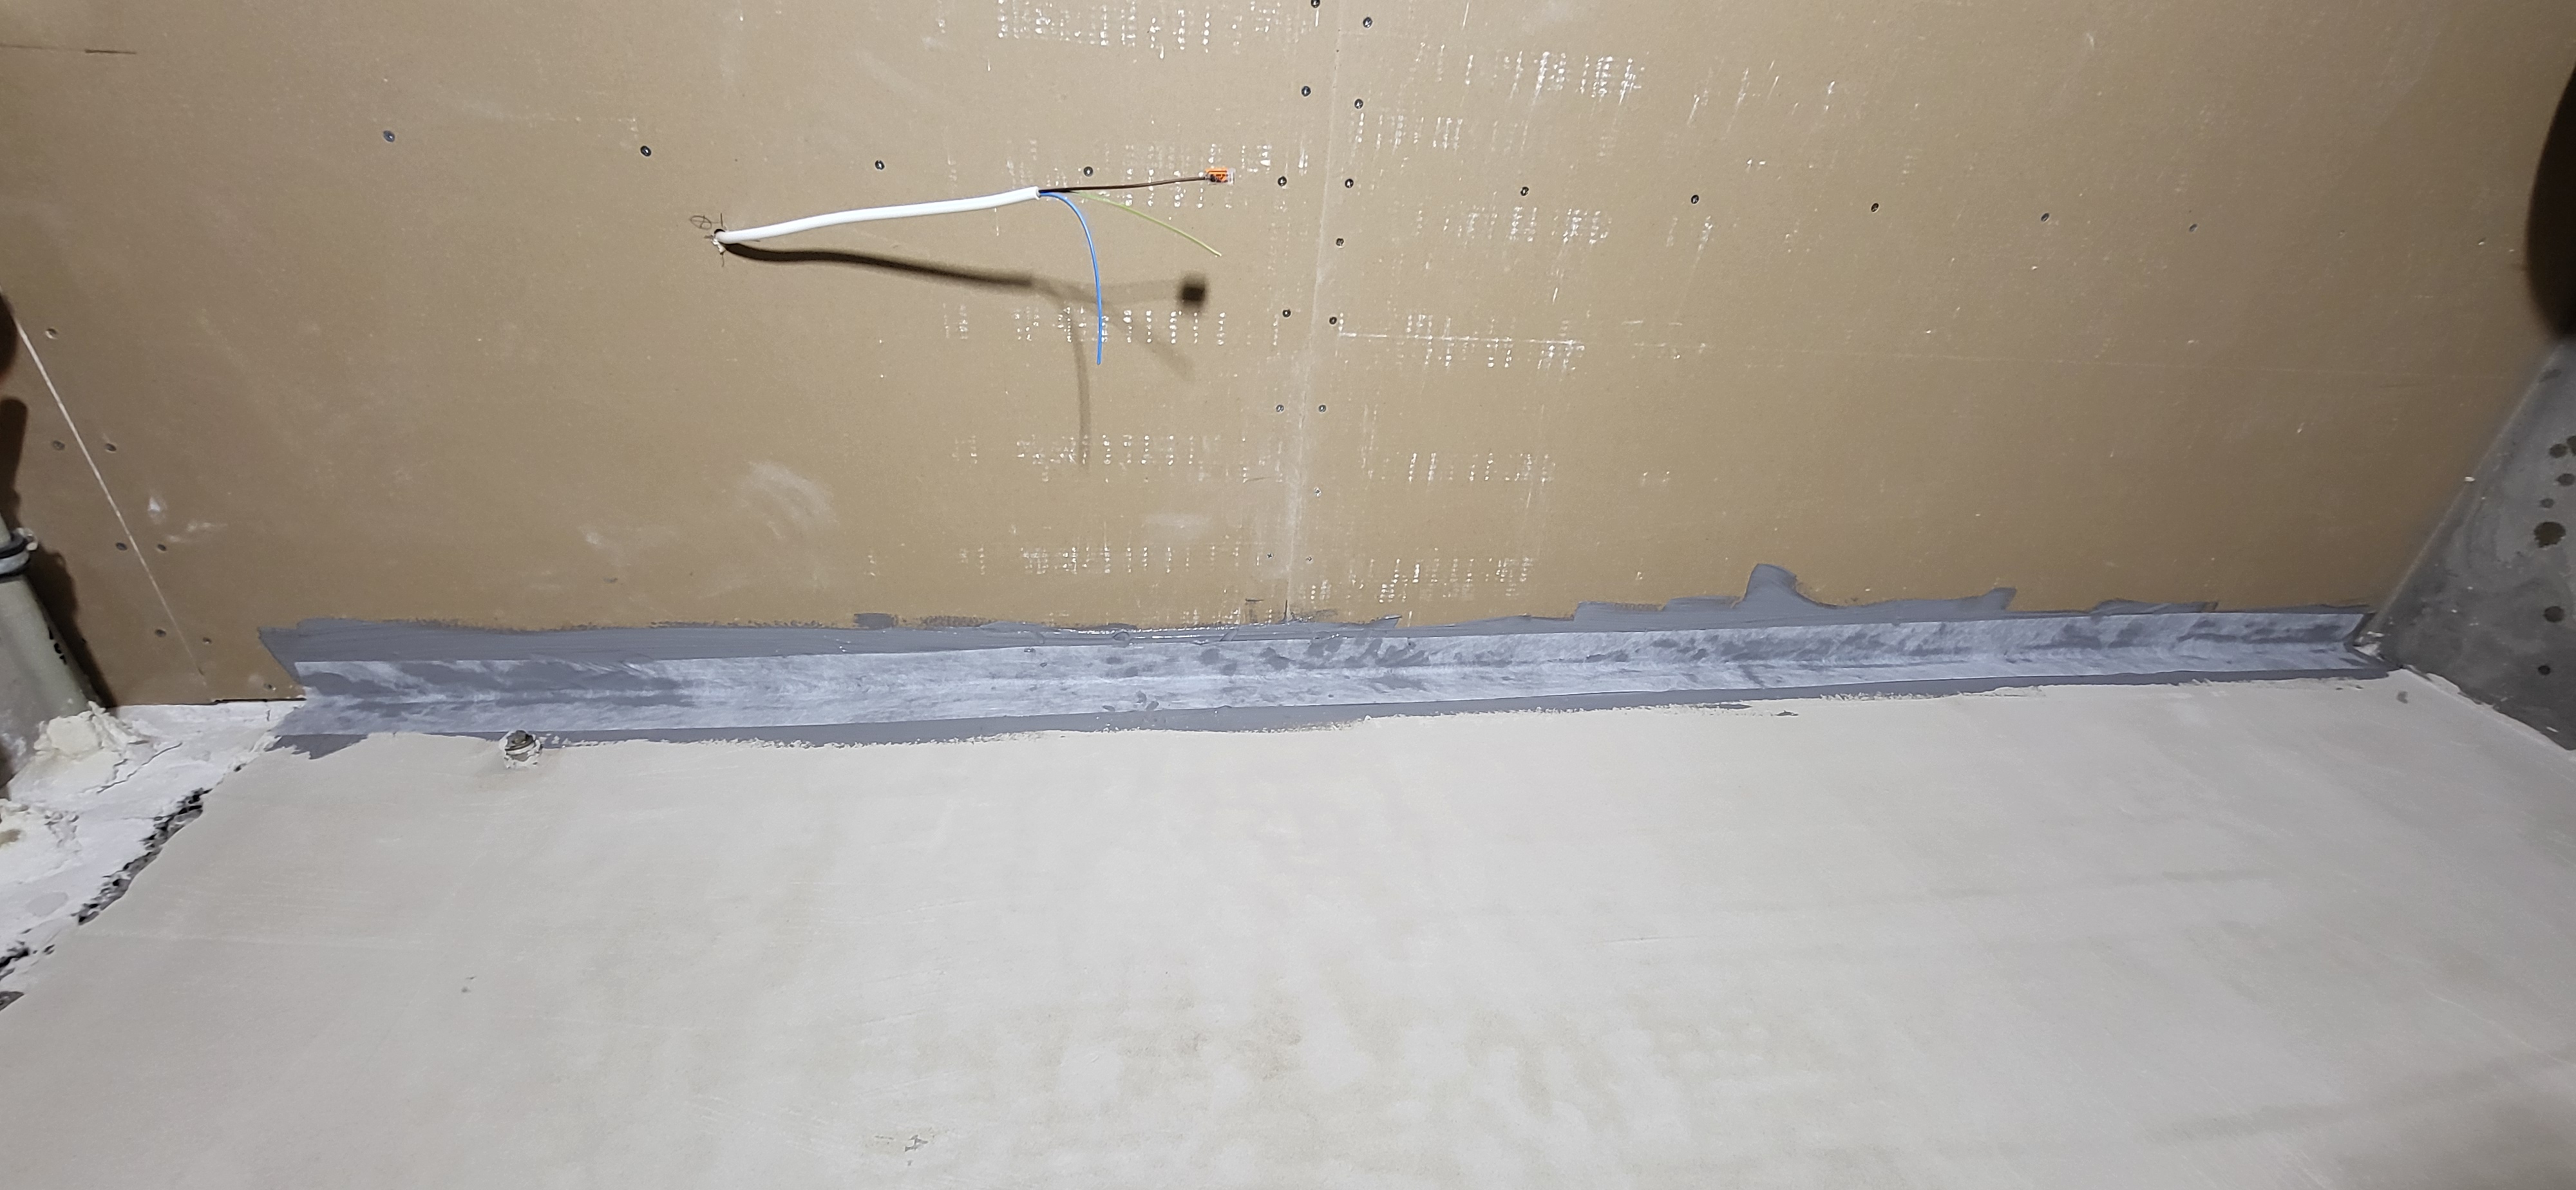
Next, we need to apply additional waterproofing mastic on top.
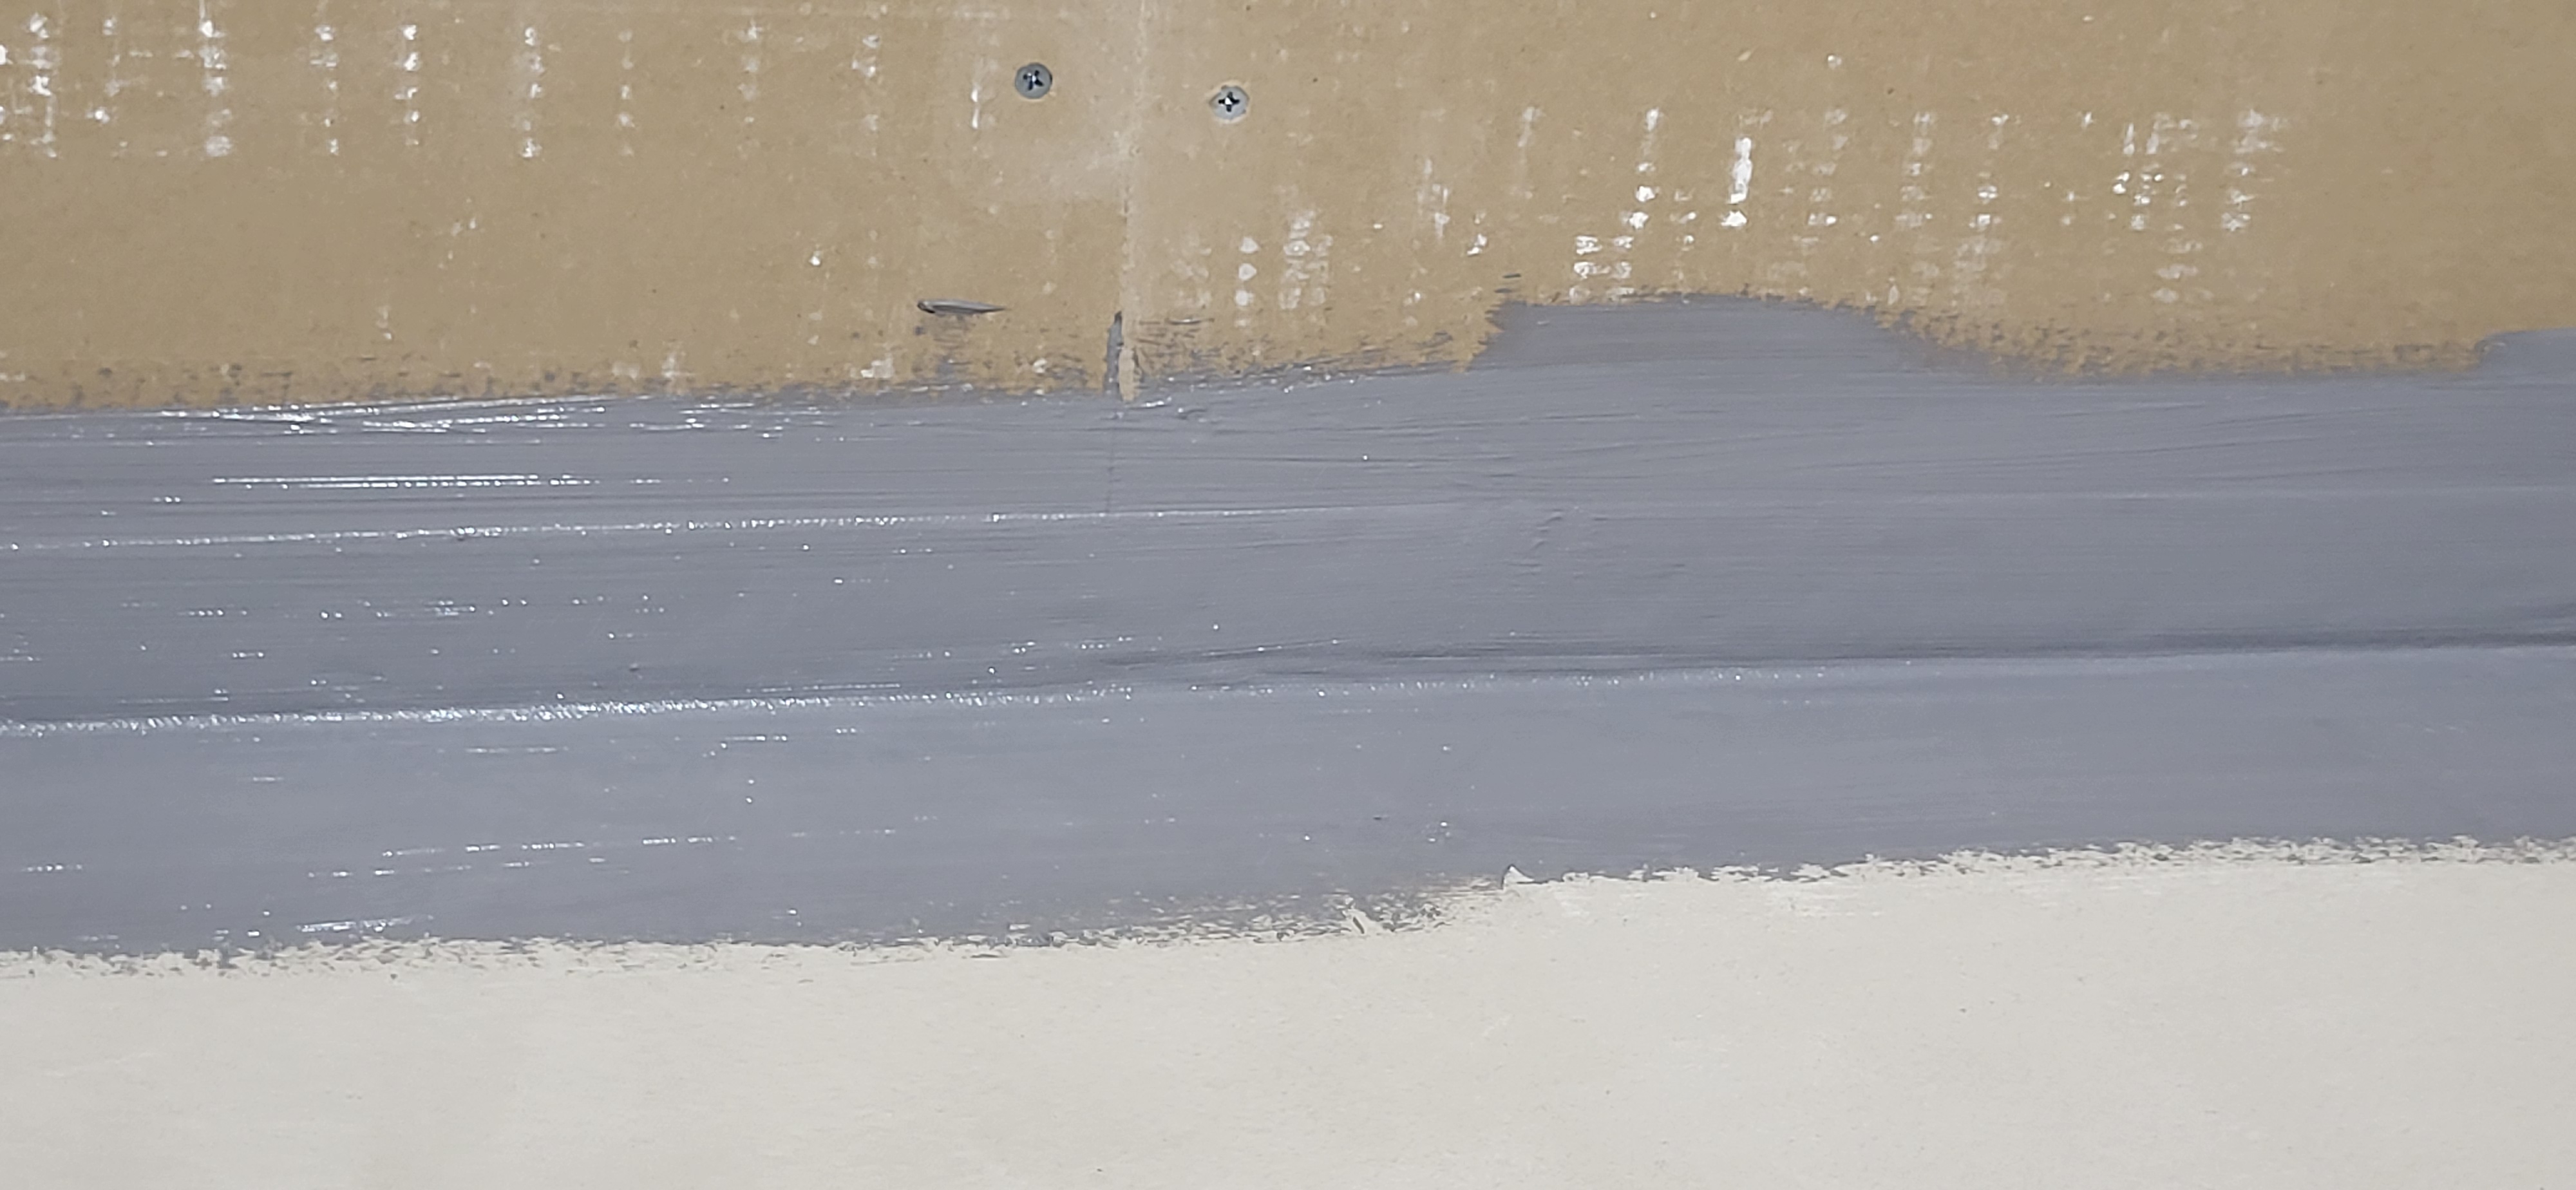
This way we reinforce all internal corners; external corners are done using the same principle — we just glue the tape to the external corner. We also seal all joints and connections of different materials, for example, concrete and drywall.
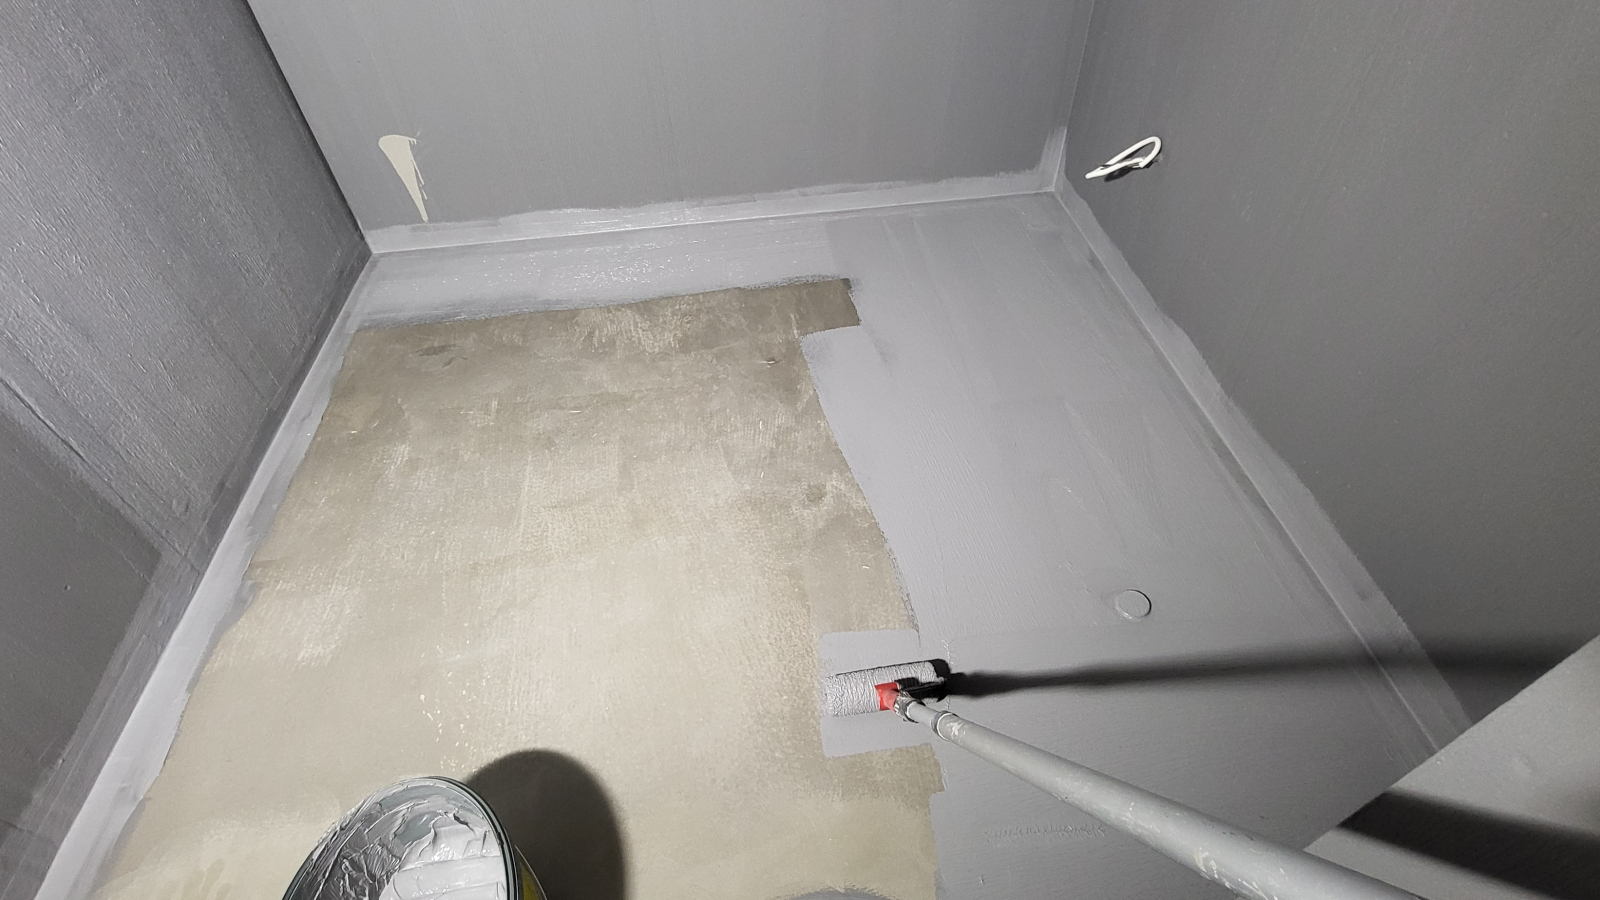
The next step is reinforcing water supply outlets. This is covered in the second part of the guide — waterproofing plumbing outlets in the shower. And about how to continue the work on the floor and reinforce the wall-floor joint, I explain in the third part — reinforcing wall-floor corners and applying mastic to the floor.
Also Read from This Series
- Part 2: Waterproofing Plumbing Outlets — how to seal outlets for a faucet and sink using special gaskets.
- Part 3: Reinforcing Wall-Floor Corners and Floor Application — the "envelope" technique, tape overlap, and proper mastic consumption of 1 kg/m².
Write your questions in the comments; I'll be happy to answer them.
No comments yet.