

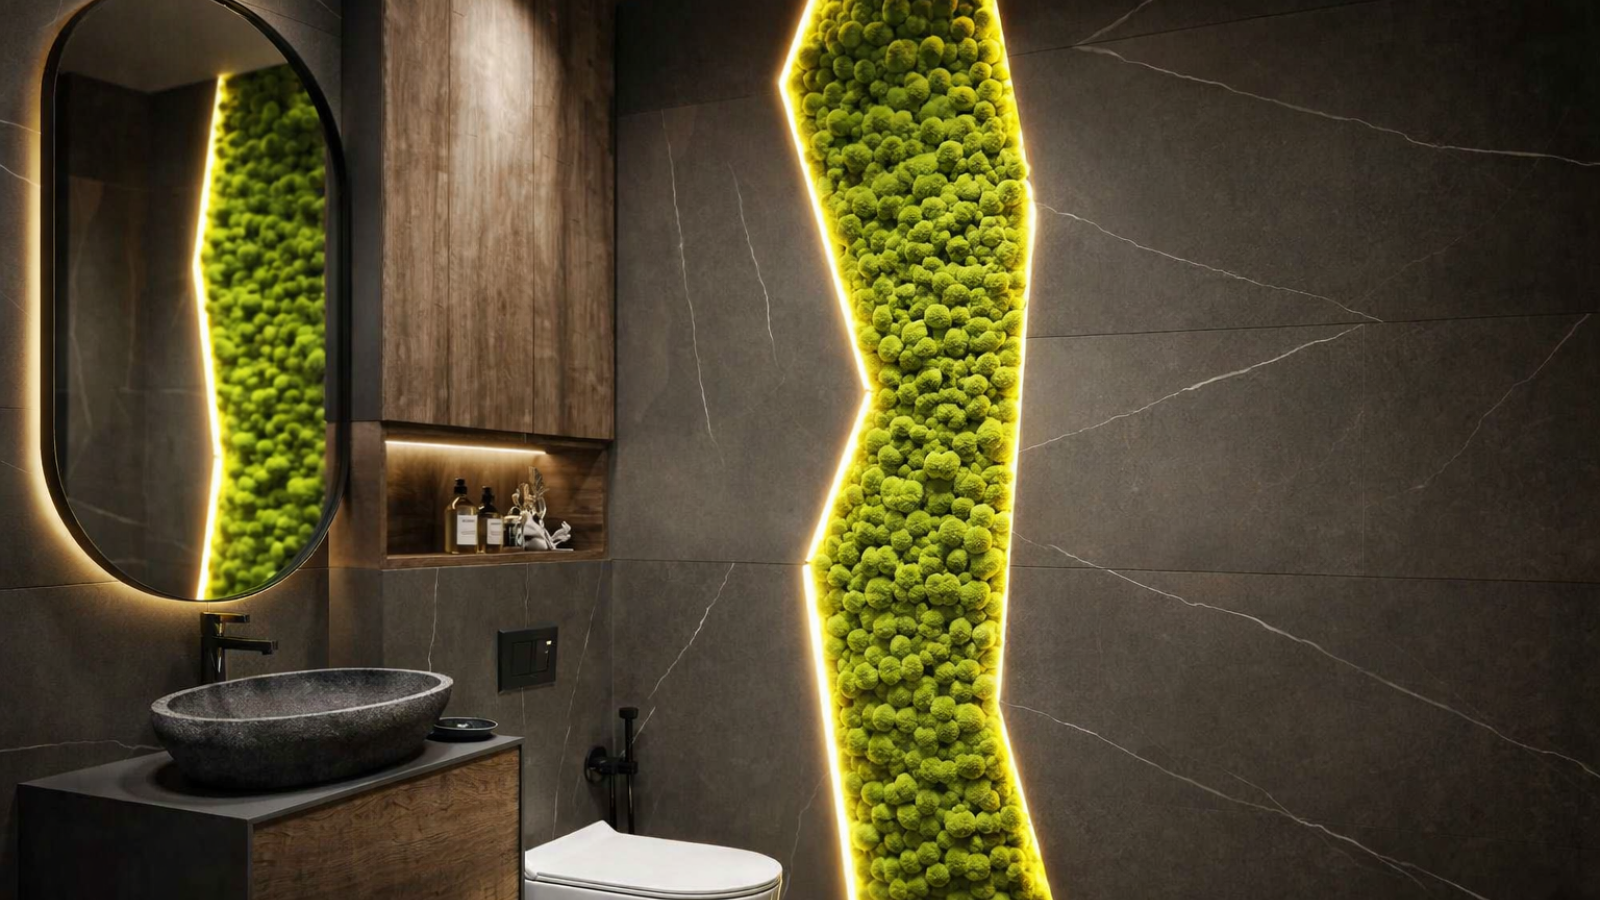
A client came to me with an unusual idea. An AI suggested bringing his bathroom to life and adding a special touch in the form of a niche with lighting and live moss.
The task was not trivial, and after discussions with the client, we decided that the niche should be visible in the mirror on the opposite wall. Once the niche location was approved, I started the work. A big advantage was that the niche was being built into a drywall partition. The frame width in the partition is 66 mm, which was quite sufficient. Below are the work stages.
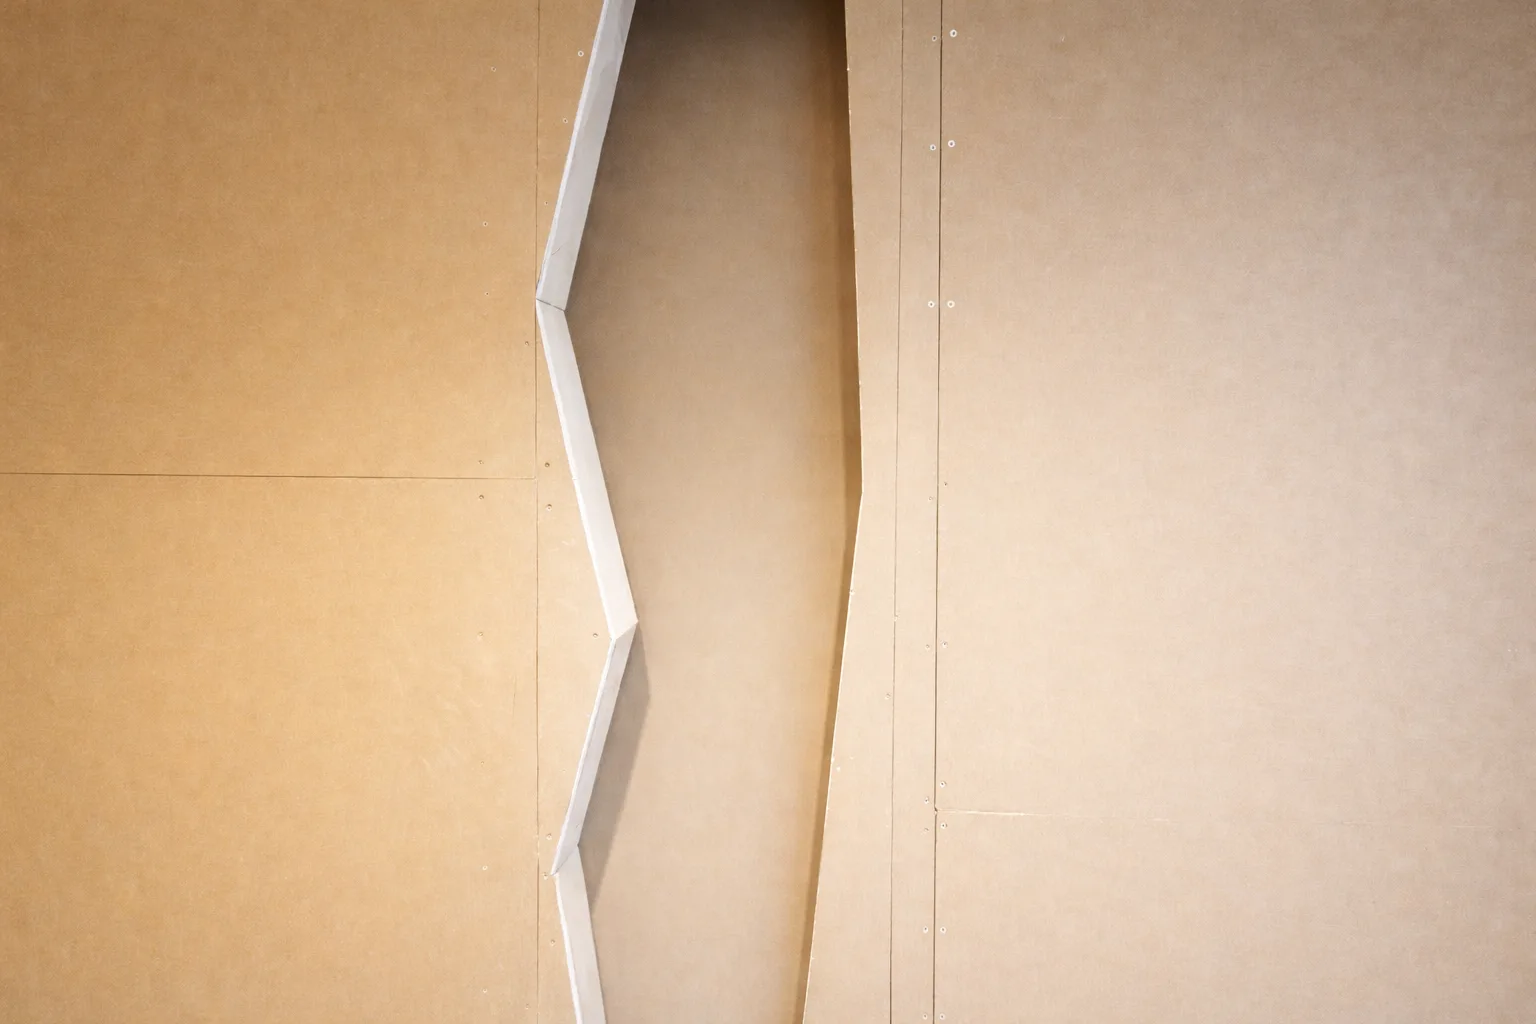
Draw a sketch of the niche roughly as shown in the sketch
Cut out the niche in the first layer of drywall
Pour the floor at the cutout site down to the second layer of drywall
Screw in the frame at the cutout site along the entire height
Extend and make drywall slopes down to the second layer
Run wires for the LED strip
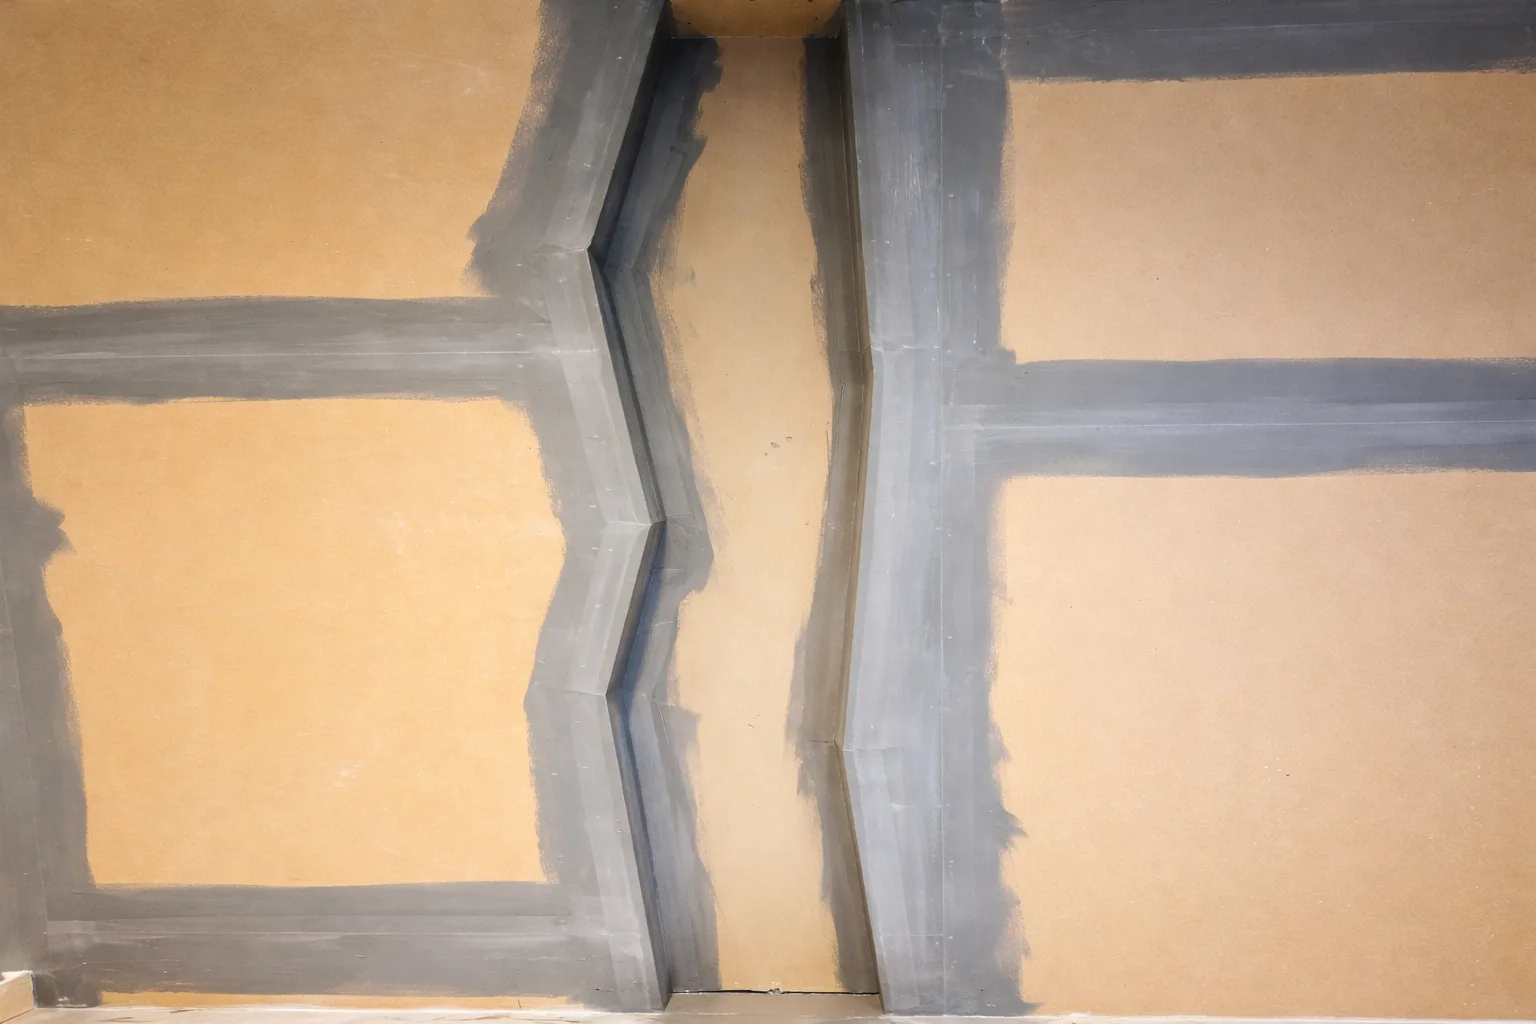
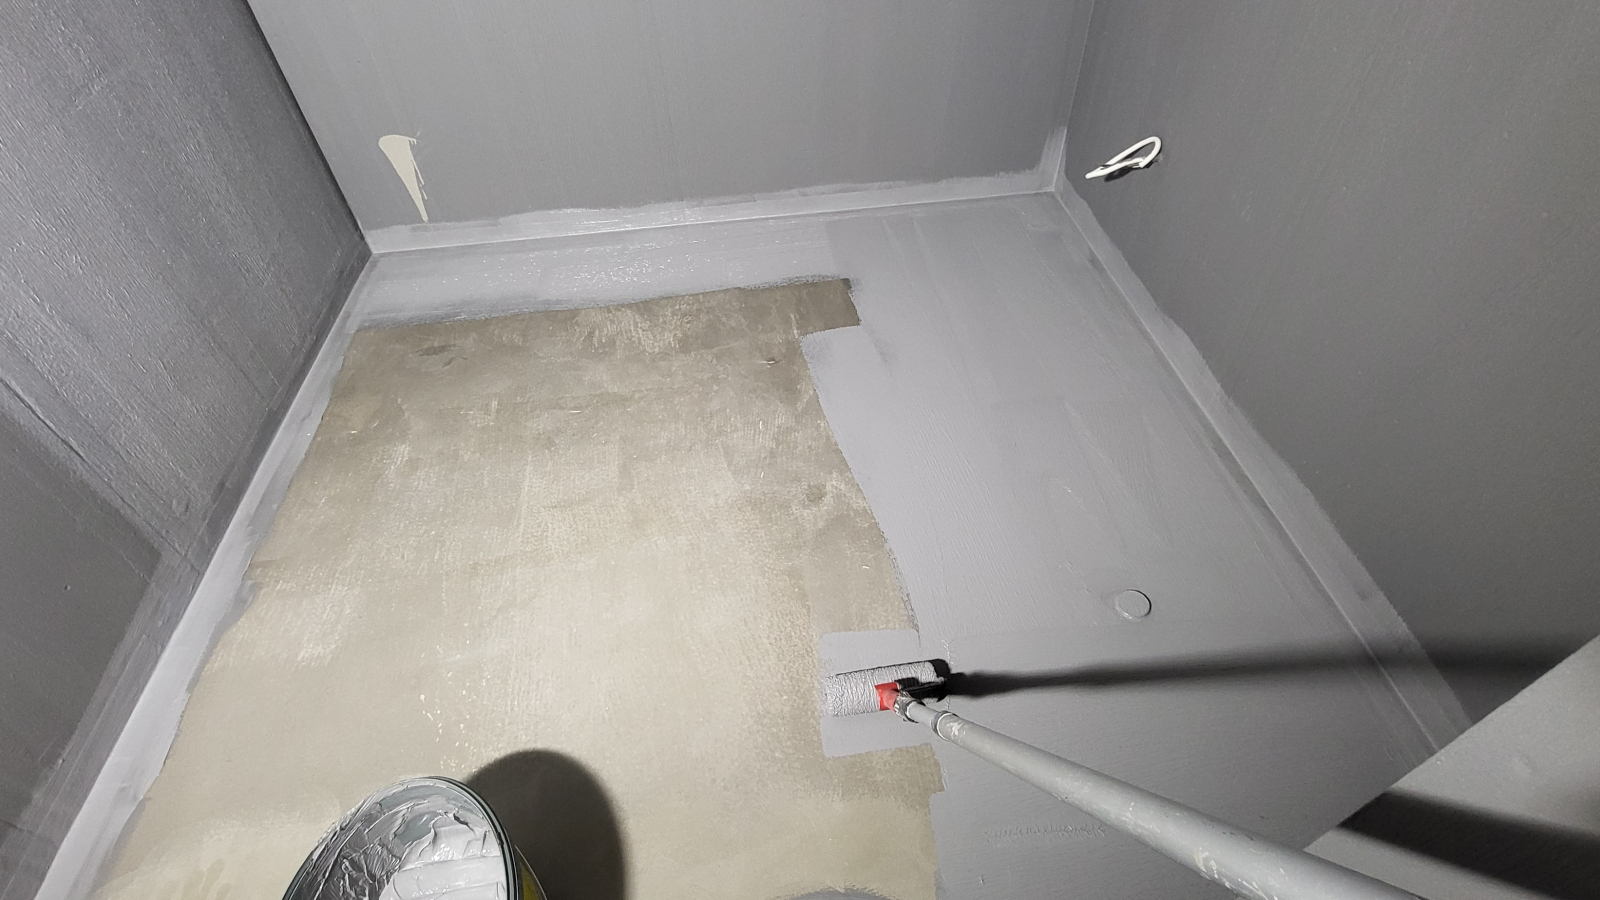
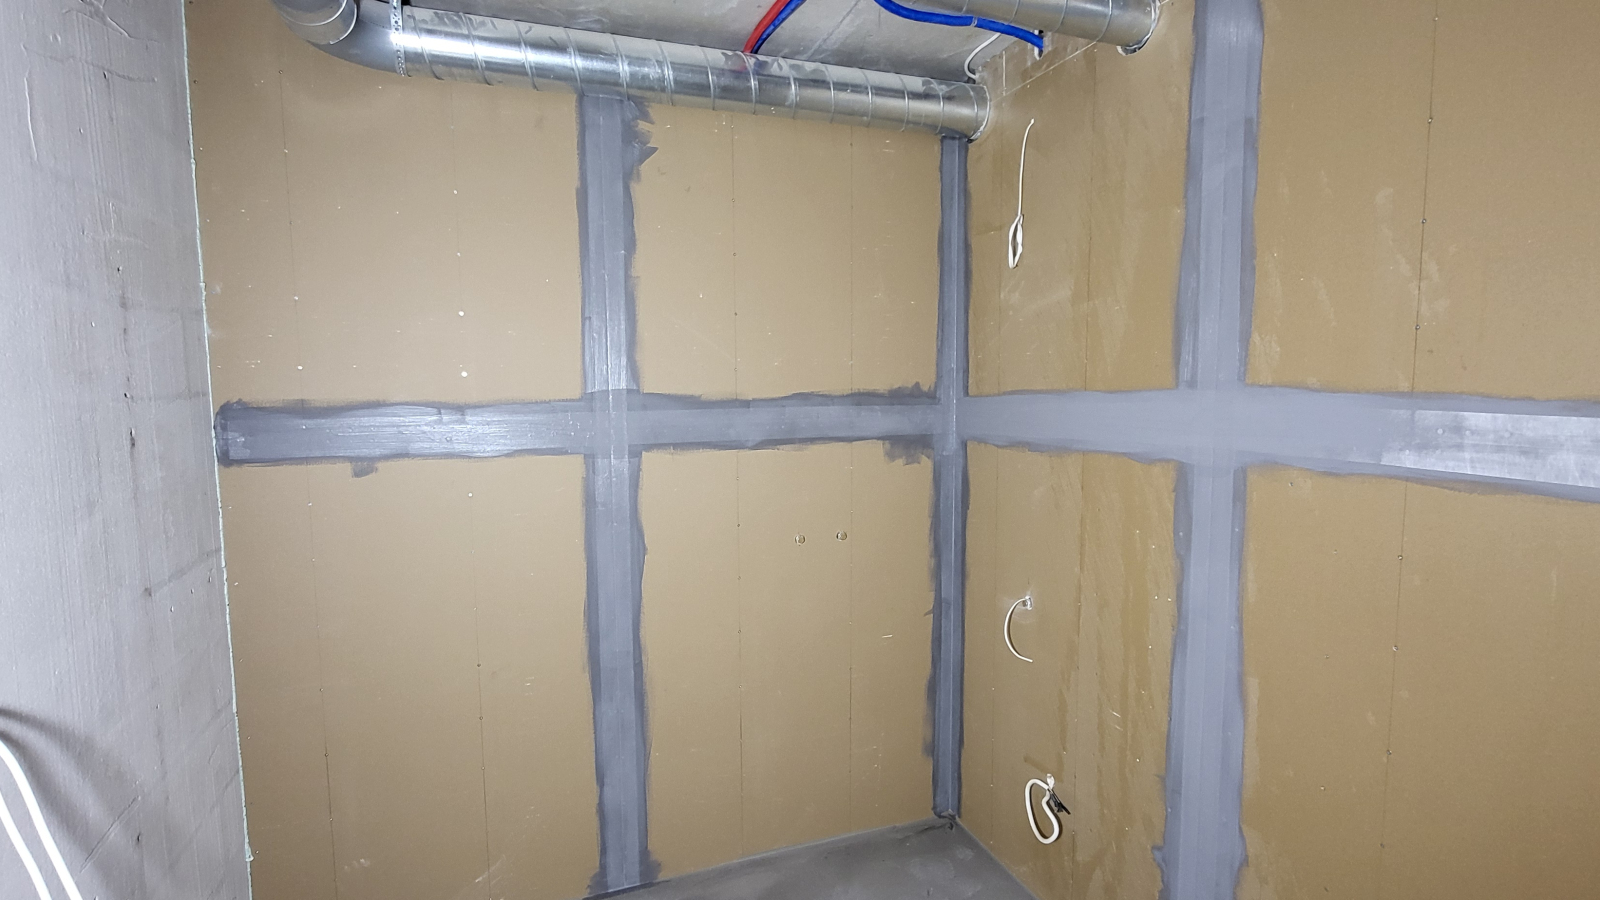
Apply waterproofing
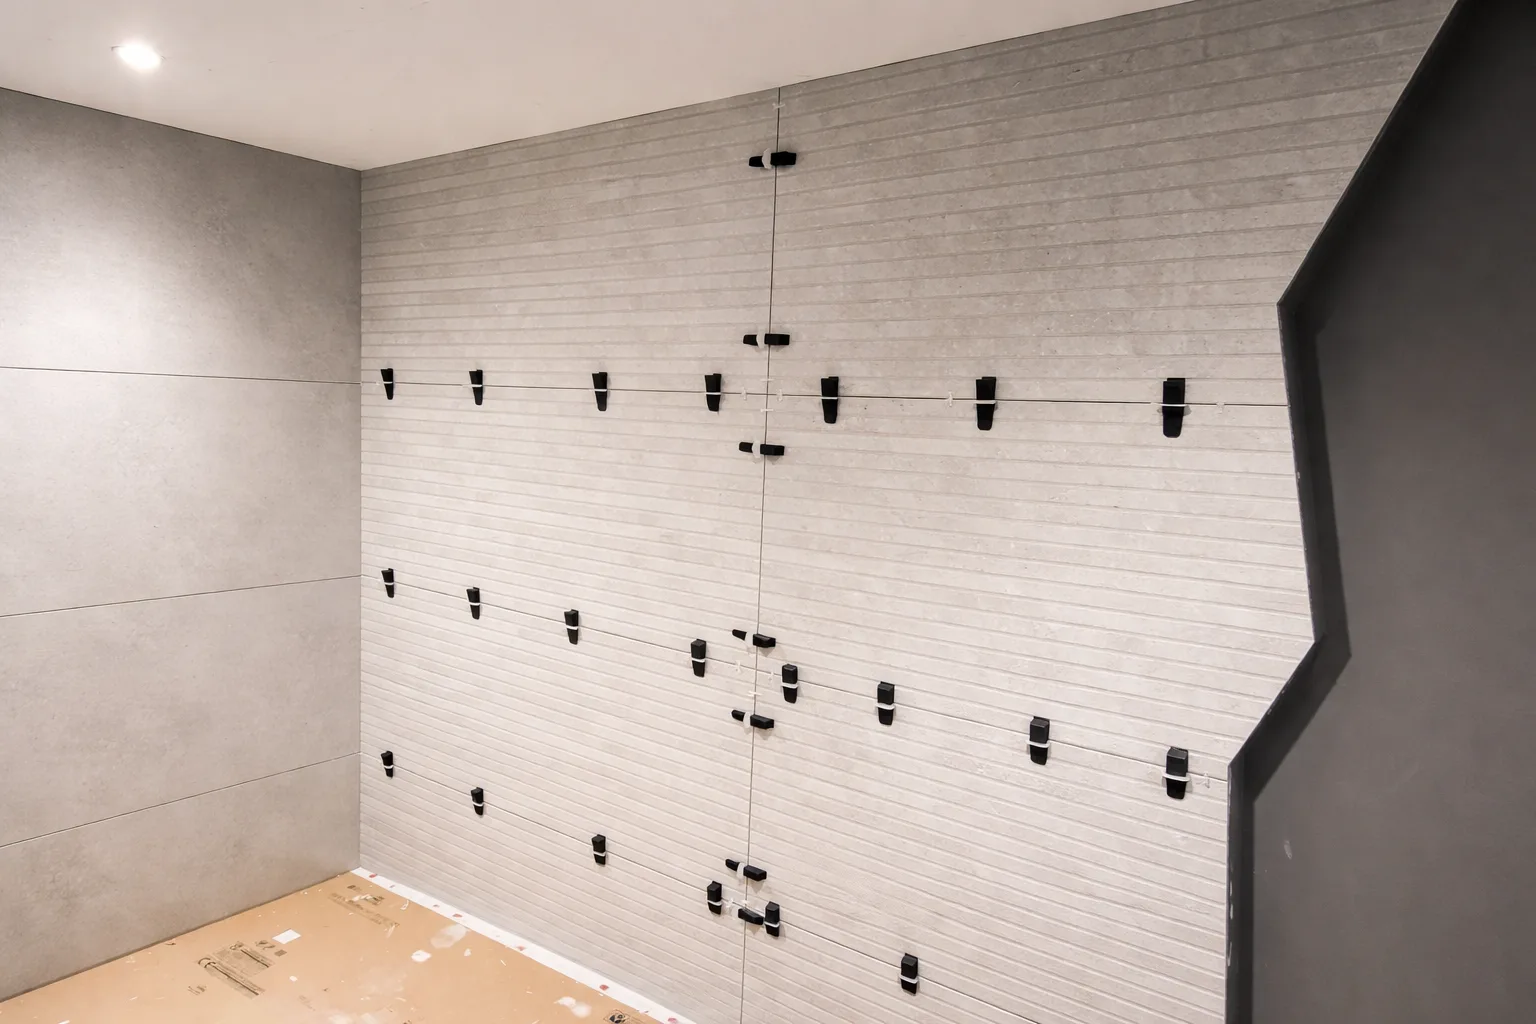
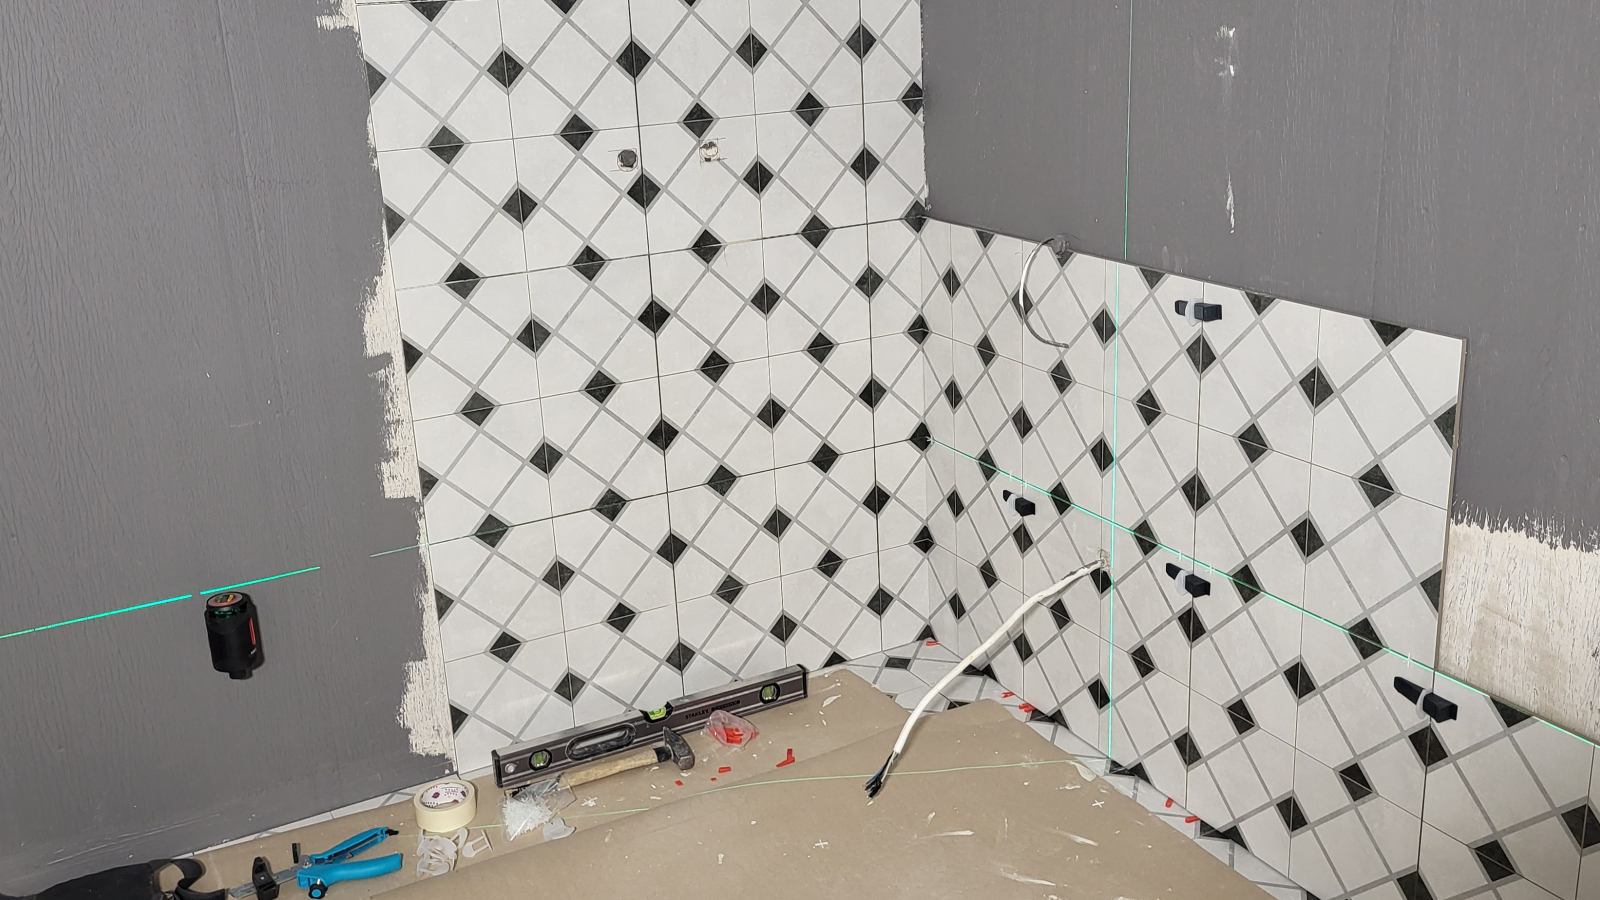
Lay tiles in accordance with the niche
Paint the slopes in the niche
Install the lighting
Install a panel with stabilized moss
As you can see, the list of tasks is quite extensive. I got to work step by step.
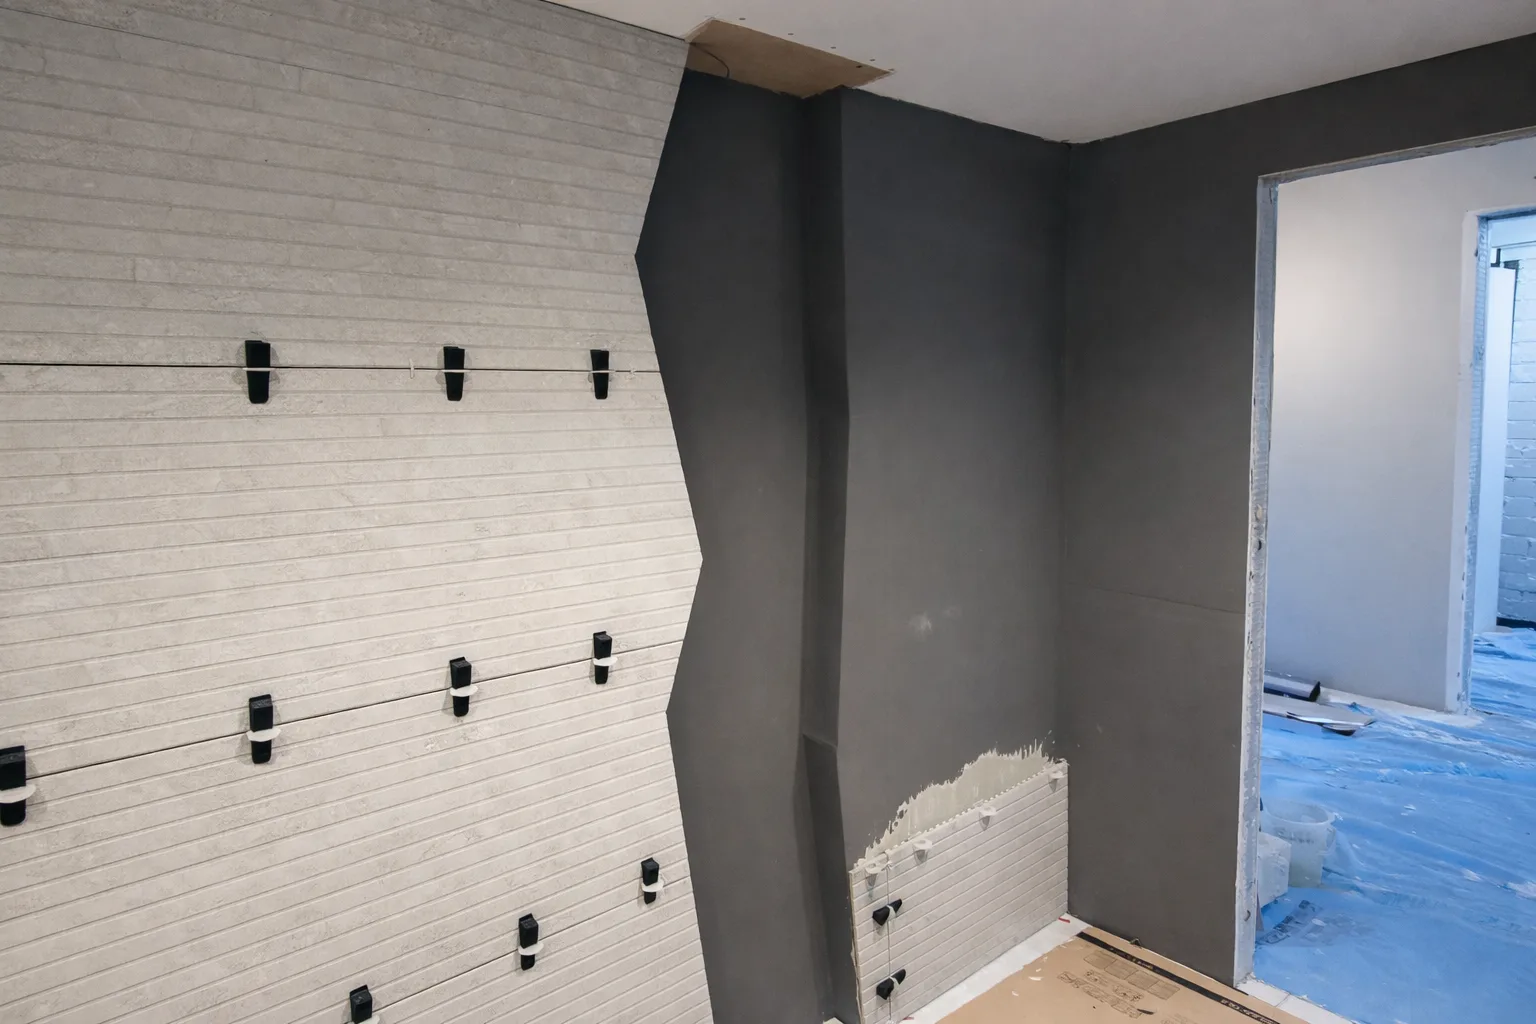
Below are screenshots of the niche preparation process itself.
After the niche was completely finished with drywall, waterproofing needed to be done. Glue reinforcing tape to the joints and corners.
Next, laying tiles on the main walls while maintaining the niche contours.
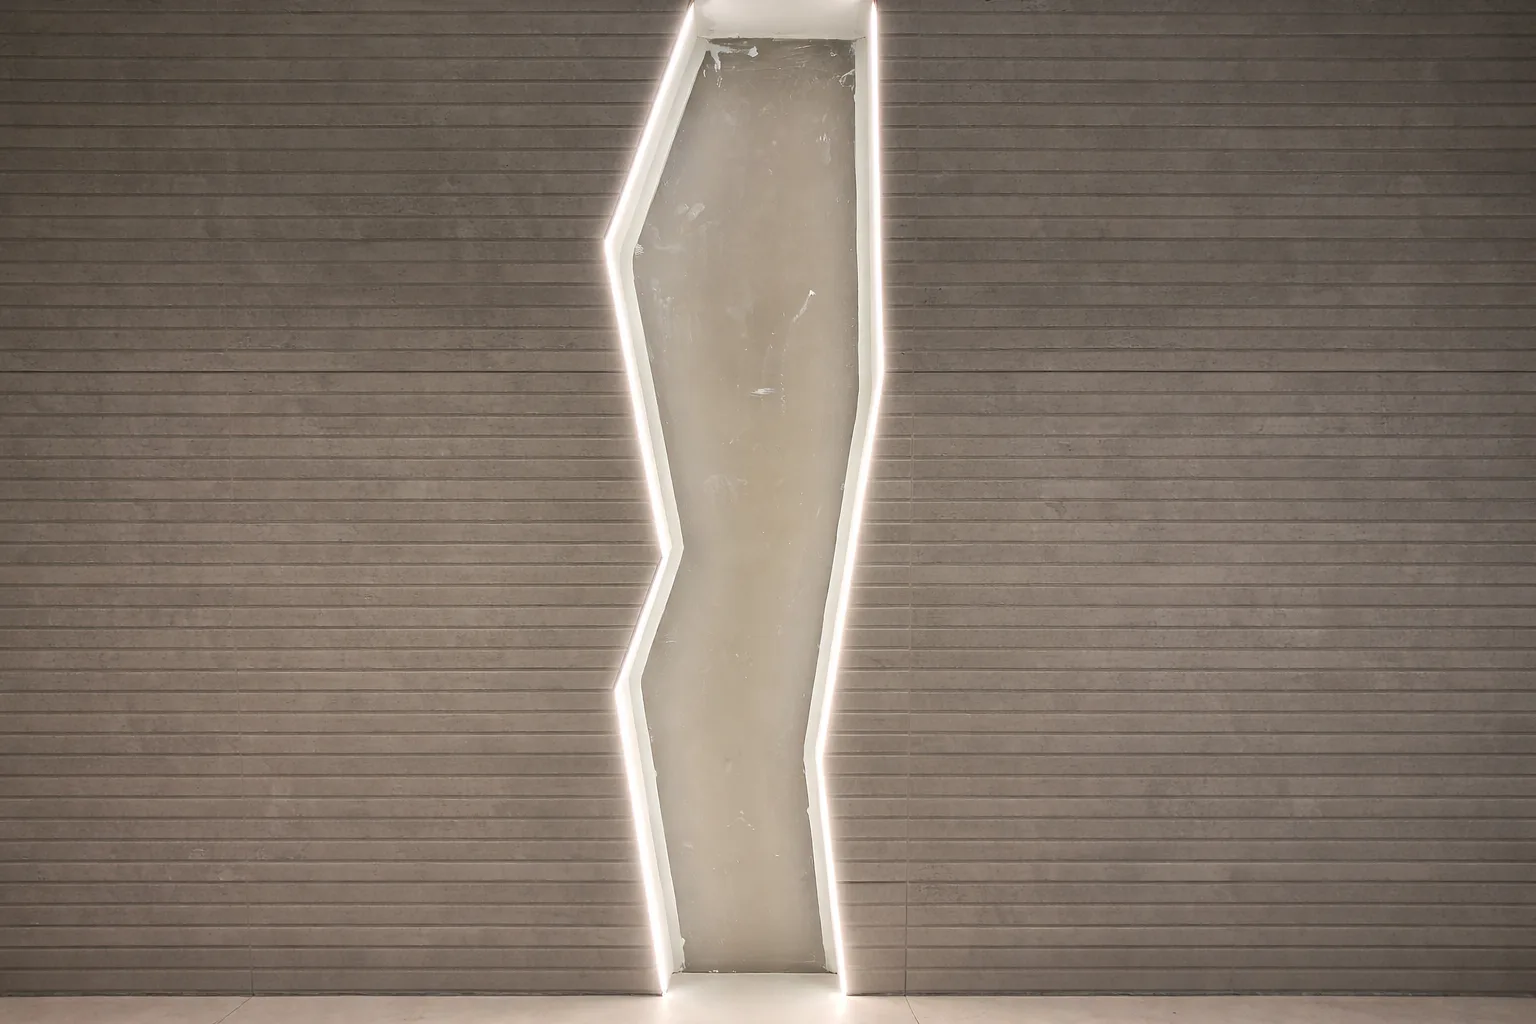
Finished niche with lighting, but without moss. A few words about the LED strip that was installed. The whole principle is such that if you look closely at the source image, you can see that the lighting shines with even light without breaks.
The next very important factor is that the strip can be cut anywhere, otherwise there could have been an empty zone without lighting near the bottom of the floor, which would disrupt the entire composition. And we managed to find such a strip.
The housing where the strip is inserted was chosen to be the thinnest and narrowest, just so the strip would fit, but this is not crucial, and here it's a matter of taste.
The finished version without stabilized moss is shown below.
See the result in the video.
No comments yet.