

Ceiling finishing in a private house - I'll show the entire process, because the project turned out to be exemplary: on one floor, three ceiling options came together at once. Sloped ceilings on the attic, a flat ceiling in the lower room, and separately — a ceiling with exposed beams. Each is done a bit differently, but the logic is the same. I'll share what I paid attention to.
We start with battens, not with boards
What really begins any wooden ceiling is visible in the next photo. Over the vapor barrier (blue film), counter-battens made of lumber are nailed along the rafters, and then on top of them — the main battens perpendicular. Why two layers?
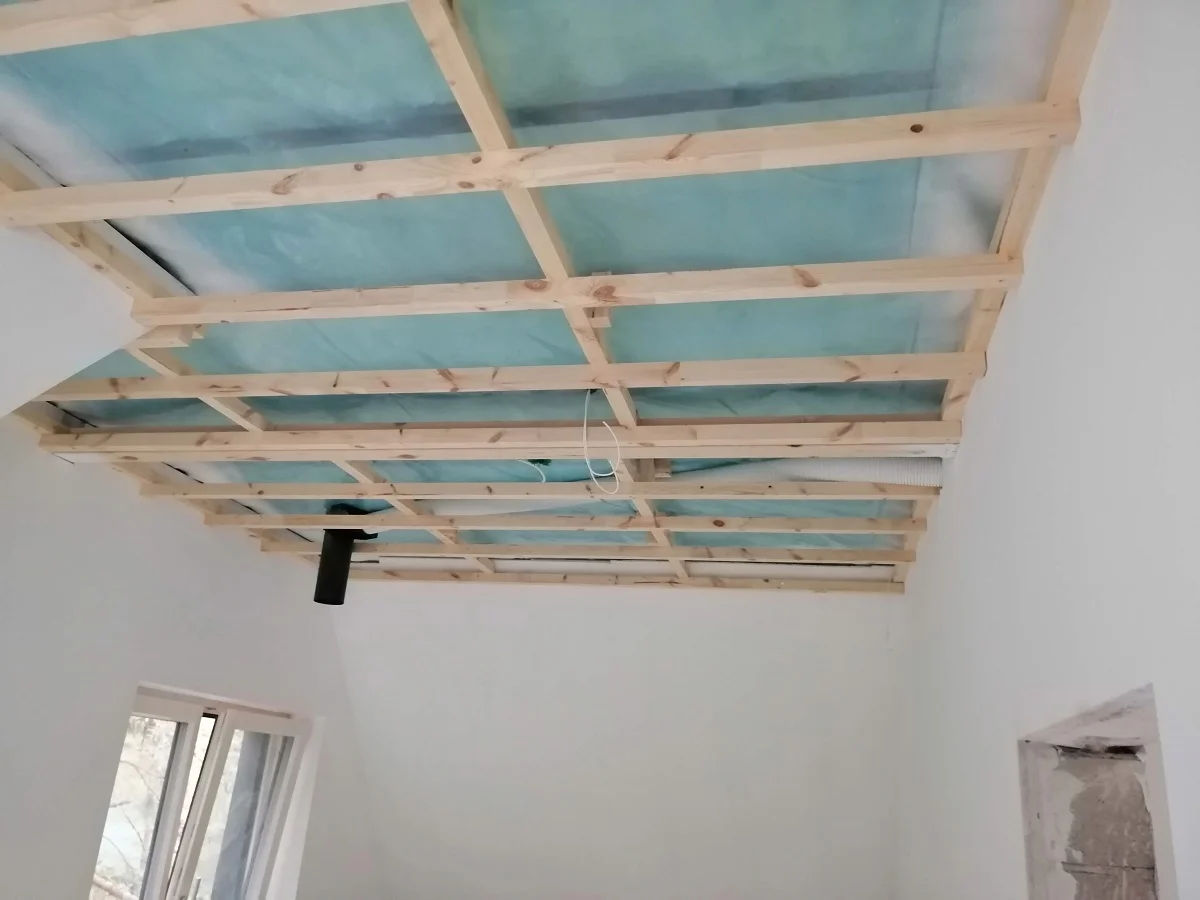
Counter-battens create a ventilation gap between the film and the finish board. Wood always "breathes" a little, and if you press it directly against the film, sooner or later condensation will collect - and this leads to mold and dark stains that show through even through paint. The gap solves the problem once and for all.
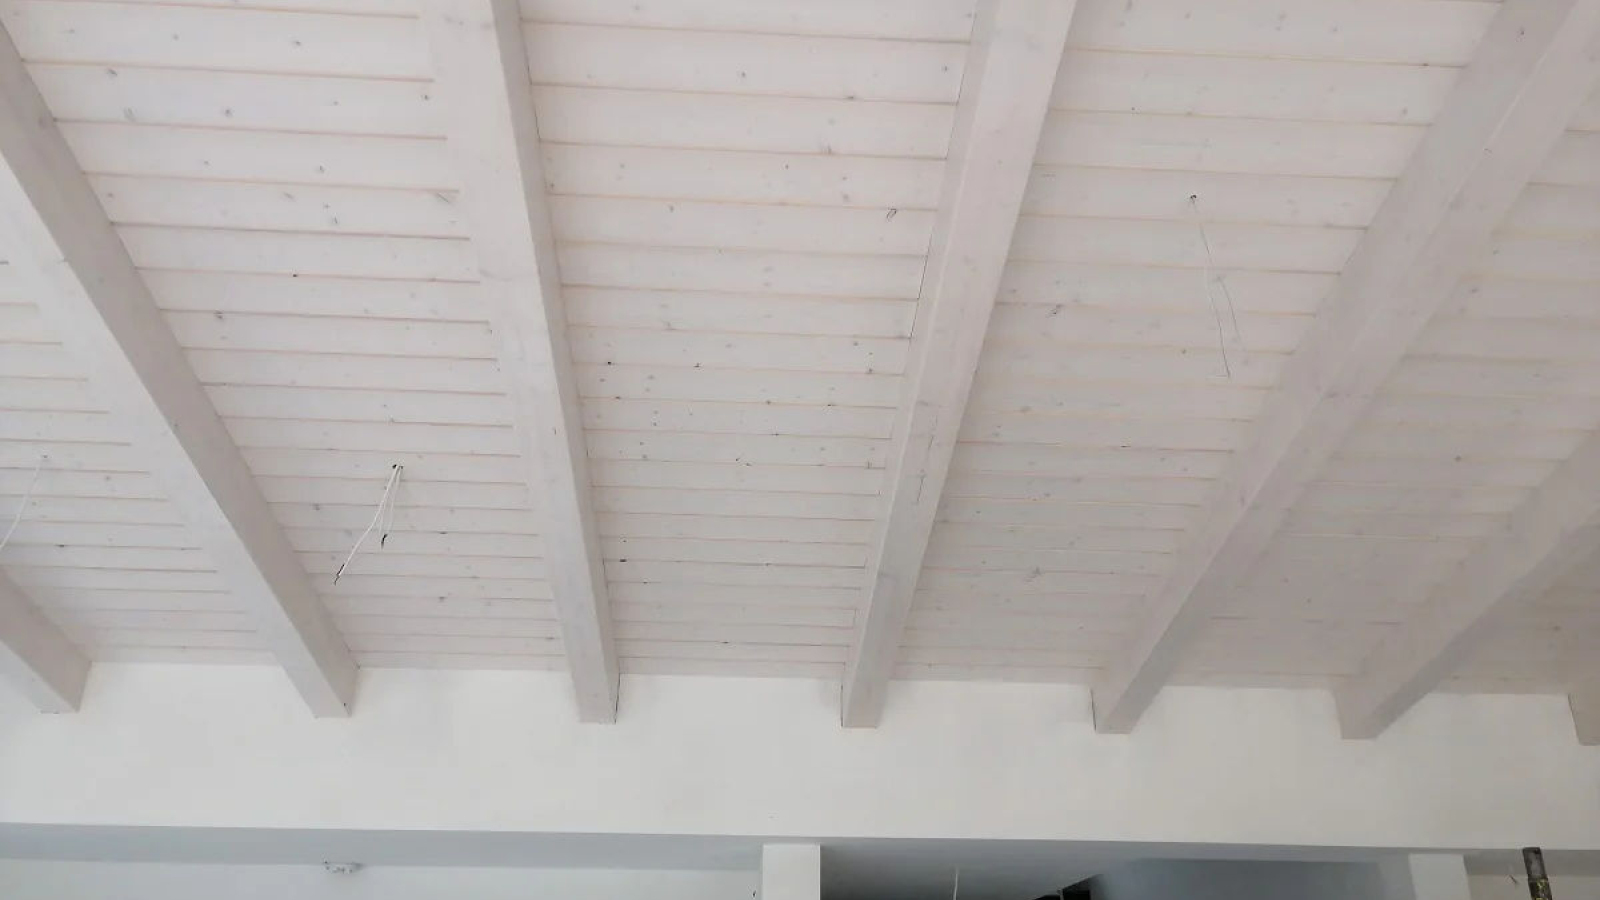
The step of the main battens is about 40–50 cm, depending on the length and thickness of the cladding. I checked each slat with a level. On sloped ceilings this is critical: any "wave" in the base will later be visible on the finished surface in side light from the window.
A separate issue is the embedded conduits for electrical work. All wires for light fixtures, outlets and ventilation exits I brought out before sheathing. Returning to the ceiling after board installation — this is the most unpleasant part of the work, which can almost always be avoided if you think ahead.
Material and preparation
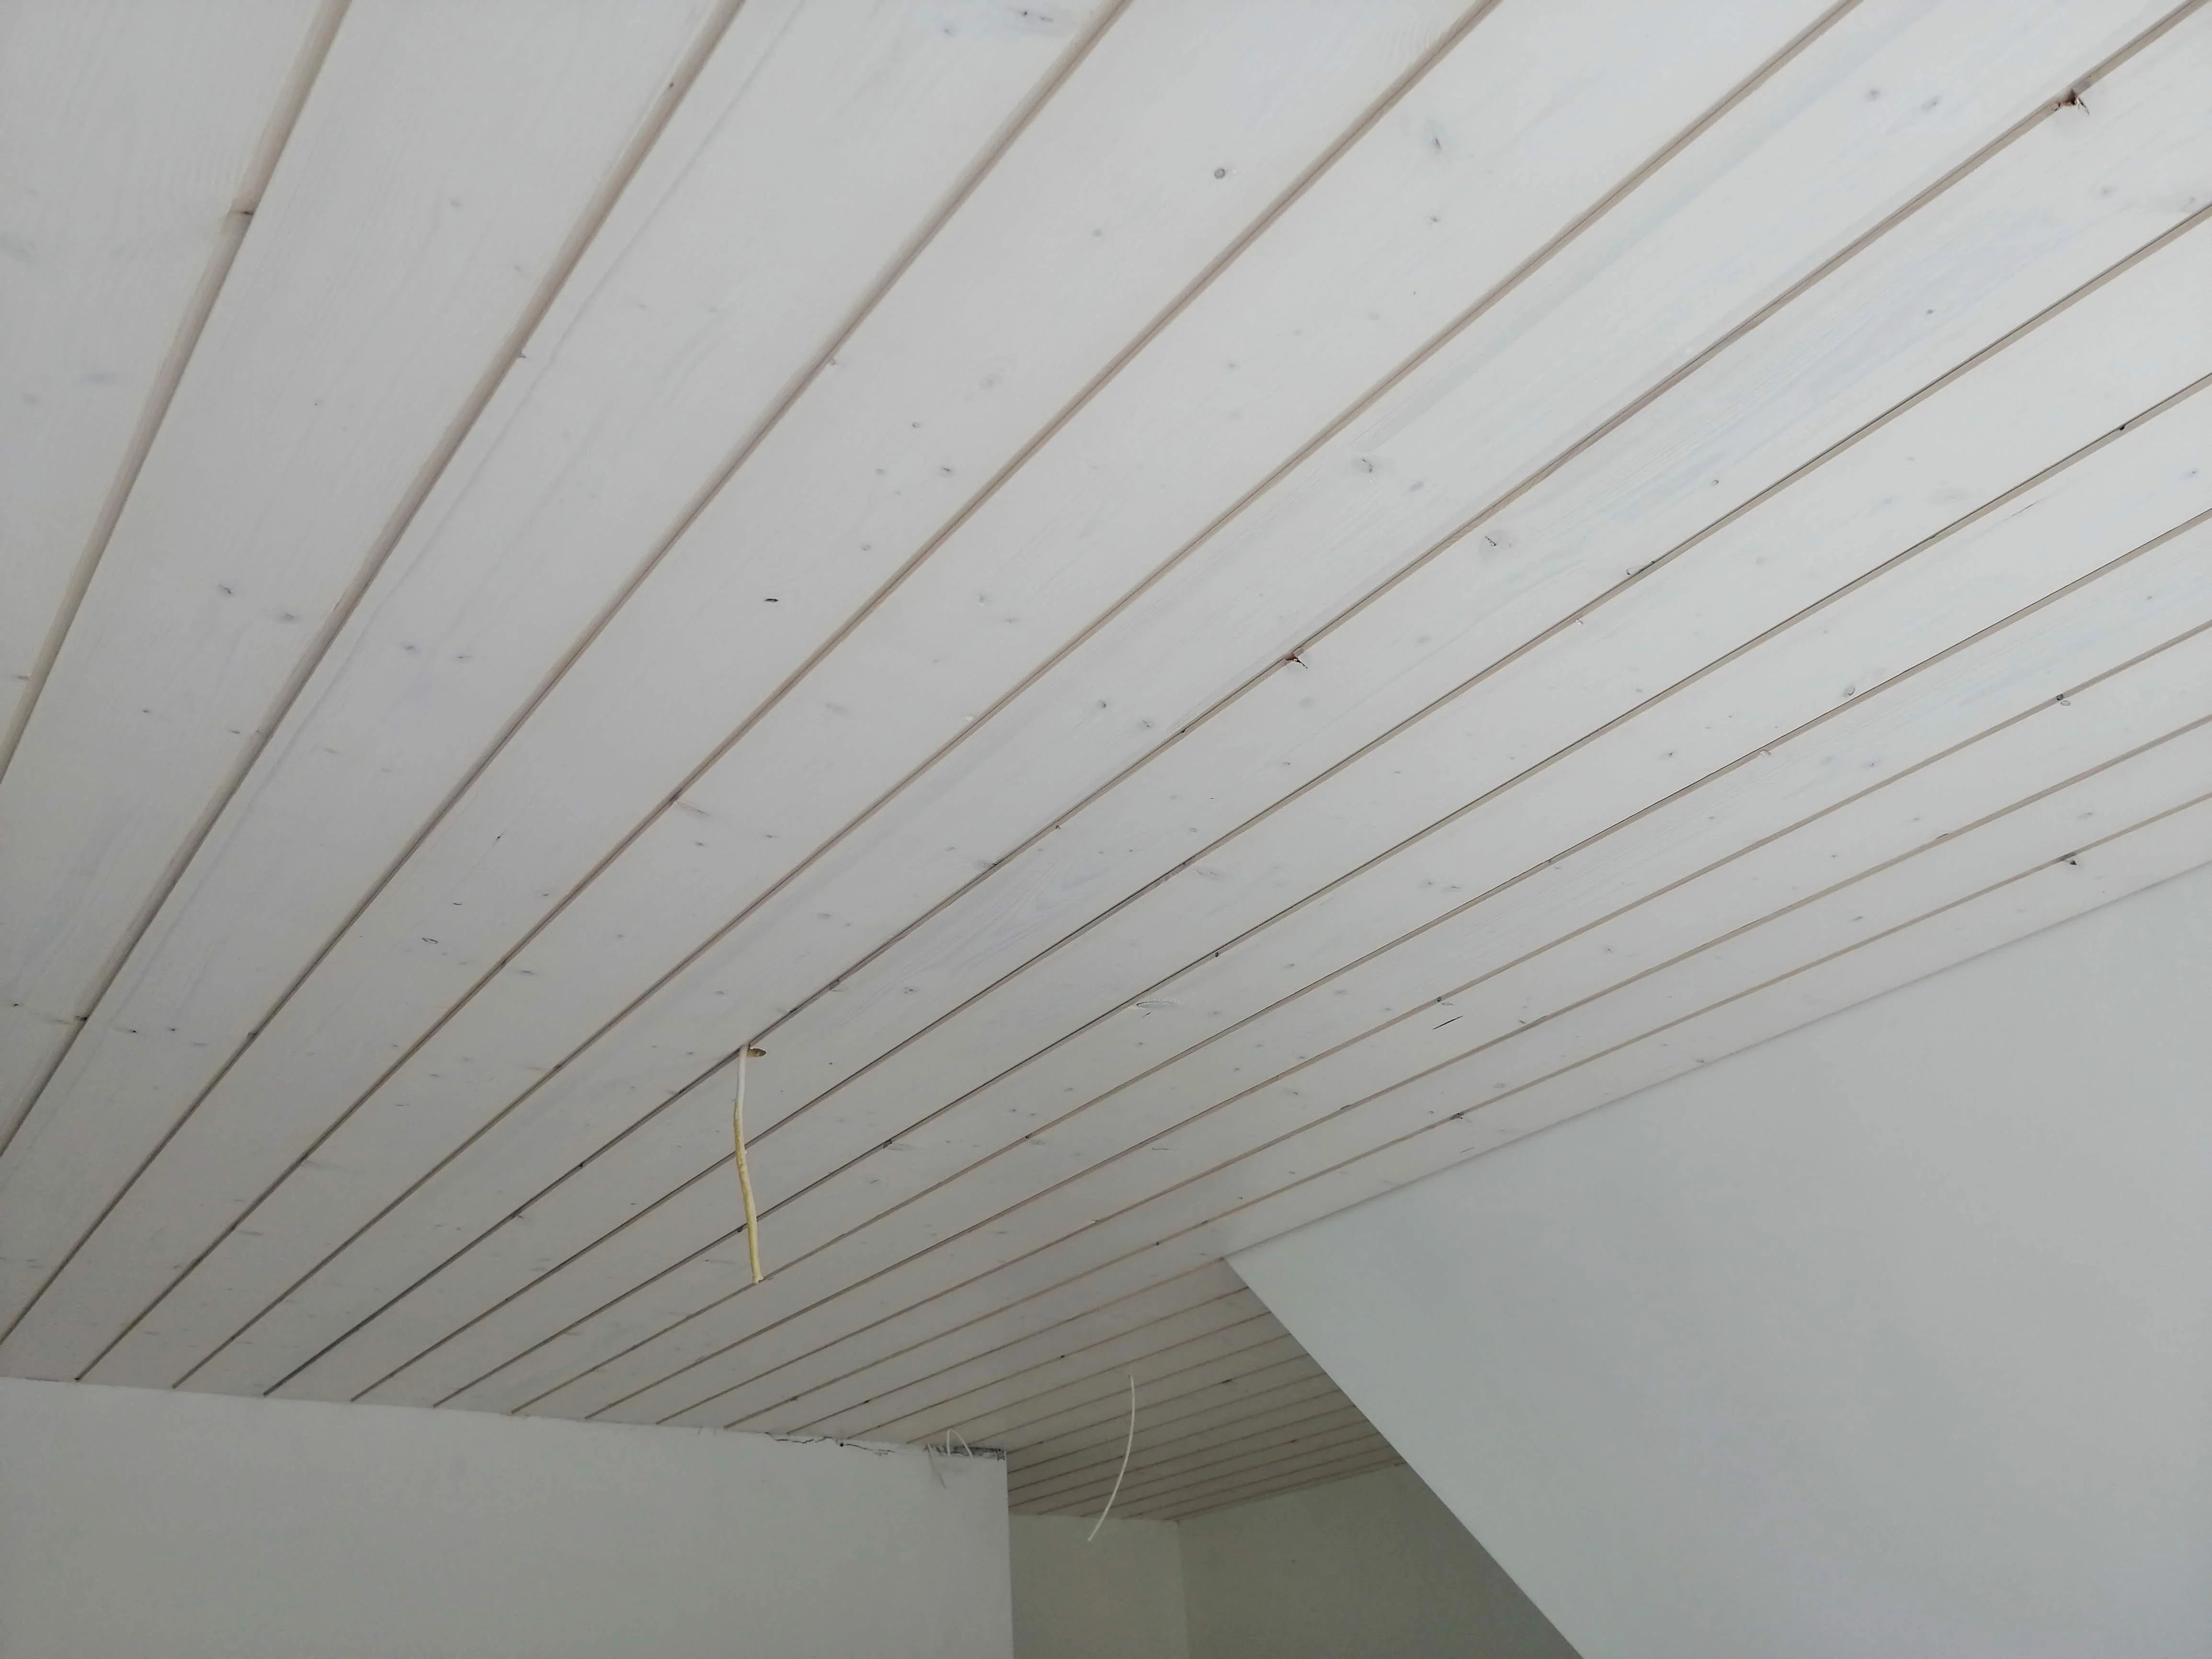
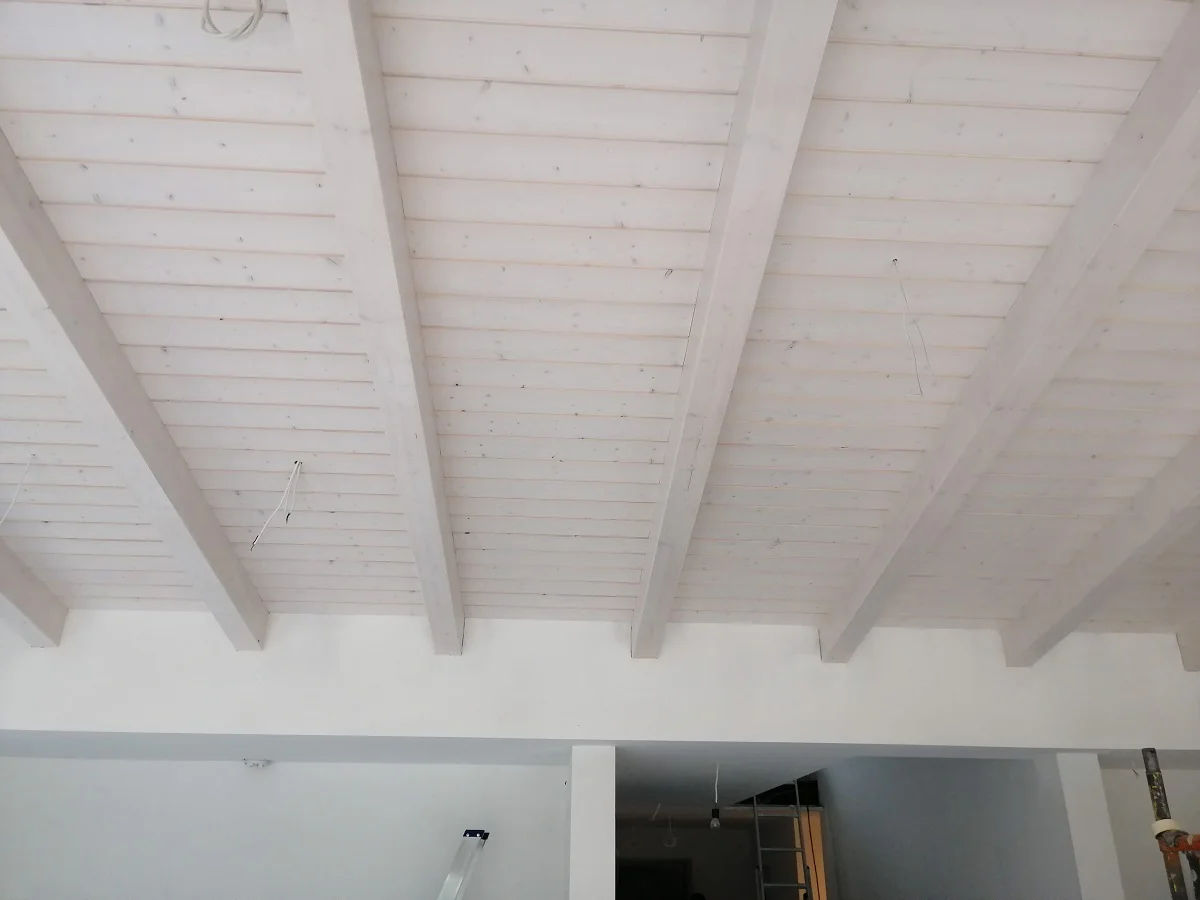
I used pine cladding, still profile — it has almost no pronounced chamfer, the joints are thin, and the ceiling reads as a solid plane, not as a set of individual boards.
Before installation, the board lay in the room for a week at working temperature and humidity. This step is often skipped, and wrongly: if you sheath "fresh" cladding in winter, after the first heating season gaps will appear between the boards. Not critical, but noticeable. Better to lose a week on material adaptation than to live with it for years afterward.
Installation
I fastened everything with clips in the tongue. This gives two things: fasteners are not visible, and the board moves freely with seasonal humidity fluctuations. Nails or self-tapping screws through — this is the path to cracks at the fastening points after a year or two.
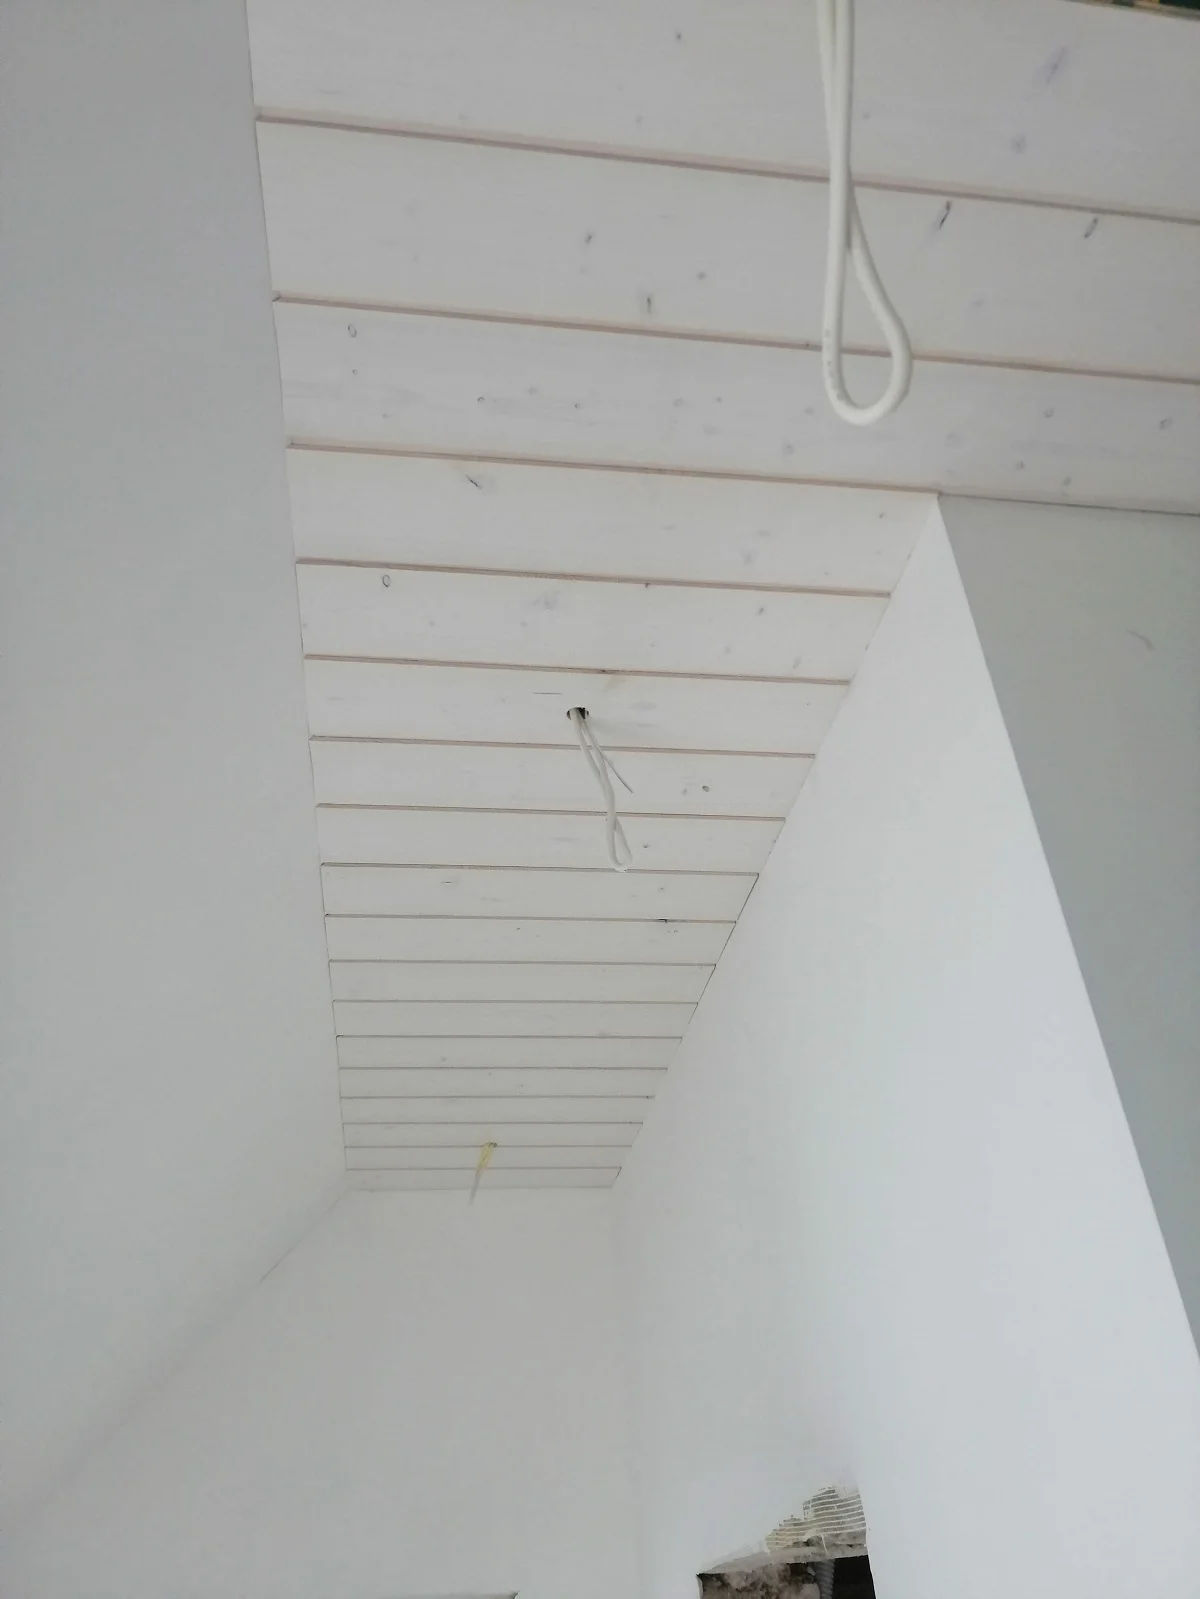
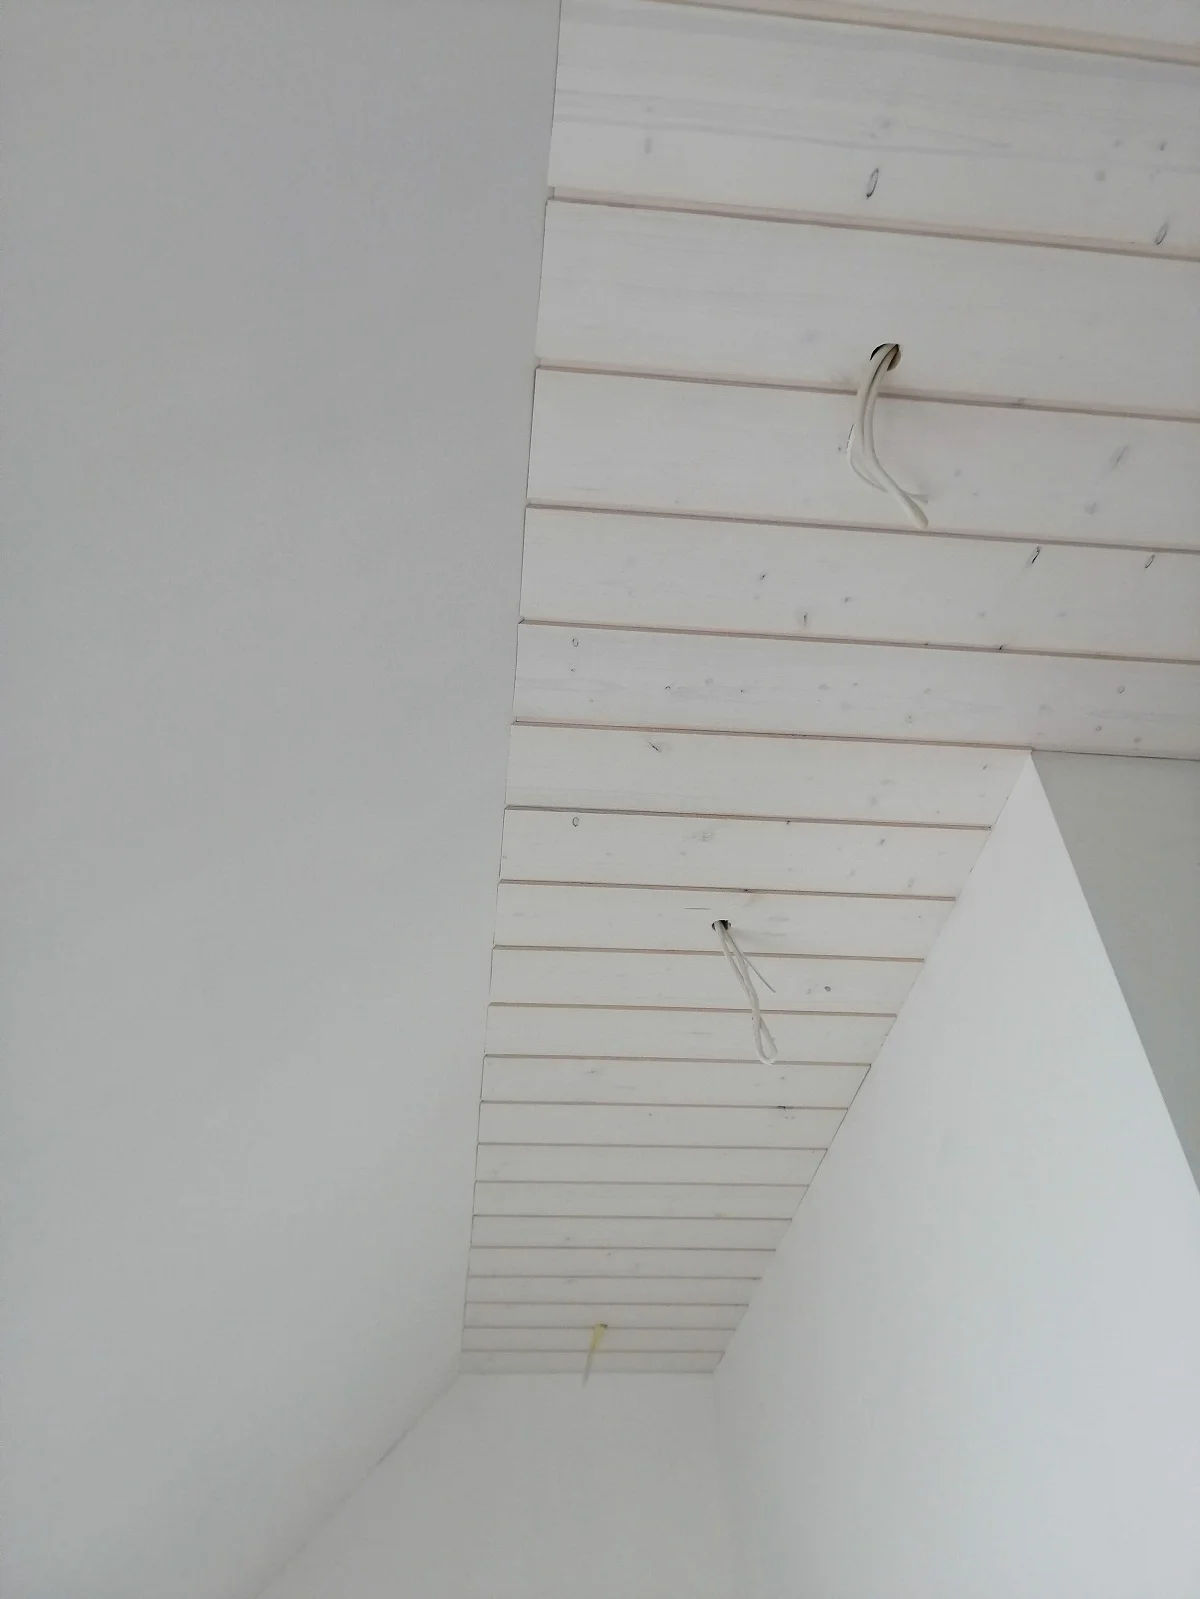
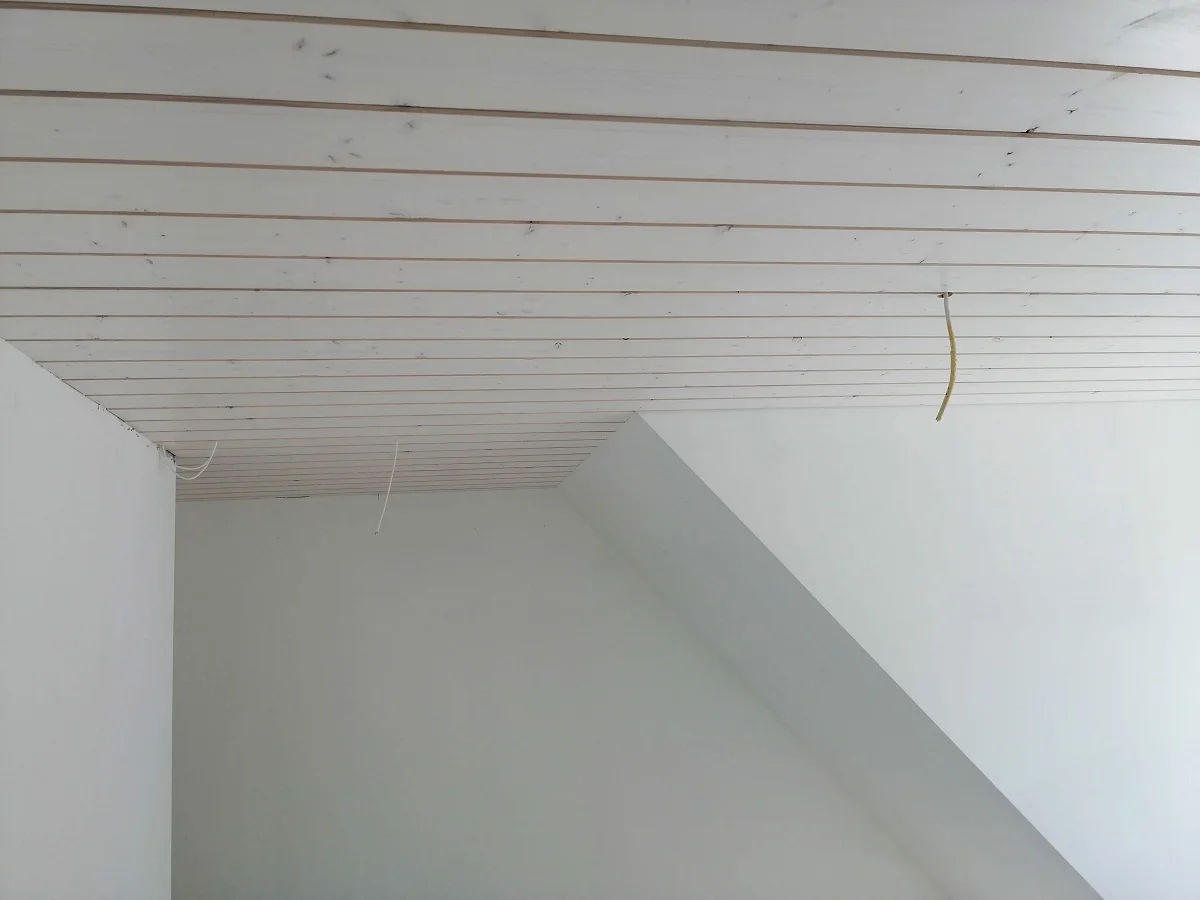
On the sloped section, I went from the ridge downward. On the flat ceiling, I started from the wall, specifically the one that first enters the field of vision when entering the room — the cut there should be perfect, and at the opposite wall no one will scrutinize the supplementary strip anyway.
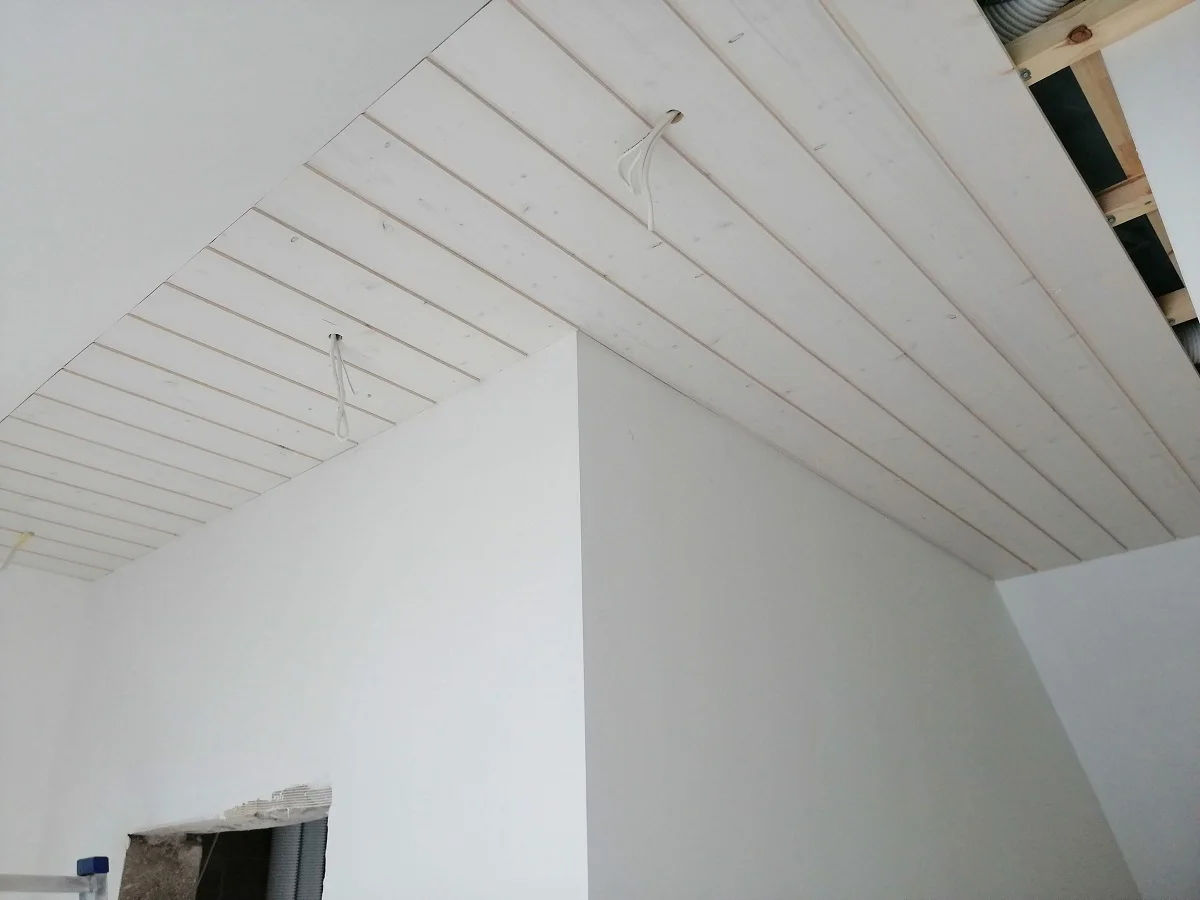
The joints at the walls I covered with a ceiling molding made from the same material. On inside corners I didn't make overlays — there's just a precise mitered joint at an angle. This is more difficult, but the result is worth it.
Color and coating
The client wanted a light interior, but without losing the "wood feel" — that is, not solid white paint, but something through which the texture shows. I used white wood stain, applied in two coats.

The result in the photo: knots and grain remain visible, the ceiling doesn't look plastic. This is fundamentally different from a ceiling rolled with opaque paint — there the wood is effectively turned into a textureless plane, and then it doesn't matter what it's made of.
Ceiling with exposed beams
In one of the rooms we decided to leave the beams visible. The technology here is different: between and over the beams, cladding is installed, and the beams themselves are covered with the same white oil, but because the beam mass is larger and the wood density is higher, the shade comes out slightly warmer. This works in the plus — it gives the ceiling rhythm and volume.
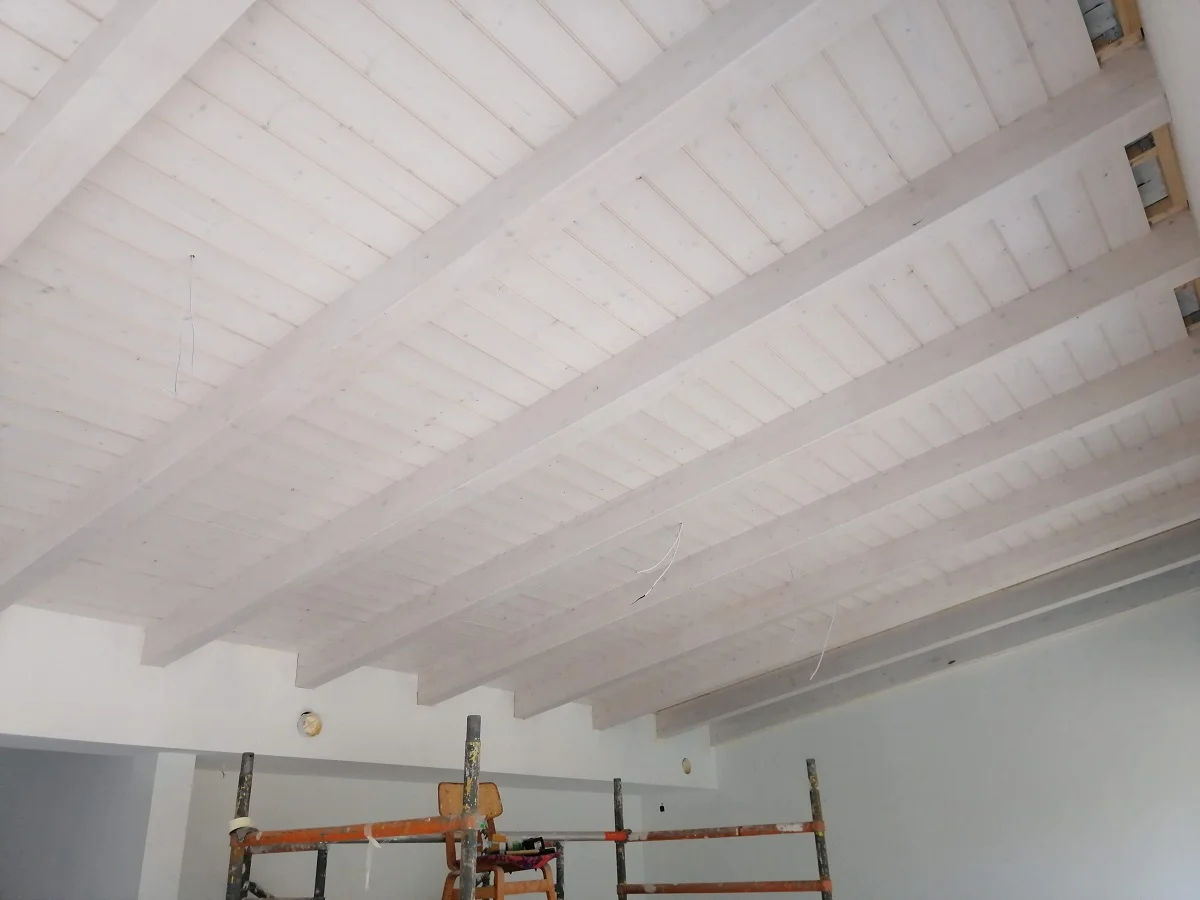
Such a ceiling is more complex to work on: each beam has to be painted on all three sides, the board between the beams is cut to fit, and any geometry mistake is immediately visible. But visually this is the most "characteristic" option of the three — the beams set the rhythm for the entire room.
What I would advise to those who are planning such a ceiling
Don't economize on time for the battens. All mistakes in the base later show up on the finish board, and redoing is ten times more expensive than doing it right the first time with a level.
Second — plan all electrical and ventilation before sheathing. Not "approximately," but exactly according to future light fixture points. The board forgives much, but not chiseling on a finished ceiling.
And third — let the material acclimate. This week saves you years of life without gaps.
Frequently asked questions about wooden ceilings
Why do you need counter-battens under a wooden ceiling?
Counter-battens create a ventilation gap of 4–5 cm between the vapor barrier and the finish board. Without a gap, condensation collects — this leads to mold and dark stains that show through even through paint.
What is the batten spacing for ceiling cladding?
The main batten spacing is 40–50 cm. The exact value depends on the length and thickness of the board: the thinner the cladding, the more frequently the slats need to be placed.
What should you fasten ceiling cladding with?
With clips in the board's tongue. Fasteners are not visible, and the board moves freely with seasonal humidity fluctuations. Nails or self-tapping screws through lead to cracks at the fastening points.
How long should cladding acclimate before installation?
At least a week in the room at working temperature and humidity. Without adaptation, after the first heating season gaps will appear between the boards.
How to coat a wooden ceiling white while preserving the texture?
With white wood stain in two coats. Unlike opaque paint, this coating keeps knots and wood texture visible.
No comments yet.